crwdns2915892:0crwdne2915892:0
Electric toothbrushes are powered by a rechargeable battery, that enables the reciprocating brushing motion of the bristles. If your electric toothbrush loses power quickly or doesn't hold charge, most likely the rechargeable battery needs to be replaced.
crwdns2942213:0crwdne2942213:0
-
-
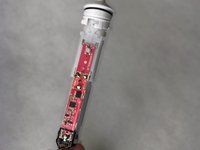
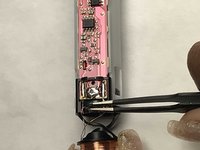
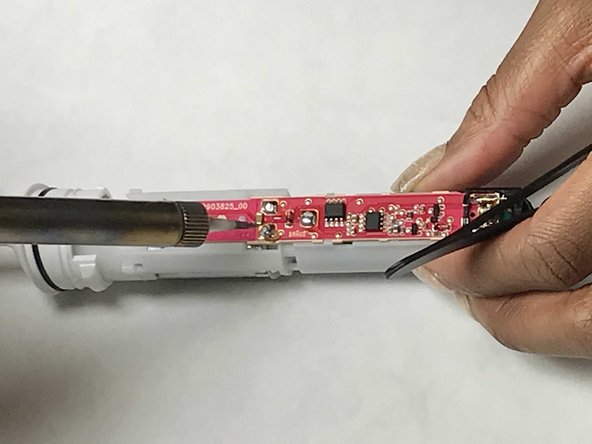
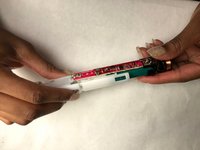
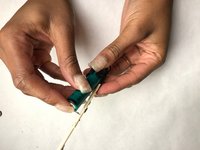
Pull off head, and use pliers to remove the white cap. Pull out the circuit core.
-
-
-
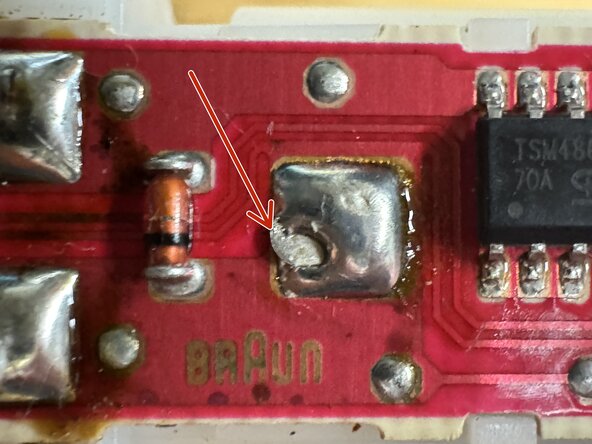
Inspect four pads with green circles (Picture #1), they should be fully covered in solder.
-
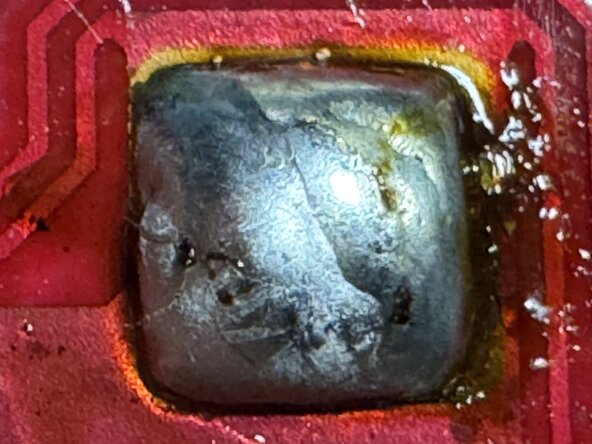
Picture #2 shows the center pad missing some solder and not making a good connection.
-
Picture #3 shows repaired solder pad. Test toothbrush battery and motor operation without toothbrush head. If toothbrush is now working, there may be no need to replace the battery - if battery is providing between 1.2 and 1.5 volts and motor is actuated by button presses, stop here and reassemble the toothbrush.
-
If battery voltage is less than 1.2 volts, consider testing motor operation and button presses with two tests; using a AA battery and a pair of wire leads touch one end of leads to battery ends and the other wire ends to: A) left board pads (to test motor leads) and then B) to right board pads (to test battery leads, center pin is positive).
-
If motor doesn't start after Step 2 troubleshooting, continue to Step 3.
-
-
-
De-solder in these four (4) locations.
-
The two (2) motor connections
-
The Positive (+) side of the battery
-
The Negative (-) side of the battery
-
-
-
-
De-Solder lower battery connection terminal. Bend back battery terminal to clear circuit board.
-
-
-
De-Solder the three (3) upper terminals from the circuit board.
-
-
-
Use plastic prying tools to carefully pry off the circuit board. (Utilize metal spedger as a last resort)
-
-
-
Pull the circuit board and battery assembly out. Then proceed to remove the battery from the circuit board
-


To reassemble your device, follow these instructions in reverse order. Remember to apply just enough solder to re-attach the terminals.
To reassemble your device, follow these instructions in reverse order. Remember to apply just enough solder to re-attach the terminals.
crwdns2935221:0crwdne2935221:0
crwdns2935229:018crwdne2935229:0
crwdns2915084:0crwdne2915084:0

IUPUI, Team S2-G1, Harley Fall 2017 crwdns2935289:0IUPUI, Team S2-G1, Harley Fall 2017crwdne2935289:0
IUPUI-HARLEY-F17S2G1
crwdns2931471:03crwdne2931471:0
crwdns2935297:09crwdne2935297:0
crwdns2947412:010crwdne2947412:0
This is very easy to do. I had no problems following your instructions.
Thanks.
Is this a regular rechargeable AA?
Thanks again.
The original battery is a NiCd with tabs. I just spot welded tabs onto a standard AA NiMH battery and it worked fine.
T C -
@stephen Shaw These batteries worked for me: https://www.amazon.com/dp/B00CR0R8KQ/ref...
Thanks.
I did fix an Oral B Braun PRO timer (2022) and the only part that is different is the head. It has two nail presses inside, one at the switch side and the other at the opposite side, that are very difficult to lose.