crwdns2915892:0crwdne2915892:0
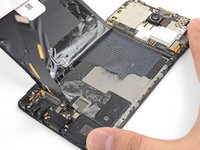
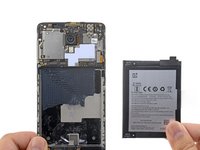
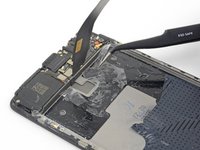
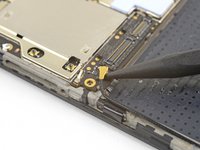
Follow this guide to remove and replace the OnePlus 3’s volume and power button assembly. The assembly includes the buttons as well as the flex cable that connects them. The procedure requires major disassembly, removing both the battery and the motherboard to access the assembly.
If your battery is swollen, take appropriate precautions.
For your safety, discharge your battery below 25% before disassembling your phone. This reduces the risk of a dangerous thermal event if the battery is accidentally damaged during the repair.
crwdns2942213:0crwdne2942213:0
-
-
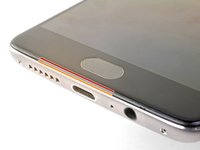
Insert a SIM eject tool, bit, or straightened paperclip into the hole located between the SIM card slot and the power button.
-
Press firmly to eject the SIM card tray.
-
-
-
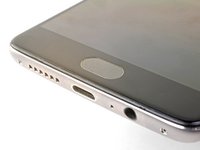
Remove the two 2.6 mm T2 screws from the bottom edge of the phone.
-
-
-
Display panel seam: This seam is part of the display assembly. Do not pry at this seam, or you will separate and damage the display panel.
-
Frame seam: This is where the plastic frame meets the back cover. It is recessed into the back cover. Only pry at this seam.
-
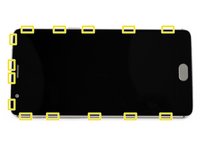
There are fourteen clips that hold the frame against the rear case. Be aware of their location as you pry the back cover off in the following steps.
-
-
-
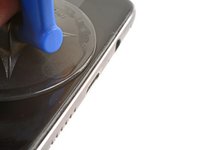
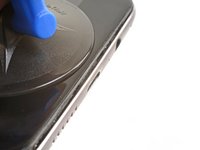
Place a suction cup near the bottom edge of the display.
-
Pull on the suction cup with strong steady force.
-
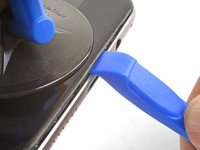
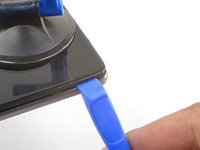
Press the edge of an opening tool straight into the frame seam near the suction cup until the edge wedges between the plastic frame and the back cover's lip.
-
-
-
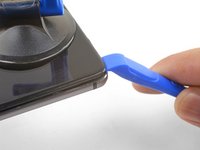
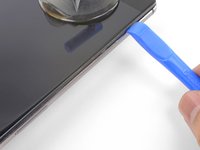
Once the opening tool's edge is wedged in position, carefully slide the tool along the bottom edge of the phone.
-
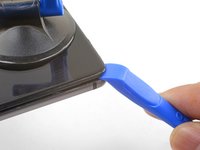
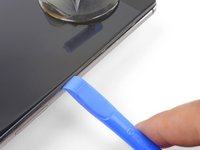
Carefully guide the opening tool around the left corner of the phone while keeping the tool's edge within the seam.
-
-
-
Continue sliding the opening tool along the long edge, releasing the clips along the way.
-
-
-
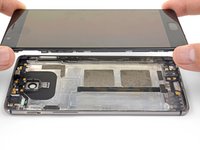
With the bottom and left edge of the phone freed, gently wiggle the frame to release the top and right edge clips.
-
Lift the screen up and remove it.
-
Align the top edge of the frame to the back cover and ensure that the top clips slip into place.
-
Squeeze along the long edges of the phone to snap the remaining clips into place.
-
-
-
Use the point of a spudger to pry up and disconnect the battery connector from its socket, located above the top right corner of the battery pack.
-
Bend the connector away from the socket to prevent accidental contact.
-
-
-
Remove the 3 mm Phillips screw securing the cable bracket.
-
Remove the cable bracket.
-
-
-
-
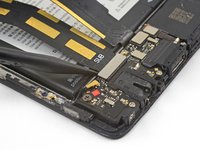
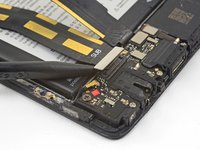
Use the point of a spudger to pry up and disconnect the interconnect flex cable from the motherboard, which is located above the battery.
-
Repeat the process to disconnect the daughterboard flex cable from the motherboard.
-
-
-
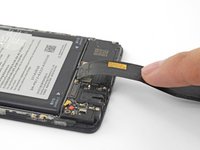
Use the point of a spudger to pry up and disconnect the interconnect flex cable from the daughterboard, which is located below the battery.
-
-
-
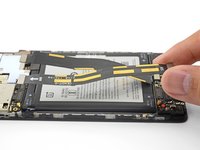
Remove the interconnect flex cable.
-
Carefully bend the still-attached daughterboard flex cable away from the battery.
-
-
-
Use the opening tool to push any adhesive tape holding the battery to the edge of the plastic frame. There should be at least one on each battery side.
-
-
-
Peel the clear pull tab up from the battery.
-
-
-
Brace the phone frame against the table.
-
Using a strong, steady force, pull the clear pull tab upwards until the battery loosens from its recess.
-
Swing the battery completely out of its recess and pull off of any remaining adhesive.
-
-
crwdns2935267:0crwdne2935267:0Tesa 61395 Tape$5.99
-
Remove the battery and any remaining adhesive residue on the frame.
-
-
-
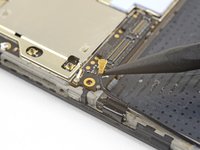
Slide the point of a spudger underneath the antenna interconnect cable located at the bottom left corner of the motherboard.
-
Pry up and disconnect the antenna interconnect cable.
-
-
-
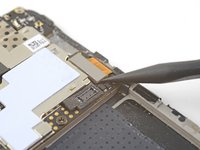
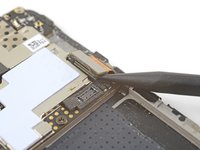
Use the point of a spudger to pry up and disconnect the display connector from its socket on the motherboard.
-
-
-
Remove the seven Phillips screws securing the motherboard to the frame:
-
Four 3 mm black screws
-
Three 2.9 mm silver screws
-
-
-
The motherboard is still held in place near the top by clips.
-
Slide the flat end of a spudger underneath the top left corner of the motherboard.
-
Twist the spudger and pry up to release the motherboard from its recess.
-
-
crwdns2935267:0crwdne2935267:0Electrical Tape in 6 Assorted Colors$9.99
-
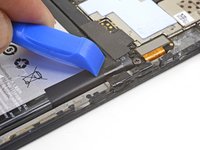
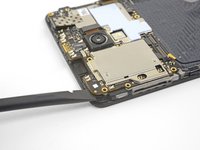
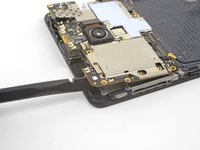
Use the point of a spudger to pry up and remove the black tape covering the volume buttons on the right edge of the phone.
-
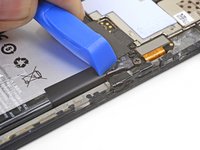
Repeat the process with the black tape covering the power button on the left edge of the phone.
-
-
crwdns2935267:0crwdne2935267:0Tesa 61395 Tape$5.99
-
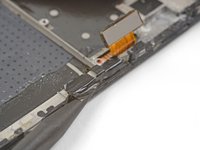
Use the flat end of a spudger to gently push the volume button board away from the frame.
-
Continue prying until you loosen the volume button board from the frame.
-
-
crwdns2935267:0crwdne2935267:0Tesa 61395 Tape$5.99
-
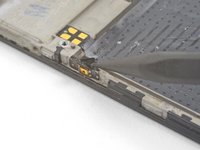
Use the point of a spudger to pry and loosen the power button from the left edge of the frame.
-
To reinstall the power button, cut a small piece of adhesive from the pre-cut adhesive card or a roll of Tesa tape, and use it to stick the button back onto the frame.
-
-
-
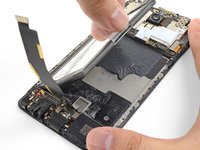
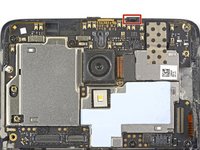
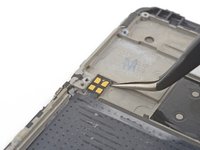
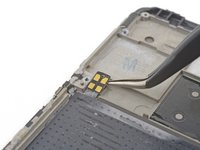
Squeeze the tweezer tips together and insert the point underneath the rectangular contact pad near the top left edge of the frame.
-
Pry upwards to loosen the contact pad from the frame.
-
-
-
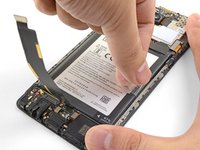
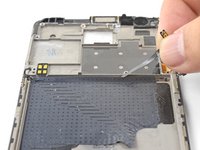
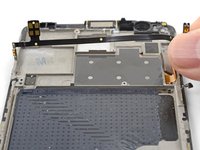
Lift the volume flex cable upwards from its position, removing it from its groove.
-
Remove the volume and power button assembly.
-
To reassemble your device, follow these instructions in reverse order.
Repair didn’t go as planned? Check out our OnePlus 3 Answers community for troubleshooting help.
To reassemble your device, follow these instructions in reverse order.
Repair didn’t go as planned? Check out our OnePlus 3 Answers community for troubleshooting help.
crwdns2935221:0crwdne2935221:0
crwdns2935229:011crwdne2935229:0


