crwdns2933423:0crwdne2933423:0
crwdns2947577:0crwdnd2947577:0crwdne2947577:0

Olympus VR-350 Power Button Replacement

crwdns2869540:0crwdne2869540:0: 2,2K

crwdns2959988:0crwdne2959988:0

crwdns2959990:0crwdne2959990:0
3
crwdns2959992:0crwdne2959992:0
23
crwdns2959994:0crwdne2959994:0
99
crwdns2959996:0crwdne2959996:0
2.227
crwdns2955950:0crwdne2955950:0: 0

crwdns2959998:0crwdne2959998:0

crwdns2960000:0crwdne2960000:0
crwdns2959984:0crwdne2959984:0: 2

crwdns2959974:02crwdne2959974:0

crwdns2959986:0crwdne2959986:0: 0

crwdns2959958:0crwdne2959958:0

crwdns2955944:0crwdne2955944:0: crwdns2931287:030crwdne2931287:0
crwdns2955970:0crwdne2955970:0: crwdns2937801:0crwdne2937801:0
crwdns2862597:0crwdne2862597:0

crwdns2862598:0crwdne2862598:0

Olympus VR-350 Power Button Replacement

crwdns2915892:0crwdne2915892:0

crwdns2959928:0crwdne2959928:0 ↓

This guide will show you how to remove the camera's power button so you can replace it if it is not working.

crwdns2959930:0crwdne2959930:0

crwdns2943215:0crwdne2943215:0

    1. Olympus VR-350 Power Button Replacement, Front Plate: crwdns2935265:01crwdnd2935265:01crwdnd2935265:02crwdne2935265:0 Olympus VR-350 Power Button Replacement, Front Plate: crwdns2935265:01crwdnd2935265:02crwdnd2935265:02crwdne2935265:0
      • Remove the two 4mm screws from each side of the camera with a Phillips PH000 screwdriver.

      crwdns2952109:0crwdne2952109:0

      crwdns2917038:0crwdne2917038:0

    2. Olympus VR-350 Power Button Replacement: crwdns2935265:02crwdnd2935265:01crwdnd2935265:01crwdne2935265:0
      • Remove the four 4mm screws from the bottom of the camera with a Phillips PH000 screwdriver.

      crwdns2952109:0crwdne2952109:0

      crwdns2917038:0crwdne2917038:0

    3. Olympus VR-350 Power Button Replacement: crwdns2935265:03crwdnd2935265:01crwdnd2935265:03crwdne2935265:0 Olympus VR-350 Power Button Replacement: crwdns2935265:03crwdnd2935265:02crwdnd2935265:03crwdne2935265:0 Olympus VR-350 Power Button Replacement: crwdns2935265:03crwdnd2935265:03crwdnd2935265:03crwdne2935265:0
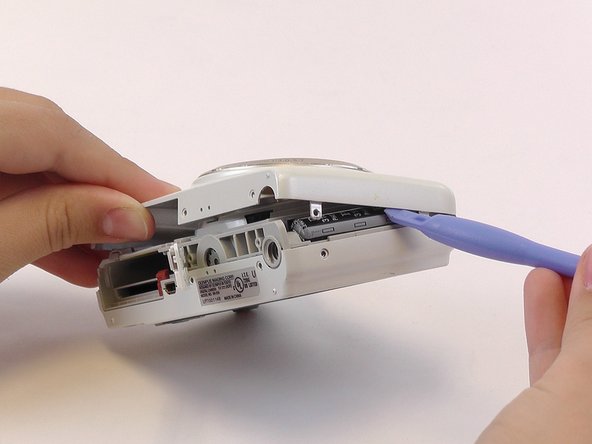
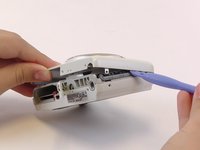
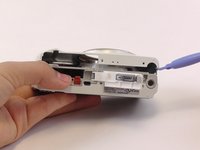
      • Use the plastic opening tools and your fingers to pry the front plate from the camera.

      • You might need to open the battery cover to remove the front plate.

      crwdns2952109:0crwdne2952109:0

      crwdns2917038:0crwdne2917038:0

    1. Olympus VR-350 Power Button Replacement, Back Plate: crwdns2935265:04crwdnd2935265:01crwdnd2935265:02crwdne2935265:0 Olympus VR-350 Power Button Replacement, Back Plate: crwdns2935265:04crwdnd2935265:02crwdnd2935265:02crwdne2935265:0
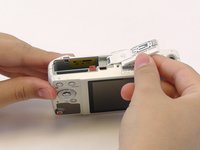
      • Use your fingers to pry open the back cover.

      • When you remove the back of the camera, the button membrane might fall out. Don’t lose this sheet.

      • The LCD screen is connected to the body of the camera by an orange ribbon cable. Don’t pull this ribbon cable out.

      crwdns2952109:0crwdne2952109:0

      crwdns2917038:0crwdne2917038:0

    1. Olympus VR-350 Power Button Replacement, Power Button: crwdns2935265:05crwdnd2935265:01crwdnd2935265:02crwdne2935265:0 Olympus VR-350 Power Button Replacement, Power Button: crwdns2935265:05crwdnd2935265:02crwdnd2935265:02crwdne2935265:0
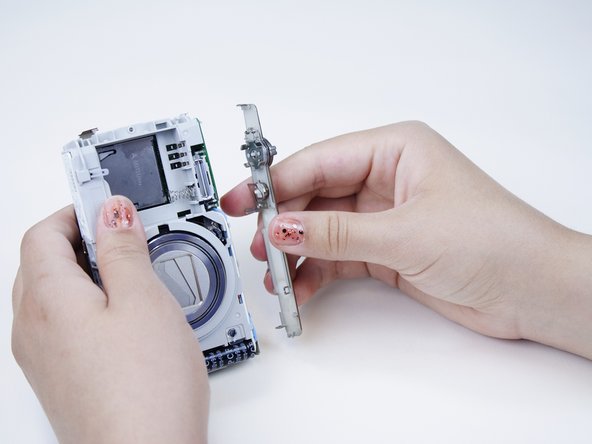
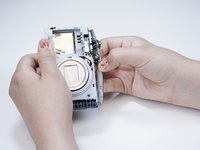
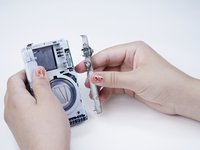
      • Remove the silver panel from the top of the camera.

      crwdns2952109:0crwdne2952109:0

      crwdns2917038:0crwdne2917038:0

    2. Olympus VR-350 Power Button Replacement: crwdns2935265:06crwdnd2935265:01crwdnd2935265:01crwdne2935265:0
      • Flip the silver panel over. The power button is the smaller button covered by a metal backing.

      crwdns2952109:0crwdne2952109:0

      crwdns2917038:0crwdne2917038:0

    3. Olympus VR-350 Power Button Replacement: crwdns2935265:07crwdnd2935265:01crwdnd2935265:01crwdne2935265:0
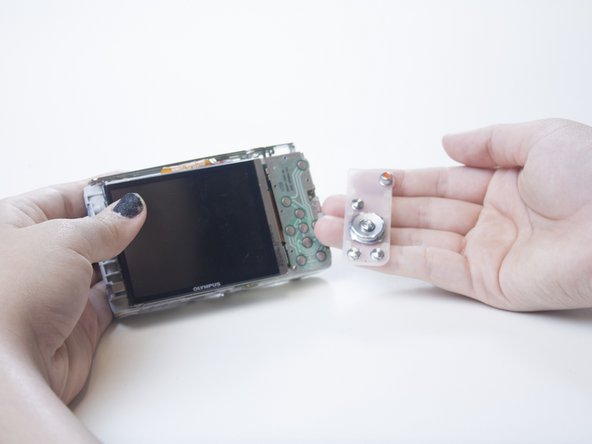
      • Pull the metal backing away from the silver panel.

      crwdns2952109:0crwdne2952109:0

      crwdns2917038:0crwdne2917038:0

    4. Olympus VR-350 Power Button Replacement: crwdns2935265:08crwdnd2935265:01crwdnd2935265:01crwdne2935265:0
      • Push the power button down and out of the silver panel with your finger.

      crwdns2952109:0crwdne2952109:0

      crwdns2917038:0crwdne2917038:0

crwdns2915888:0crwdne2915888:0

To reassemble your device, follow these instructions in reverse order.

crwdns2935221:0crwdne2935221:0

crwdns2935229:02crwdne2935229:0

Adri

crwdns2935283:002/23/15crwdne2935283:0

456 crwdns2915208:0crwdne2915208:0

crwdns2935297:03crwdne2935297:0

crwdns2935287:0crwdne2935287:0

USF Tampa, Team 1-3, Leahy Winter 2015 crwdns2935289:0USF Tampa, Team 1-3, Leahy Winter 2015crwdne2935289:0

USFT-LEAHY-W15S1G3

crwdns2931471:03crwdne2931471:0

crwdns2935297:060crwdne2935297:0

crwdns2947412:00crwdne2947412:0

crwdns2917038:0crwdne2917038:0

crwdns2936625:0crwdne2936625:0:

crwdns2936751:024crwdne2936751:0 3

crwdns2936753:07crwdne2936753:0 23

crwdns2936753:030crwdne2936753:0 99

crwdns2959996:0crwdne2959996:0 2,227