crwdns2915892:0crwdne2915892:0
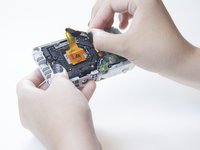
This guide will show you how to remove and replace the lens box unit on the Olympus VR-350.
crwdns2942213:0crwdne2942213:0
-
-
Remove the two 4mm screws from each side of the camera with a Phillips PH000 screwdriver.
-
-
-
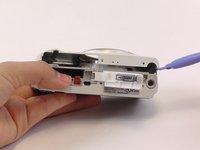
Remove the four 4mm screws from the bottom of the camera with a Phillips PH000 screwdriver.
-
-
-
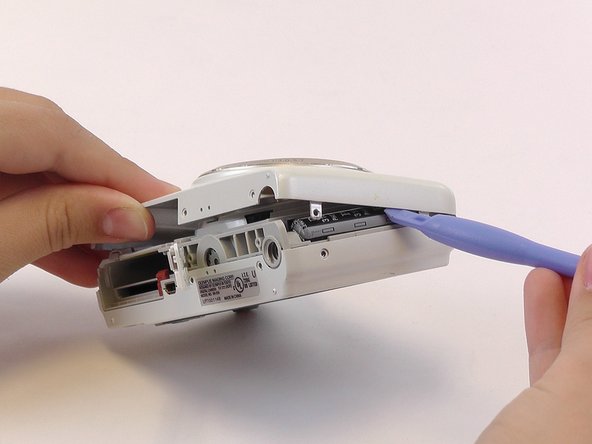
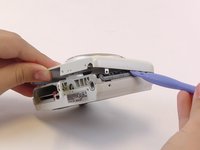
Use the plastic opening tools and your fingers to pry the front plate from the camera.
-
-
-
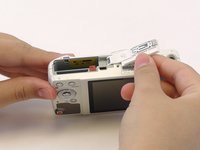
Use your fingers to pry open the back cover.
-
-
-
-
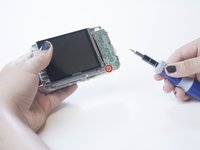
Using the Phillips PH000 screwdriver, remove the 4mm screw from the bottom left corner of the button plate located under the button membrane.
-
-
-
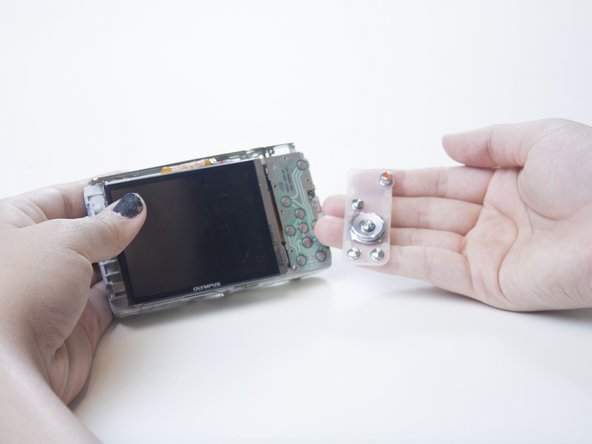
Pull the button pad up to fully reveal the visible ribbon cable.
-
-
-
Pull out the LCD screen and the ribbon cable.
-
-
-
Remove the metal plate that was underneath the LCD screen by removing the four 4 mm screws with the Phillips PH000 screwdriver.
-
-
-
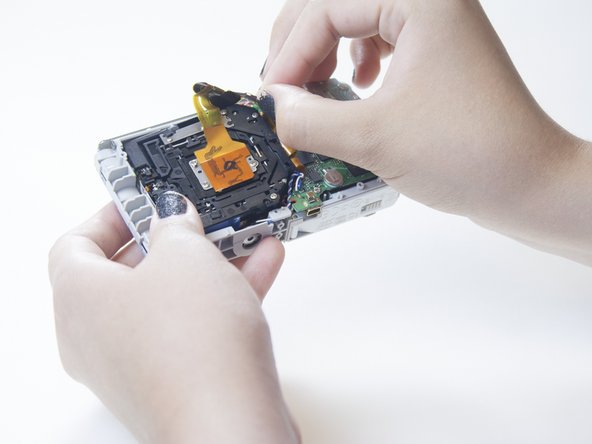
Remove the orange ribbon cable from the connector on the left side of the motherboard.
-
To do this, gently lift up the small grey clasp and pull the cable ribbon.
-
-
-
There are two other small ribbon cables under the motherboard connected to the lens box. Pull them out from the motherboard.
-
-
-
Pull the lens box up and out to remove it.
-
To reassemble your device, follow these instructions in reverse order.
crwdns2935221:0crwdne2935221:0
crwdns2935229:05crwdne2935229:0
crwdns2947410:01crwdne2947410:0
Worked for a SH-21, with a couple of extra screws to remove. Thank you!


