crwdns2933423:0crwdne2933423:0
crwdns2947577:0crwdnd2947577:0crwdne2947577:0

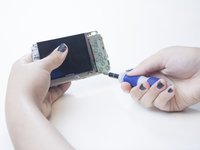
Olympus VR-350 LCD Screen Replacement

crwdns2942213:0crwdne2942213:0

    1. Olympus VR-350 LCD Screen Replacement, Front Plate: crwdns2935265:01crwdnd2935265:01crwdnd2935265:02crwdne2935265:0 Olympus VR-350 LCD Screen Replacement, Front Plate: crwdns2935265:01crwdnd2935265:02crwdnd2935265:02crwdne2935265:0
      • Remove the two 4mm screws from each side of the camera with a Phillips PH000 screwdriver.

      crwdns2952109:0crwdne2952109:0

      crwdns2917038:0crwdne2917038:0

    2. Olympus VR-350 LCD Screen Replacement: crwdns2935265:02crwdnd2935265:01crwdnd2935265:01crwdne2935265:0
      • Remove the four 4mm screws from the bottom of the camera with a Phillips PH000 screwdriver.

      crwdns2952109:0crwdne2952109:0

      crwdns2917038:0crwdne2917038:0

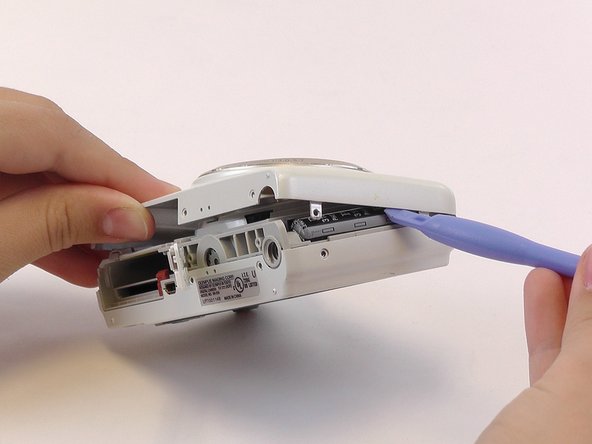
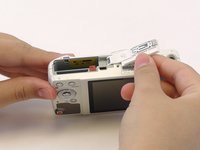
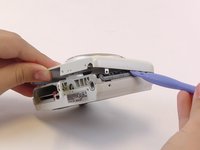
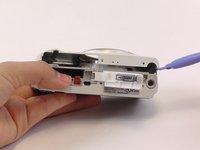
    3. Olympus VR-350 LCD Screen Replacement: crwdns2935265:03crwdnd2935265:01crwdnd2935265:03crwdne2935265:0 Olympus VR-350 LCD Screen Replacement: crwdns2935265:03crwdnd2935265:02crwdnd2935265:03crwdne2935265:0 Olympus VR-350 LCD Screen Replacement: crwdns2935265:03crwdnd2935265:03crwdnd2935265:03crwdne2935265:0
      • Use the plastic opening tools and your fingers to pry the front plate from the camera.

      • You might need to open the battery cover to remove the front plate.

      crwdns2952109:0crwdne2952109:0

      crwdns2917038:0crwdne2917038:0

    1. Olympus VR-350 LCD Screen Replacement, Back Plate: crwdns2935265:04crwdnd2935265:01crwdnd2935265:02crwdne2935265:0 Olympus VR-350 LCD Screen Replacement, Back Plate: crwdns2935265:04crwdnd2935265:02crwdnd2935265:02crwdne2935265:0
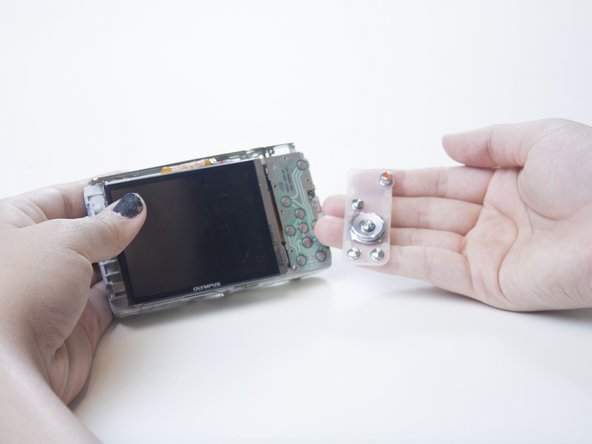
      • Use your fingers to pry open the back cover.

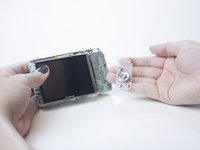
      • When you remove the back of the camera, the button membrane might fall out. Don’t lose this sheet.

      • The LCD screen is connected to the body of the camera by an orange ribbon cable. Don’t pull this ribbon cable out.

      crwdns2952109:0crwdne2952109:0

      crwdns2917038:0crwdne2917038:0

    1. Olympus VR-350 LCD Screen Replacement, LCD Screen: crwdns2935265:05crwdnd2935265:01crwdnd2935265:02crwdne2935265:0 Olympus VR-350 LCD Screen Replacement, LCD Screen: crwdns2935265:05crwdnd2935265:02crwdnd2935265:02crwdne2935265:0
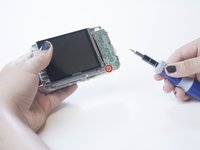
      • Using the Phillips PH000 screwdriver, remove the 4mm screw from the bottom left corner of the button plate located under the button membrane.

      crwdns2952109:0crwdne2952109:0

      crwdns2917038:0crwdne2917038:0

    2. Olympus VR-350 LCD Screen Replacement: crwdns2935265:06crwdnd2935265:01crwdnd2935265:01crwdne2935265:0
      • Pull the button pad up to fully reveal the visible ribbon cable.

      • You might need to bend the button pad out of the way.

      crwdns2952109:0crwdne2952109:0

      crwdns2917038:0crwdne2917038:0

    3. Olympus VR-350 LCD Screen Replacement: crwdns2935265:07crwdnd2935265:01crwdnd2935265:01crwdne2935265:0
      • Pull out the LCD screen and the ribbon cable.

      • The ribbon cable should be easy to pull out.

      crwdns2952109:0crwdne2952109:0

      crwdns2917038:0crwdne2917038:0

crwdns2915888:0crwdne2915888:0

To reassemble your device, follow these instructions in reverse order.

crwdns2935221:0crwdne2935221:0

Chloe

crwdns2935283:002/23/15crwdne2935283:0

112 crwdns2915208:0crwdne2915208:0

crwdns2935295:0crwdne2935295:0

crwdns2935287:0crwdne2935287:0

USF Tampa, Team 1-3, Leahy Winter 2015 crwdns2935289:0USF Tampa, Team 1-3, Leahy Winter 2015crwdne2935289:0

USFT-LEAHY-W15S1G3

crwdns2931471:03crwdne2931471:0

crwdns2935297:060crwdne2935297:0

crwdns2947412:00crwdne2947412:0

crwdns2917038:0crwdne2917038:0

crwdns2936625:0crwdne2936625:0:

crwdns2936751:024crwdne2936751:0 3

crwdns2936753:07crwdne2936753:0 22

crwdns2936753:030crwdne2936753:0 120

crwdns2942667:0crwdne2942667:0 1,781