crwdns2933423:0crwdne2933423:0
crwdns2947577:0crwdnd2947577:0crwdne2947577:0
Olympus SP-320 Back casing and LCD screen Replacement

Olympus SP-320 Back casing and LCD screen Replacement

Brenna McCullough

crwdns2944107:0crwdnd2944107:0Brenna McCulloughcrwdnd2944107:0crwdnd2944107:0crwdnd2944107:02crwdnd2944107:0crwdne2944107:0

crwdns2944111:0Mha 26, 2020crwdne2944111:0

7 - 10 crwdns2931279:0crwdne2931279:0
crwdns2937801:0crwdne2937801:0

crwdns2915892:0crwdne2915892:0

crwdns2942287:0crwdne2942287:0

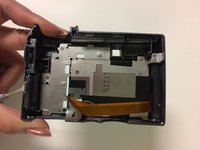
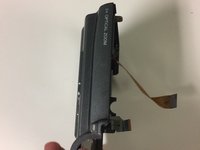
This guide will show you how to take apart and replace your camera's back casing and LCD screen. When following guide steps be gentle with your camera because there are internal ribbons that can easily tear!

crwdns2942213:0crwdne2942213:0

crwdns2943215:0crwdne2943215:0

crwdns2944105:0crwdne2944105:0

  1. Olympus SP-320 Back casing and LCD screen Replacement, Back casing and LCD screen: crwdns2935265:01crwdnd2935265:01crwdnd2935265:03crwdne2935265:0 Olympus SP-320 Back casing and LCD screen Replacement, Back casing and LCD screen: crwdns2935265:01crwdnd2935265:02crwdnd2935265:03crwdne2935265:0 Olympus SP-320 Back casing and LCD screen Replacement, Back casing and LCD screen: crwdns2935265:01crwdnd2935265:03crwdnd2935265:03crwdne2935265:0
    • Remove the 3 mm long screws with a Phillips head screwdriver that has a PH000 size bit.

  2. Olympus SP-320 Back casing and LCD screen Replacement: crwdns2935265:02crwdnd2935265:01crwdnd2935265:01crwdne2935265:0
    • Remove the 3 mm long screw using Phillips head screwdriver that has a PH000 size bit.

  3. Olympus SP-320 Back casing and LCD screen Replacement: crwdns2935265:03crwdnd2935265:01crwdnd2935265:01crwdne2935265:0
    • Pry the outer case open using a blue, plastic opening tool.

    • Pry case open gently to avoid tearing the ribbon that connects the front part of the case to the back of the case.

  4. Olympus SP-320 Back casing and LCD screen Replacement: crwdns2935265:04crwdnd2935265:01crwdnd2935265:03crwdne2935265:0 Olympus SP-320 Back casing and LCD screen Replacement: crwdns2935265:04crwdnd2935265:02crwdnd2935265:03crwdne2935265:0 Olympus SP-320 Back casing and LCD screen Replacement: crwdns2935265:04crwdnd2935265:03crwdnd2935265:03crwdne2935265:0
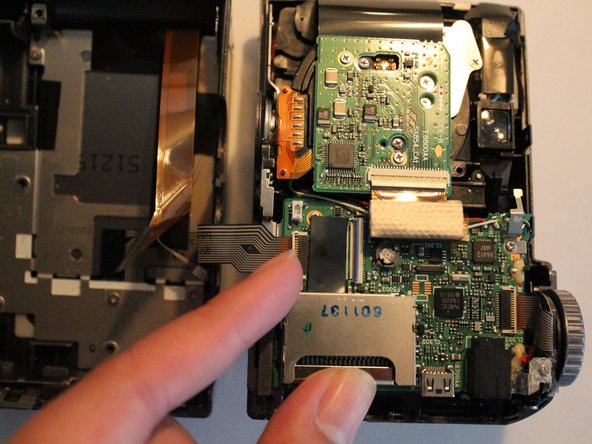
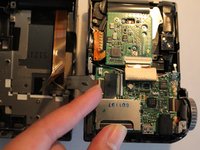
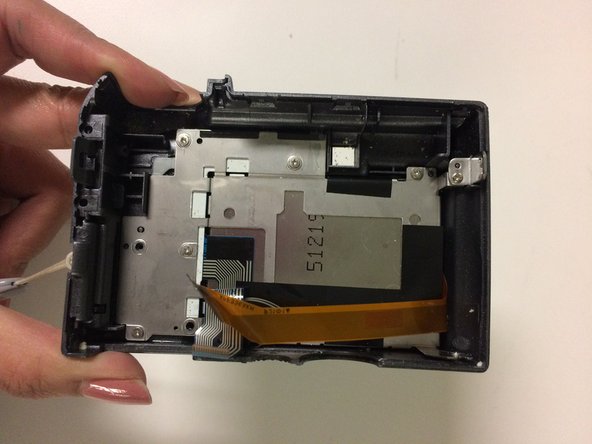
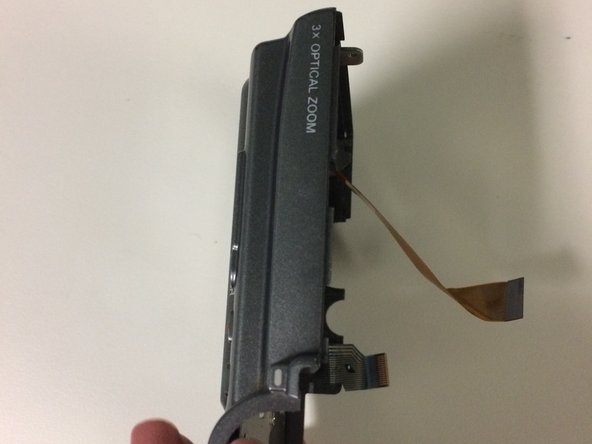
    • Detach camera body from back casing and LCD screen.

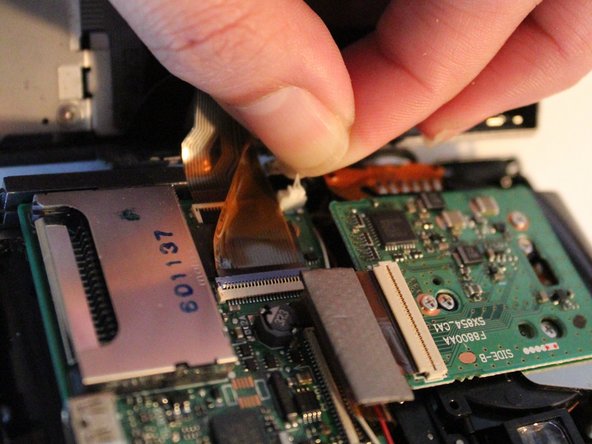
    • Pull gently on the white connecting cable to detach it from the main body of the camera.

    • Lift the small, plastic clip, detaching the ribbon from the main body of the camera.

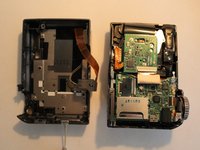
  5. Olympus SP-320 Back casing and LCD screen Replacement: crwdns2935265:05crwdnd2935265:01crwdnd2935265:03crwdne2935265:0 Olympus SP-320 Back casing and LCD screen Replacement: crwdns2935265:05crwdnd2935265:02crwdnd2935265:03crwdne2935265:0 Olympus SP-320 Back casing and LCD screen Replacement: crwdns2935265:05crwdnd2935265:03crwdnd2935265:03crwdne2935265:0
    • You have detached the back casing and LCD screen.

crwdns2915888:0crwdne2915888:0

To reassemble your device, follow these instructions in reverse order.

Brenna McCullough

crwdns2935283:009/15/16crwdne2935283:0

409 crwdns2915208:0crwdne2915208:0

crwdns2935297:03crwdne2935297:0

crwdns2915084:0crwdne2915084:0

University of North Texas, Team 1-5, Campbell Fall 2016 crwdns2935289:0University of North Texas, Team 1-5, Campbell Fall 2016crwdne2935289:0

UNT-CAMPBELL-F16S1G5

crwdns2931471:02crwdne2931471:0

crwdns2935297:06crwdne2935297:0

crwdns2947410:01crwdne2947410:0

Is that thin white connector - a powercable to screen led-light? thnx

Alex CalmCroft Tokarsky - crwdns2934203:0crwdne2934203:0

crwdns2917038:0crwdne2917038:0

crwdns2936625:0crwdne2936625:0:

crwdns2936751:024crwdne2936751:0 2

crwdns2936753:07crwdne2936753:0 5

crwdns2936753:030crwdne2936753:0 18

crwdns2942667:0crwdne2942667:0 629