crwdns2915892:0crwdne2915892:0
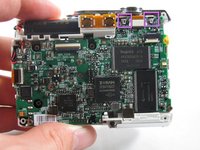
You must remove the batteries, the front casing, the rear casing, and the motherboard before removing the lens assembly.
crwdns2942213:0crwdne2942213:0
-
-
The battery compartment is located on the bottom side of the camera. Push the button in, and slide the cover to get access to the batteries.
-
-
-
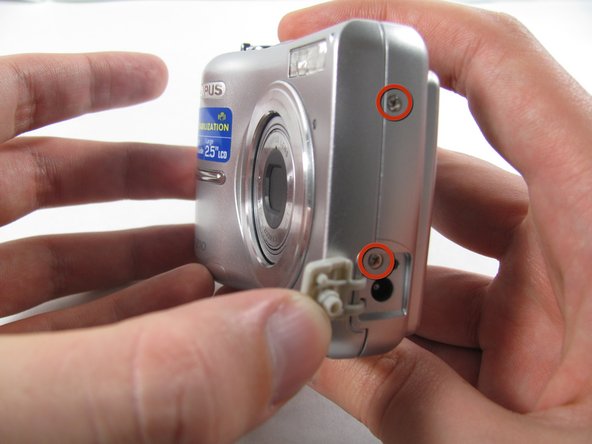
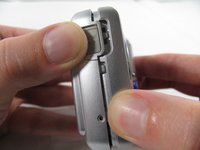
Remove the 7 screws holding the front case in place, with a #00 screwdriver.
-
Six screws are 3.6 mm.
-
The seventh screw is 3.2 mm.
-
-
-
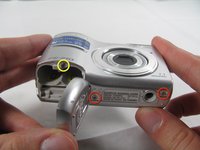
Pulling the front case off, requires applying enough strength in the right areas.
-
The front case snaps into place in three places:
-
At the top and bottom of the battery side (opposite of side pictured) of the case.
-
Right in the middle of the DC-in side (side pictured) of the case.
-
Top of the camera, to the left of the power button.
-
Once those places are disconnected, the front case will pop right off.
-
-
-
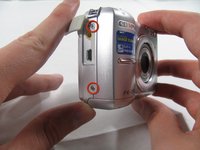
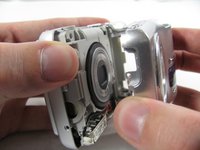
Remove the 3.2 mm screw in the battery compartment using a #00 screwdriver.
-
-
-
-
Carefully pull the rear case away from the camera until you have access to the cord connected to the motherboard.
-
Lift the white latch using a fingernail or a spudger.
-
Pull the cord from its connector.
-
-
-
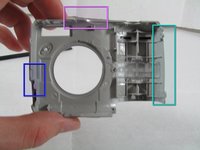
Remove the 2 pieces of translucent yellow tape.
-
-
-
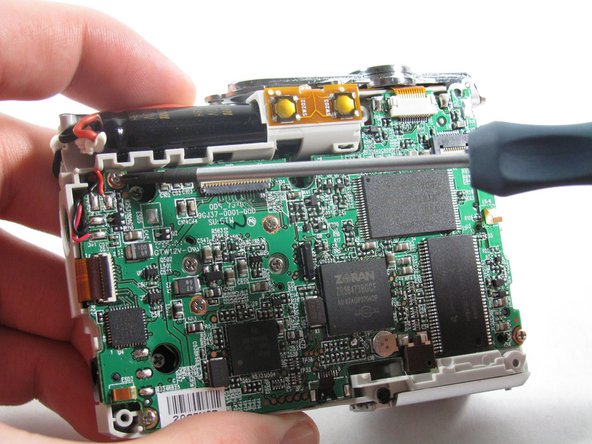
Remove the seven 2.7 mm using a #00 screwdriver.
-
-
crwdns2935267:0crwdne2935267:0Tweezers$4.99
-
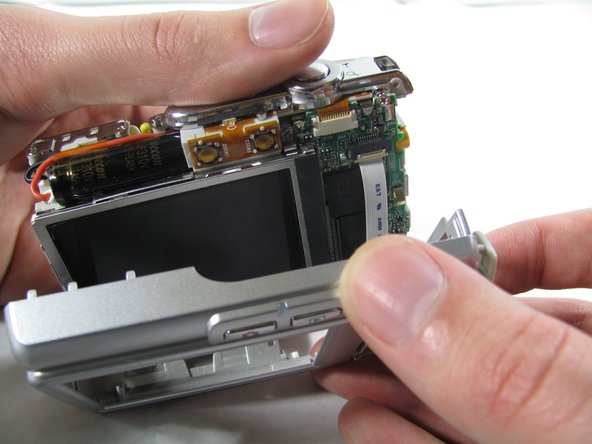
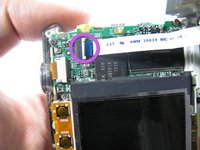
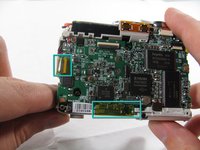
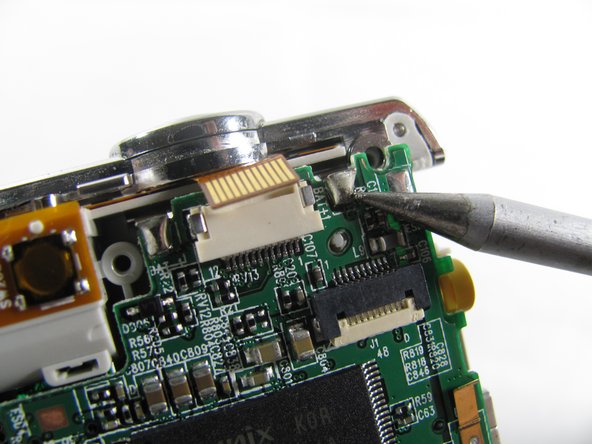
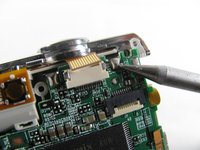
Remove the ribbon cord located near the top right corner of the motherboard. Do this by carefully pulling the cord out of the socket using a pair of tweezers.
-
-
-
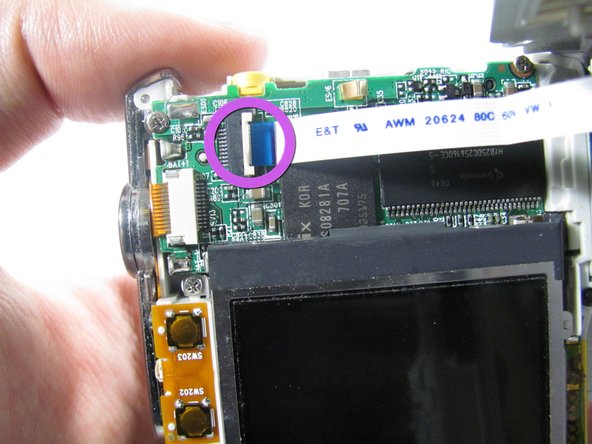
Disconnect the ribbon cord located on the left side of the motherboard.
-
Use tweezers or a spudger to lift the latch on the connector.
-
Carefully remove the cord from the connector.
-
-
-
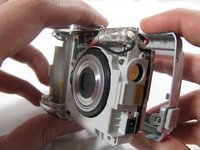
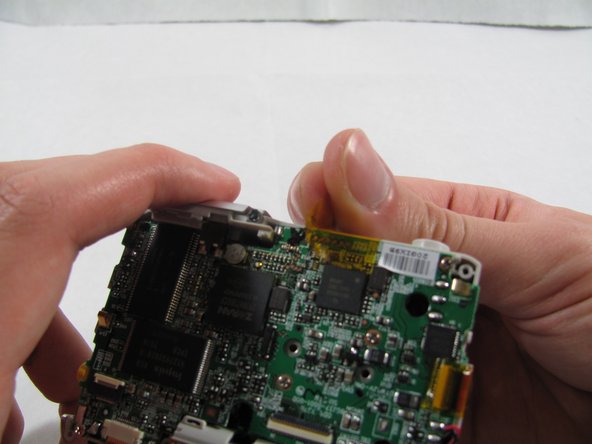
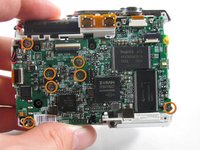
Remove the motherboard from the camera casing.
-
-
-
Remove the three 3.6 mm screws using a #00 screwdriver.
-
-
-
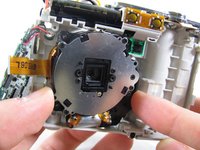
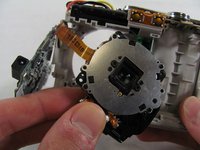
Slide the lens to the left and pull up. The lens should easily come loose and slide right out.
-


To reassemble your device, follow these instructions in reverse order.
To reassemble your device, follow these instructions in reverse order.
crwdns2915084:0crwdne2915084:0

Cal Poly, Team 4-36, Regan Winter 2011 crwdns2935289:0Cal Poly, Team 4-36, Regan Winter 2011crwdne2935289:0
CPSU-REGAN-W11S4G36
crwdns2931471:03crwdne2931471:0
crwdns2935297:014crwdne2935297:0
crwdns2947410:01crwdne2947410:0
This is also applicable to the Olympus FE170. I dismantled and repaired mine using this guide. Excellent!