crwdns2915892:0crwdne2915892:0
We will show how to tear down to and remove the LCD screen.
crwdns2942213:0crwdne2942213:0
-
-
Unscrew all immediately visible screws on the body of the camera.
-
Locations (# of screws): Bottom of camera (3), left side near video port (2), under cover of USB slot (3), memory card slot (1).
-
-
-
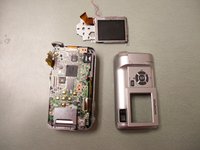
Use the plastic opening tool to separate the back cover from the camera.
-
-
-
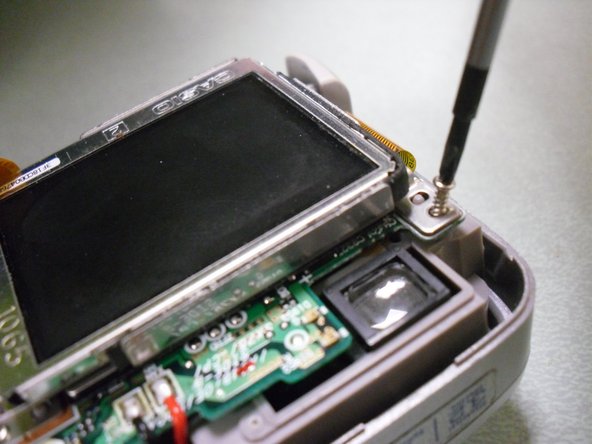
With the back plate off, locate two screws: one diagonal from the top left of the LCD screen and one diagonal from the top right of the LCD screen.
-
Unscrew both of these screws.
-
-
-
-
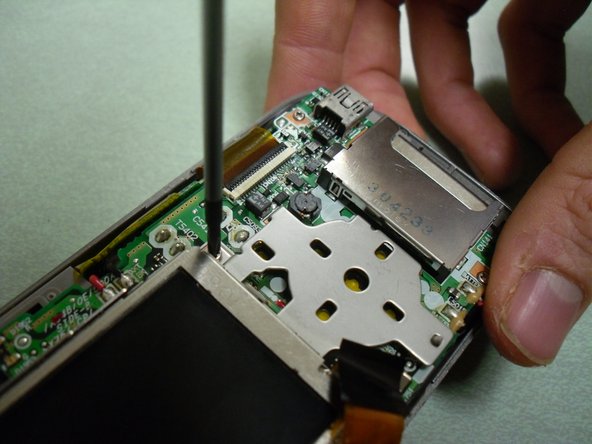
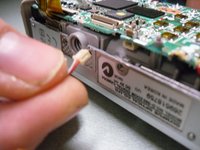
Undo the clip holding the ribbon cable that attaches the LCD screen to the motherboard.
-
-
-
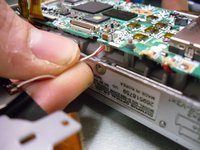
Unclip the plug attached to the red and white wires that connects the LCD screen to the motherboard.
-
-
-
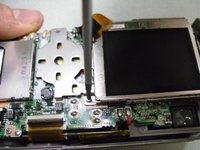
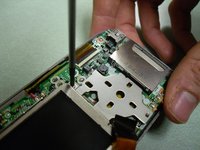
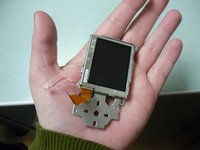
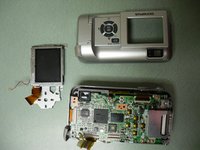
The LCD screen housing should now be free of the camera.
-


To reassemble your device, follow these instructions in reverse order.
To reassemble your device, follow these instructions in reverse order.
crwdns2915084:0crwdne2915084:0

University of Maine, Team 1-27, Diaz Fall 2011 crwdns2935289:0University of Maine, Team 1-27, Diaz Fall 2011crwdne2935289:0
UMAINE-DIAZ-F11S1G27
crwdns2934841:01crwdne2934841:0
crwdns2935297:03crwdne2935297:0