crwdns2915892:0crwdne2915892:0
As a result of a sugary drink spilling on my drink, most of my buttons had gone crunchy. Needing to fix that, I searched the web for a disassembly guide but came up empty. Since I was ready to replace the remote with a new one, I decided to give taking it apart a try.
Disclaimer: My remote is 100% functional after teardown and reassembly, but I may have messed up some internal latch since the front plate is not as flush along the bottom seams as it was out of the box.
crwdns2942213:0crwdne2942213:0
-
-
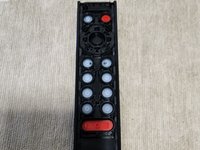
Remove the battery cover and x2 AAA batteries.
-
-
-
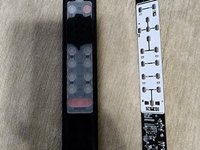
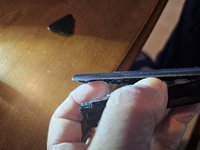
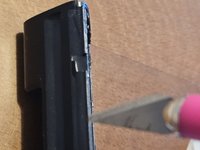
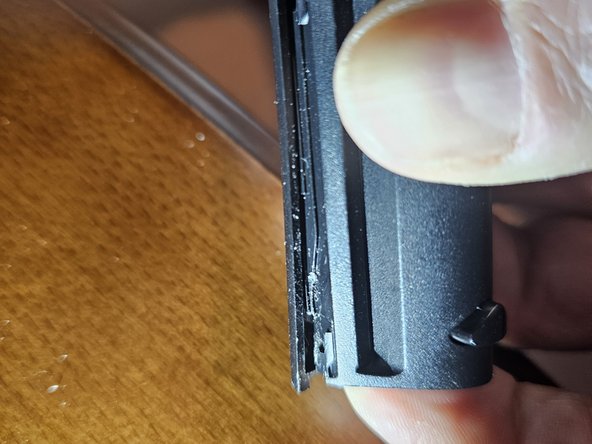
Use a plastic opening tool to separate the body of the remote from the front. Start at the bottom between where the faceplate and body meet, carefully moving upwards to the top of the remote.
-
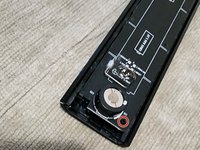
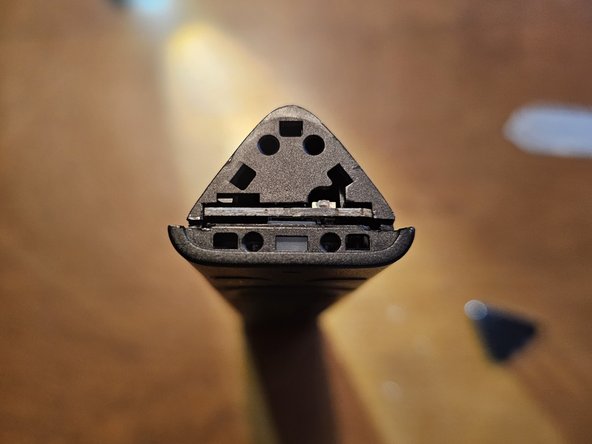
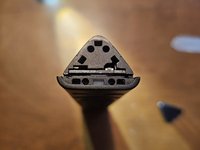
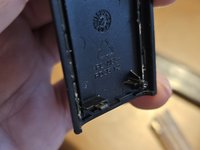
At the top of the remote, some resistance will be met when trying to complete the separation. This is because that glossy triangle piece of plastic adjoins them. Carefully pop it off (there are no electronics there).
-
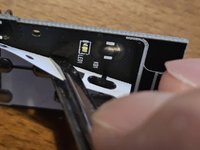
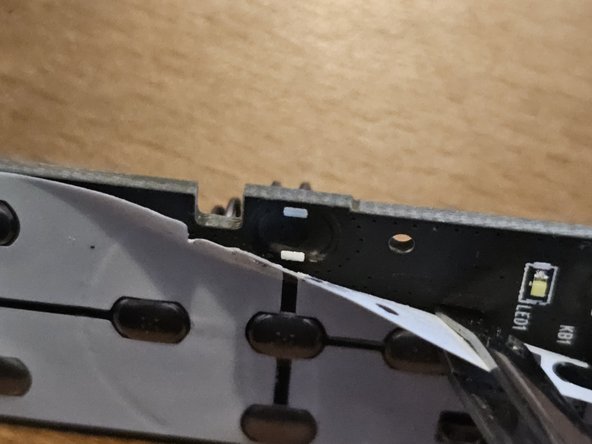
Slide the frame vertically. from the front If you see the middle battery spring still attached to the back cover, don't panic like I did and think you ripped it off the board - it is built into the cover.
-
-
-
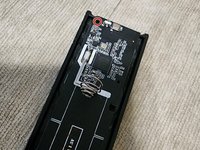
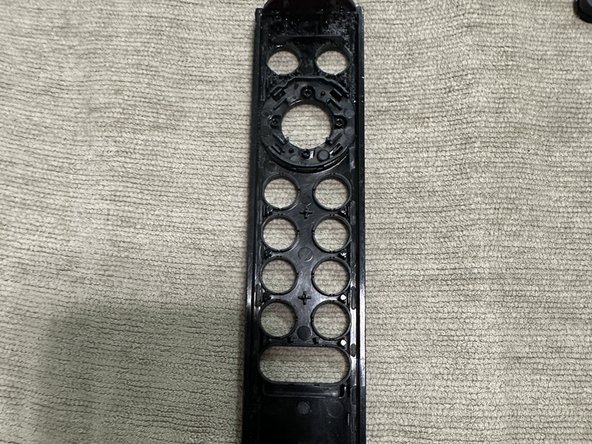
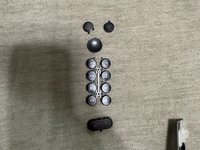
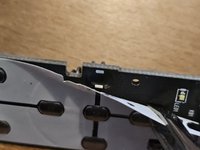
Grab along the edges of the PCB and lift the PCB up off the plastic standoffs.
-
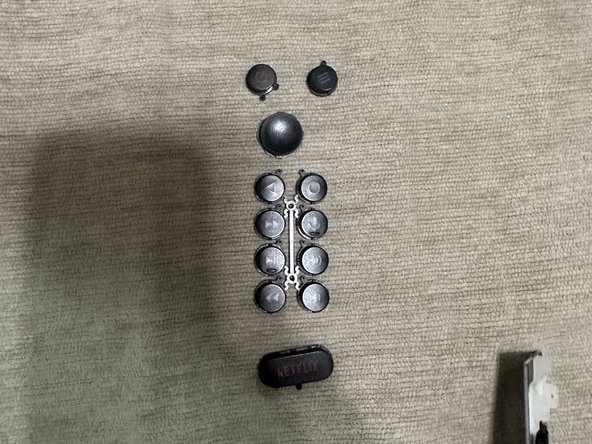
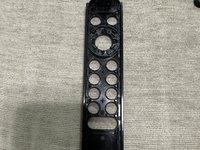
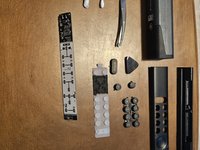
Now you'll have the PCB separated from the front plate + buttons.
-
-
-
-
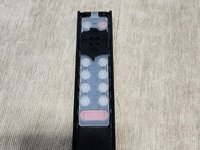
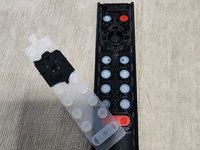
The plastic for the buttons to interact with the PCB is one piece and can be removed by hand.
-


To reassemble your device, follow these instructions in reverse order.
To reassemble your device, follow these instructions in reverse order.
crwdns2935221:0crwdne2935221:0
crwdns2935229:017crwdne2935229:0
crwdns2947412:015crwdne2947412:0
Why are you "imposing" the manual's steps as if it were a photo album? In my modest view, this might not be the best way for it to look - pictures definitely don't belong where you've put them.
Hey Jiri. I am not entirely sure what you mean regarding your feedback of what I posted. Could you clarify?
I can't recommend attempting this. I got mine to come apart but it refuses to snap back together again. Close inspection suggests that the two pieces are actually glued/fused together so you're not disengaging snaps when you pry it apart... you're actually breaking the spots that hold it together. Even my best efforts result in the directional pad not being closed together tight enough to allow it to register clicks.
Hey Scott and sorry to hear about your d-pad. In the teardown I left that d-pad ring in place since the cleaning I needed to do was mostly underneath it.
Looking back at the picture, it does appear that there are 4 snap-like pieces, in diagonal directions, that hold the ring to the rest of the plastic. Are those what you meant that broke during your take apart?
Same issue with the d-pad and I was able to reassemble it successfully. Still unclear if it was glued/fused but I did not need to re-glue them. The d-pad is extremely finicky and you need to have the pieces exactly lined up or pushing the d-pad buttons seems like there's no resistance or pushback. Slide/shuffle the pieces around and push it together. Then try pushing up, down, left, right, middle and see if they "click" or "thud". Do that like 50 times and you might get it lined up.
Definitely take the triangle off the front, the little shaded IR cover. Once you have the pieces lined up, click the triangle back on and it holds things in place. If you leave it on, it prevents you from positioning the pieces.
I also had issues with the spring (battery holder) providing a tiny amount of pushback against the faceplate. That tiny gap was enough to cause issues with the d-pad registering. I bent it down.
I would only take apart a hopeless remote to fiddle with it before trashing it. Not for a simple cleaning.