crwdns2915892:0crwdne2915892:0
This guide will walk you through the steps to replace the convection Fan component inside of the NuWave Brio 37001 air fryer.
The NuWave Brio 37001 comes with a convection fan that's located inside the basket area, at the top above the heating coil. The fan is responsible for the movement of hot air inside an air fryer, which is how the food is cooked.
If damaged by food debris, or if the component becomes loose over time, this guide will help you get back to cooking dinner the right way.
This guide can be challenging due to the location of the fan, and it may be easier to follow with the help of another person.
Be sure to leave the device unplugged while following this replacement guide.
crwdns2942213:0crwdne2942213:0
-
-
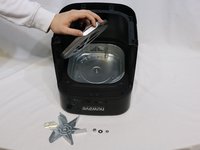
Remove the basket from the NuWave's tray.
-
-
-
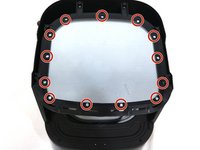
Rest your appliance upside down, with the digital screen facing your work surface.
-
Remove the six 12 mm screws located around the edge of the bottom lid using a Phillips #1 screwdriver.
-
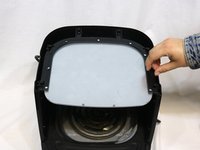
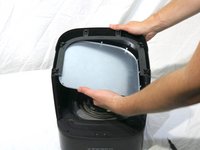
Remove four 10 mm screws using a Phillips #1 screwdriver.
-
-
-
-
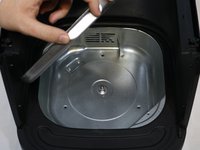
Use your finger to flip up each small metal tab located around the heating plate.
-
-
-
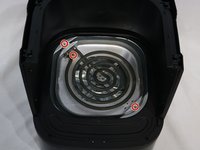
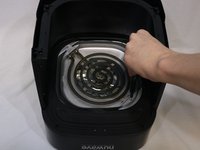
Remove the three 10 mm screws located on the heating coil pan using a Phillips #1 screwdriver.
-
-
-
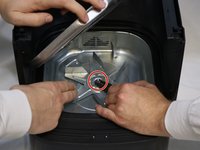
Gently apply the pliers around the bolt in the middle of the fan blade and keep it there while you place your other hand onto the fan blade itself.
-
Simultaneously hold the pliers in place to keep the bolt from spinning and turn the fan blade counterclockwise with force, as seen in the first picture.
-
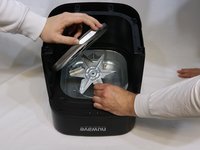
The bolt should become loose allowing you to remove the fan blade from its place, as seen in picture 2.
-
-
-
Once clearing the fan area, you are now ready to insert your replacement.
-


To reassemble your device, follow these instructions in reverse order.
To reassemble your device, follow these instructions in reverse order.
crwdns2935221:0crwdne2935221:0
crwdns2935229:02crwdne2935229:0

crwdns2915084:0crwdne2915084:0

University of Delaware, Team 11-3, McGuire Spring 2023 crwdns2935289:0University of Delaware, Team 11-3, McGuire Spring 2023crwdne2935289:0
UD-MCGUIRE-S23S11G3
crwdns2931471:04crwdne2931471:0
crwdns2935297:04crwdne2935297:0