crwdns2933423:0crwdne2933423:0
crwdns2947577:0crwdnd2947577:0crwdne2947577:0

NuVision TM800A510L Rear Camera Replacement

crwdns2942213:0crwdne2942213:0

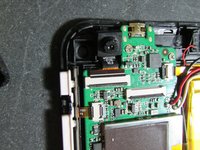
    1. NuVision TM800A510L Rear Camera Replacement, Rear Camera: crwdns2935265:01crwdnd2935265:01crwdnd2935265:02crwdne2935265:0 NuVision TM800A510L Rear Camera Replacement, Rear Camera: crwdns2935265:01crwdnd2935265:02crwdnd2935265:02crwdne2935265:0
      • Use a Heat Gun to heat the sides of the device one at a time. The Heat Gun will loosen the adhesive.

      • Use thin tools to pry the back of the device off.

      • Metal tools may work best but may also scratch the device. Plastic prying tools can also be used.

      • Be careful around the power and volume buttons.

      crwdns2952109:0crwdne2952109:0

      crwdns2917038:0crwdne2917038:0

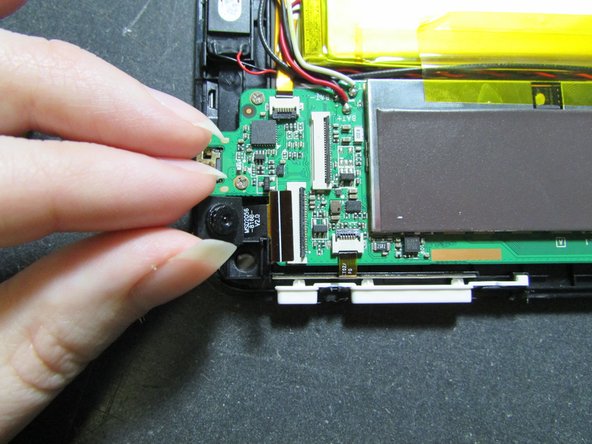
    2. NuVision TM800A510L Rear Camera Replacement: crwdns2935265:02crwdnd2935265:01crwdnd2935265:01crwdne2935265:0
      • There are two different cameras and each have different ribbons.

      • Unlock both ribbons by flipping the black bar up.

      crwdns2952109:0crwdne2952109:0

      crwdns2917038:0crwdne2917038:0

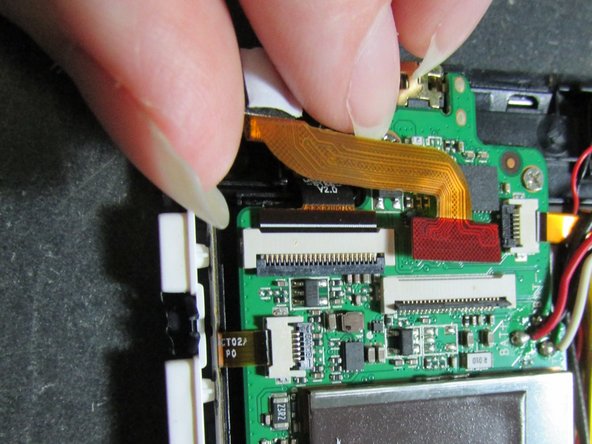
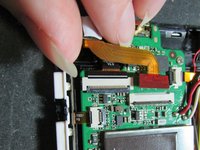
    3. NuVision TM800A510L Rear Camera Replacement: crwdns2935265:03crwdnd2935265:01crwdnd2935265:02crwdne2935265:0 NuVision TM800A510L Rear Camera Replacement: crwdns2935265:03crwdnd2935265:02crwdnd2935265:02crwdne2935265:0
      • The camera facing towards the table lifts out easily, so go ahead and take that one out.

      • This works out well, if this is the camera you are most concerned about.

      • If you are more concerned the one facing you, move on to the next step.

      crwdns2952109:0crwdne2952109:0

      crwdns2917038:0crwdne2917038:0

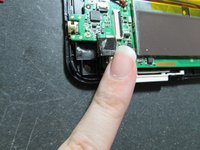
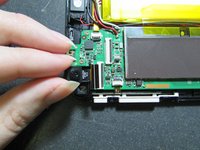
    4. NuVision TM800A510L Rear Camera Replacement: crwdns2935265:04crwdnd2935265:01crwdnd2935265:02crwdne2935265:0 NuVision TM800A510L Rear Camera Replacement: crwdns2935265:04crwdnd2935265:02crwdnd2935265:02crwdne2935265:0
      • This camera is held down with adhesive, so you must be careful when prying it.

      • GO SLOW!

      • Camera pulls up and out of its slot easily.

      crwdns2952109:0crwdne2952109:0

      crwdns2917038:0crwdne2917038:0

crwdns2915888:0crwdne2915888:0

To reassemble your device, follow these instructions in reverse order.

Be advised that you will need to replace the adhesive.

crwdns2935221:0crwdne2935221:0

crwdns2935227:0crwdne2935227:0

Kelsey Riggs

crwdns2935283:001/25/17crwdne2935283:0

486 crwdns2915208:0crwdne2915208:0

crwdns2935297:05crwdne2935297:0

crwdns2935287:0crwdne2935287:0

University of Illinois Urbana-Champaign, Team 1-1, Scrogum Spring 2017 crwdns2935289:0University of Illinois Urbana-Champaign, Team 1-1, Scrogum Spring 2017crwdne2935289:0

UICU-SCROGUM-S17S1G1

crwdns2931471:03crwdne2931471:0

crwdns2935297:0180crwdne2935297:0

crwdns2947412:00crwdne2947412:0

crwdns2917038:0crwdne2917038:0

crwdns2936625:0crwdne2936625:0:

crwdns2936751:024crwdne2936751:0 2

crwdns2936753:07crwdne2936753:0 28

crwdns2936753:030crwdne2936753:0 57

crwdns2942667:0crwdne2942667:0 768