crwdns2933423:0crwdne2933423:0

Nook Simple Touch with GlowLight Motherboard Replacement

crwdns2942213:0crwdne2942213:0

  1. Nook Simple Touch with GlowLight Motherboard Replacement, Power Button: crwdns2935265:01crwdnd2935265:01crwdnd2935265:01crwdne2935265:0
    • Place the Nook with the screen facing down.

  2. Nook Simple Touch with GlowLight Motherboard Replacement: crwdns2935265:02crwdnd2935265:01crwdnd2935265:01crwdne2935265:0
    • Wedge the opening tool between the power button and the upper edge of the device.

    • Push the opening tool down to pry the power button up.

  3. Nook Simple Touch with GlowLight Motherboard Replacement: crwdns2935265:03crwdnd2935265:01crwdnd2935265:01crwdne2935265:0
    • Using your fingers, gently remove the power button.

  4. Nook Simple Touch with GlowLight Motherboard Replacement, Back Cover: crwdns2935265:04crwdnd2935265:01crwdnd2935265:01crwdne2935265:0
    • Remove the single screw using a T4 Torx screwdriver.

  5. Nook Simple Touch with GlowLight Motherboard Replacement: crwdns2935265:05crwdnd2935265:01crwdnd2935265:01crwdne2935265:0
    • Slide the back cover down towards you in the direction of the charging port.

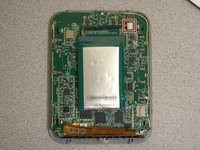
  6. Nook Simple Touch with GlowLight Motherboard Replacement, Battery: crwdns2935265:06crwdnd2935265:01crwdnd2935265:02crwdne2935265:0 Nook Simple Touch with GlowLight Motherboard Replacement, Battery: crwdns2935265:06crwdnd2935265:02crwdnd2935265:02crwdne2935265:0
    • Detach the white cable connector from the motherboard.

    • Remove the battery from the device.

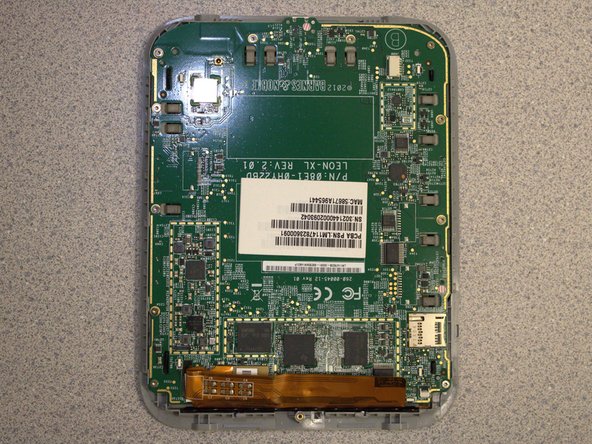
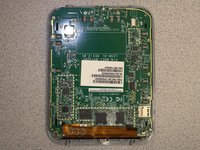
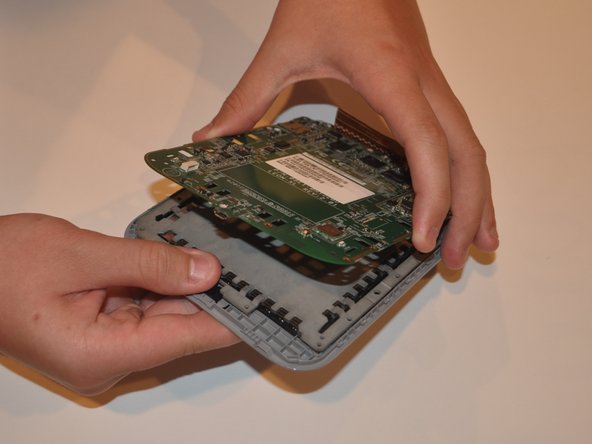
  7. Nook Simple Touch with GlowLight Motherboard Replacement, Motherboard: crwdns2935265:07crwdnd2935265:01crwdnd2935265:01crwdne2935265:0
    • Remove eleven screws from the motherboard using the T4 screwdriver.

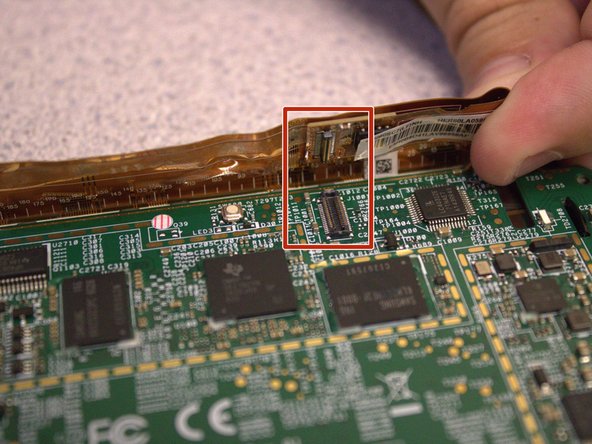
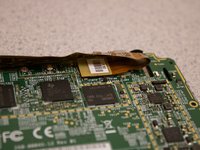
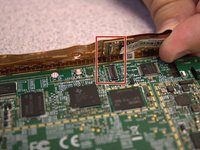
  8. Nook Simple Touch with GlowLight Motherboard Replacement: crwdns2935265:08crwdnd2935265:01crwdnd2935265:03crwdne2935265:0 Nook Simple Touch with GlowLight Motherboard Replacement: crwdns2935265:08crwdnd2935265:02crwdnd2935265:03crwdne2935265:0 Nook Simple Touch with GlowLight Motherboard Replacement: crwdns2935265:08crwdnd2935265:03crwdnd2935265:03crwdne2935265:0
    • Disconnect the orange ribbon cable from the motherboard.

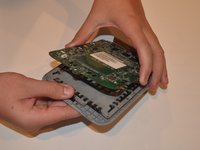
    • Using your fingers, gently lift the motherboard from the display.

crwdns2915888:0crwdne2915888:0

To reassemble your device, follow these instructions in reverse order.

Sydney Segear

crwdns2935283:003/01/23crwdne2935283:0

401 crwdns2915208:0crwdne2915208:0

crwdns2935297:04crwdne2935297:0

crwdns2915084:0crwdne2915084:0

University of Delaware, Team 12-3, McGuire Spring 2023 crwdns2935289:0University of Delaware, Team 12-3, McGuire Spring 2023crwdne2935289:0

UD-MCGUIRE-S23S12G3

crwdns2931471:05crwdne2931471:0

crwdns2935297:05crwdne2935297:0

crwdns2944067:00crwdne2944067:0

crwdns2917038:0crwdne2917038:0

crwdns2936625:0crwdne2936625:0:

crwdns2936751:024crwdne2936751:0 0

crwdns2936753:07crwdne2936753:0 2

crwdns2936753:030crwdne2936753:0 4

crwdns2942667:0crwdne2942667:0 77