crwdns2942213:0crwdne2942213:0
-
-
Remove the two 3.8 mm screws located in the back right corner of the device using the T5 Torx screwdriver.
-
-
-
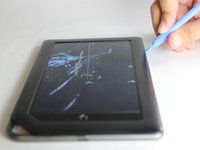
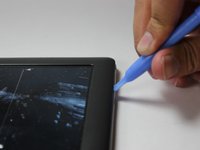
Pry off the back cover with the plastic opening tool. Go around the device with the tool to ensure complete detachment.
-
-
-
Remove the ten 4.0 mm screws from the device's perimeter using the T5 Torx screwdriver.
-
-
-
-
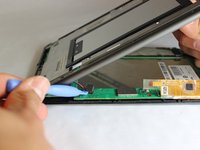
Pry off the front panel using the plastic opening tool.
-
-
-
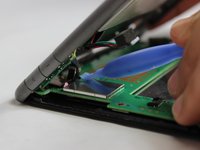
Lift up on the connectors to disconnect them using the plastic opening tool.
-
-
-
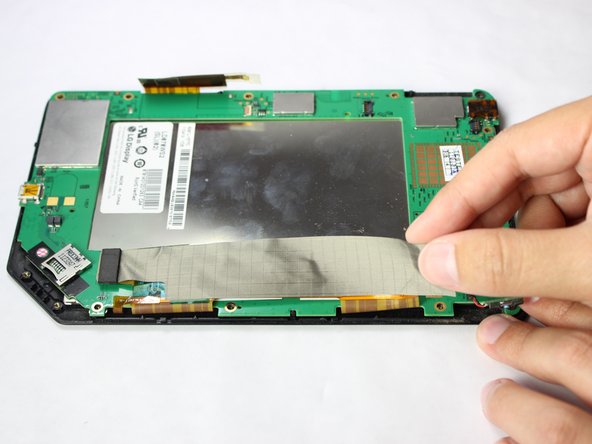
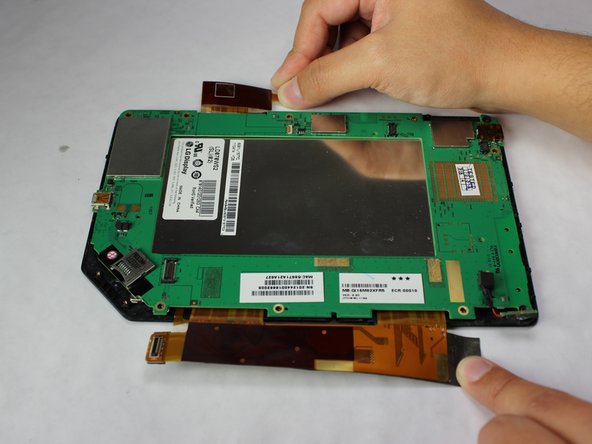
Gently lift and peel the orange and grey ribbon connectors to disconnect the screen and motherboard.
-
-
-
Remove the easy-to-miss T5 Torx 3.8 mm screw located in the tabbed corner of the device.
-
-
-
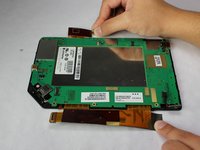
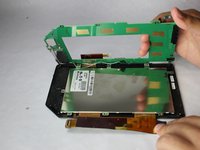
Lift the motherboard gently from the side with the larger connector ribbon.
-
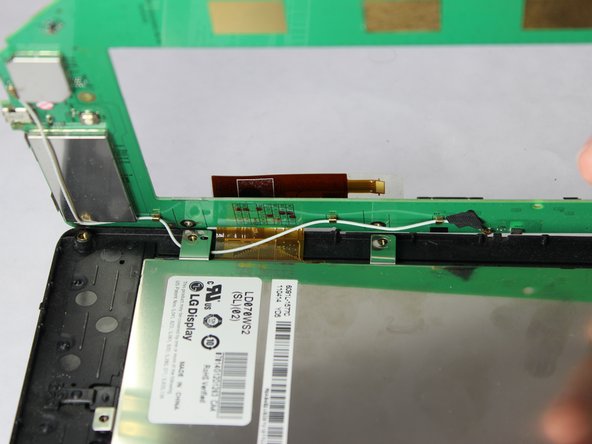
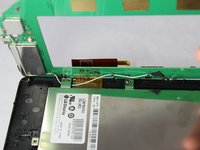
Slide the white cable gently from underneath its holding place to free the motherboard completely.
-
Remove the motherboard carefully from the device.
-
To reassemble your device, follow these instructions in reverse order.
To reassemble your device, follow these instructions in reverse order.
crwdns2935221:0crwdne2935221:0
crwdns2935229:02crwdne2935229:0


