crwdns2915892:0crwdne2915892:0
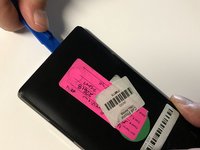
If the display on your Nokia Lumia 930 does not light up, or is severely damaged, use this guide to replace it! Before beginning, make sure to power off your phone completely and disconnect from any external power source.
crwdns2942213:0crwdne2942213:0
-
-
Pull the SIM card holder out of the top of the phone using your fingernail.
-
-
crwdns2935267:0crwdne2935267:0Tweezers$4.99
-
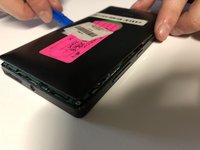
Place tweezers or an opening tool in the SIM card slot and push upwards until the back panel pops out.
-
-
-
Wedge a plastic opening tool between the two panels. Slide it along each side of the phone to completely remove the back panel.
-
-
-
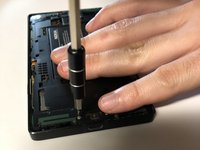
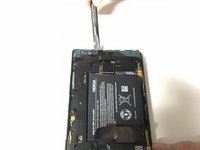
Remove the 4mm Torx #4 screw that's securing the battery connector.
-
-
-
Use tweezers to remove the battery connector strap.
-
-
-
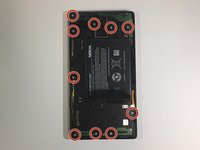
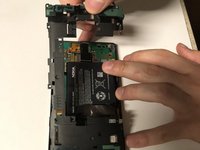
Remove all ten 4mm Torx #4 screws that secure the battery cover to the frame of the phone.
-
-
-
Use the flat end of a spudger to pry the battery cover from the phone's frame.
-
-
-
-
Use the flat end of the spudger to lift up the battery.
-
-
-
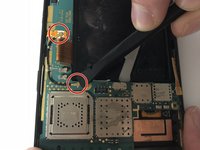
Use the flat end of a spudger to disconnect the camera connectors.
-
Pull the camera up and out to remove it from the phone.
-
-
-
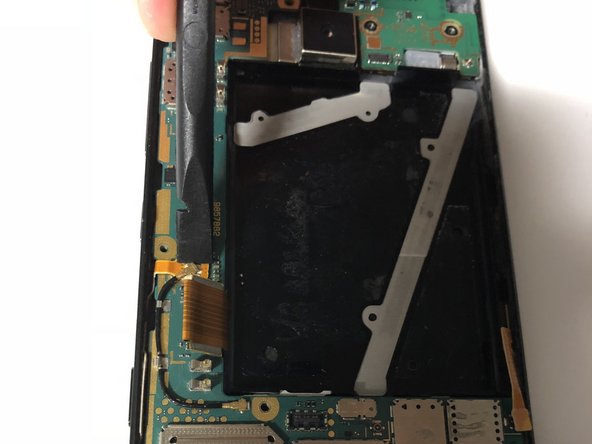
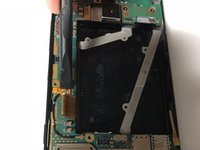
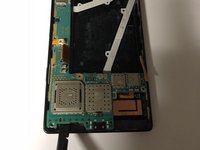
Use the flat end of a spudger to disconnect the six ribbon cables from the motherboard.
-
-
-
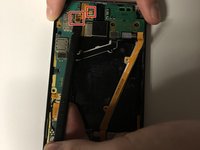
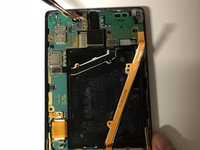
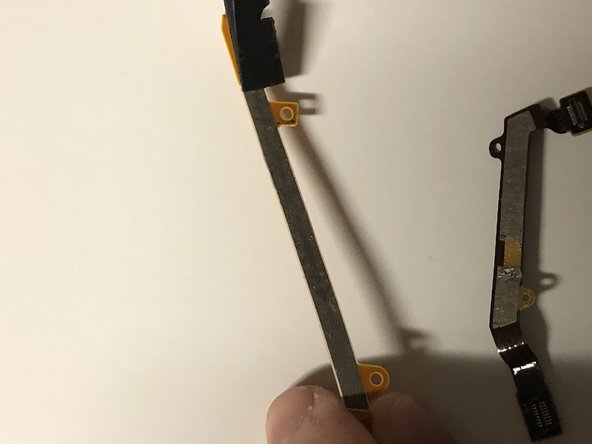
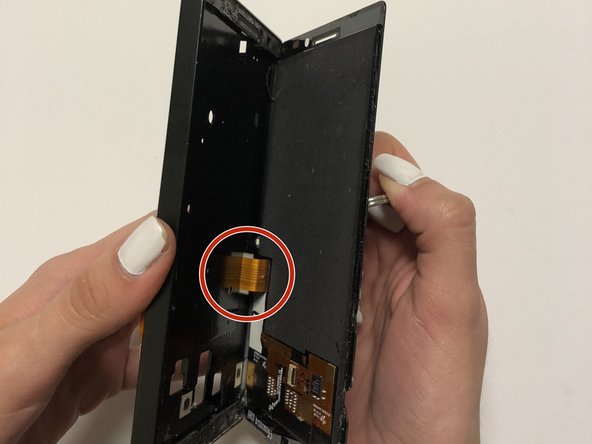
Use the flat end of a spudger to pry up the orange flex cable underneath the battery.
-
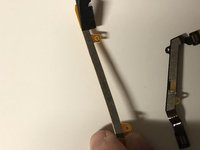
Remove the orange flex cable from the phone.
-
-
-
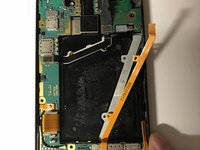
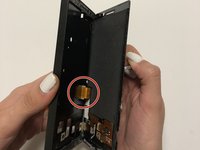
Repeat the previous step for the black jumper flex cable under the battery.
-
-
-
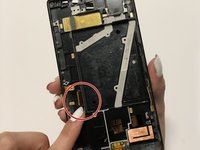
Use the flat end of a spudger to disconnect both ends of the antenna cable from the motherboard.
-
Remove the antenna.
-
-
crwdns2935267:0crwdne2935267:0Tweezers$4.99
-
Use tweezers to grab the adhesive that is under the LTE flex cable and pull it outwards and towards the bottom end of the phone.
-
-
-
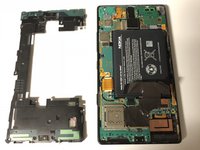
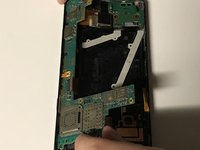
Use a spudger to pry up the bottom end of the motherboard, then pull it out.
-
-
crwdns2935267:0crwdne2935267:0Tweezers$4.99
-
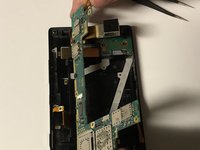
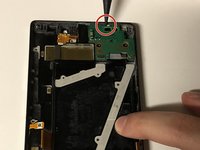
Use the pointed end of the spudger to pry up the daughterboard.
-
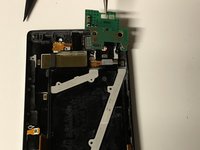
Use tweezers to lift the daughterboard out of the phone.
-
-
-
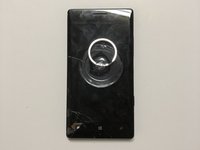
Place a suction cup in the center of the screen, then pry the display away from the frame.
-


To reassemble your device, follow these instructions in reverse order.
To reassemble your device, follow these instructions in reverse order.
crwdns2935221:0crwdne2935221:0
crwdns2935229:02crwdne2935229:0
crwdns2915084:0crwdne2915084:0

University of North Texas, Team S1-G3, Thompson Spring 2018 crwdns2935289:0University of North Texas, Team S1-G3, Thompson Spring 2018crwdne2935289:0
UNT-THOMPSON-S18S1G3
crwdns2931471:04crwdne2931471:0
crwdns2935297:07crwdne2935297:0