crwdns2915892:0crwdne2915892:0
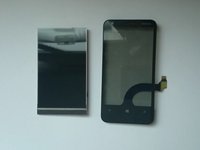
With this guide we will help you, if you want to disassemble the phone and replace the Digitizer / Glass or the LCD Display. Also this guide is useful for replacing Loudspeaker, Earpiece, Front camera, etc.
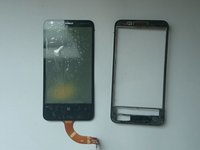
Before ordering the new Touch screen check the revision (you can see it on the digitizer flex cable, near to the connector).
__________________________ Video manual: __________________________
crwdns2942213:0crwdne2942213:0
crwdns2936621:0crwdne2936621:0
-
-
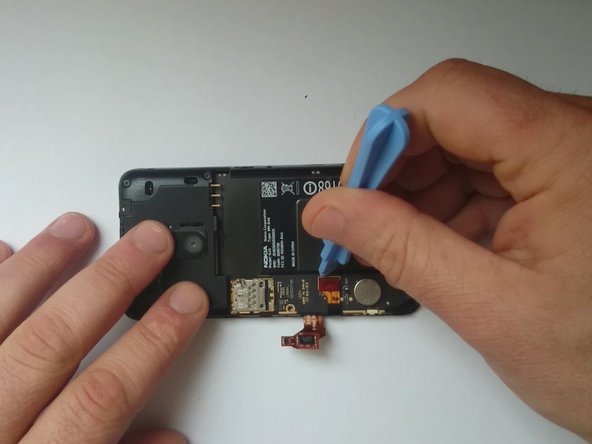
Switch off the phone, remove the battery and SIM (Memory) card.
-
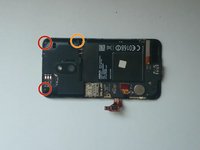
The lower back cover is held by 3x T4 Torx screws.
-
-
-
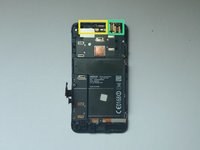
Loudspeaker
-
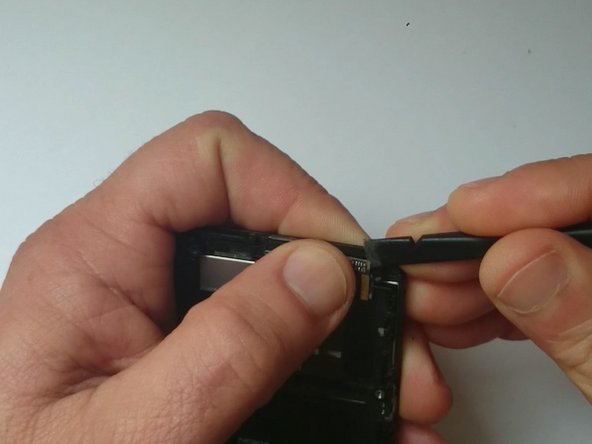
Touch screen flex cable connector
-
LCD Display flex cable connector
-
-
-
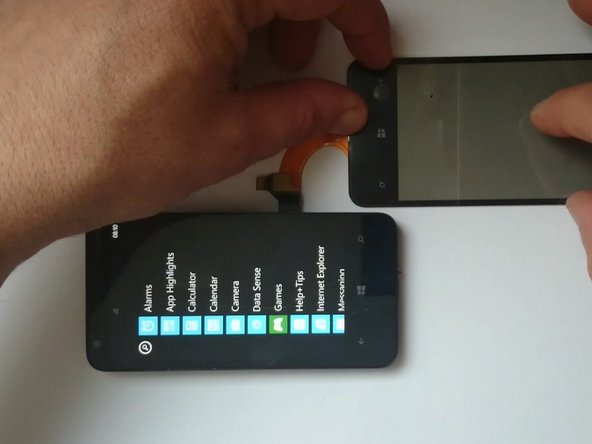
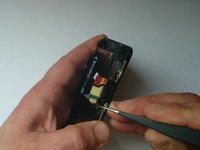
If you want to replace the Digitizer, let's test the spare part first.
-
-
-
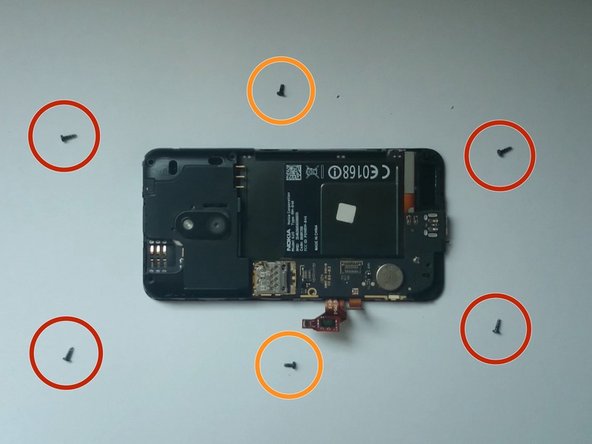
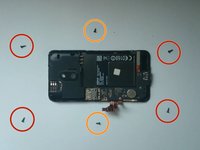
Another three screws hold the Upper Back Cover.
-
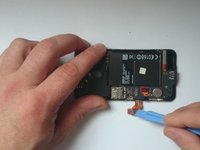
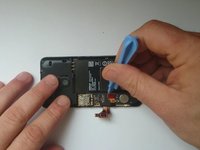
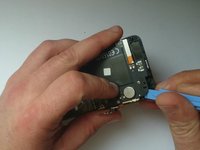
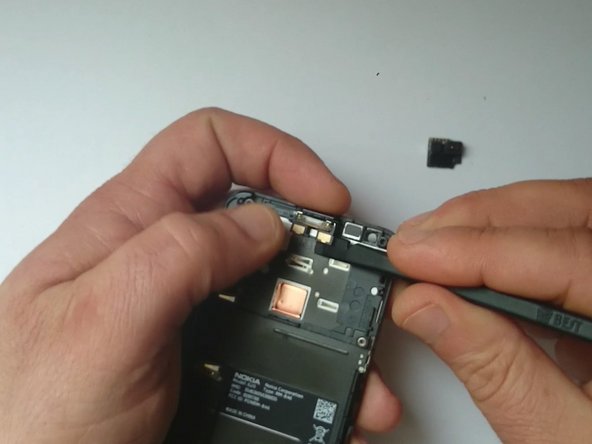
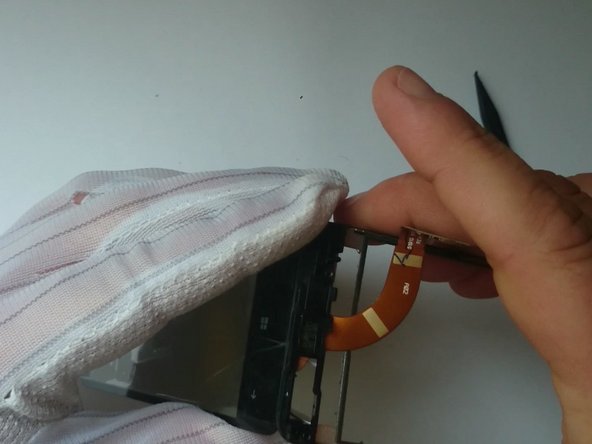
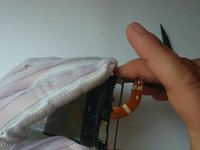
Disconnect the Touch screen and the Digitizer flex cables.
-
-
-
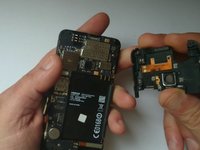
If you have not yet disconnected the Digitizer and the Touch screen flex cables, do it now.
-
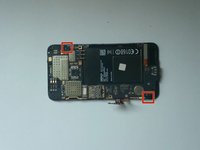
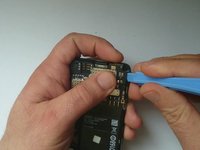
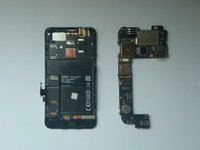
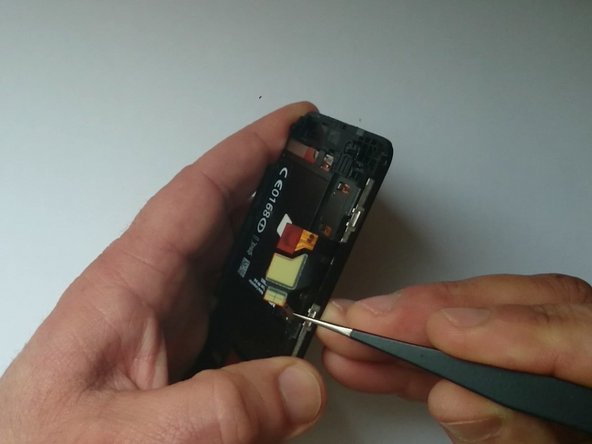
The Logic Board is held to the Middle frame by two plastic clips.
-
-
-
-
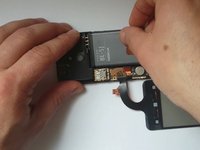
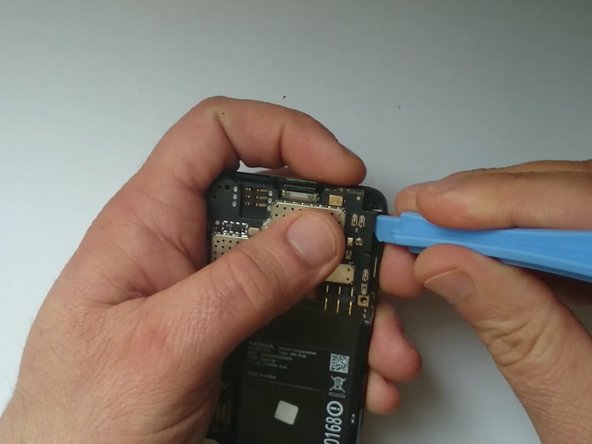
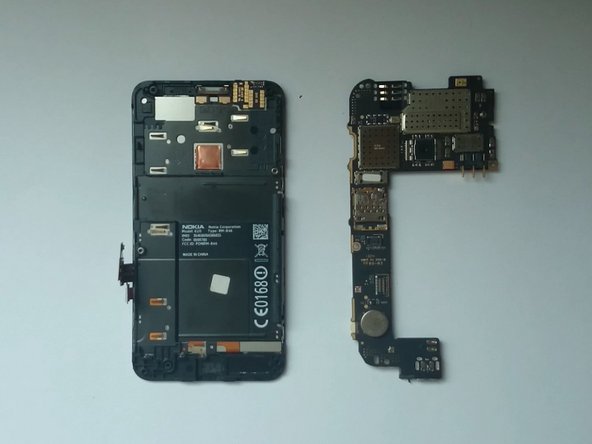
With a plastic tool gently release the mother board and remove it.
-
-
-
Front Camera and Proximity & Light sensor module
-
Earpiece
-
Remove them one by one.
-
-
-
The Midle frame is held by 6x locking clips, three on each side. Release them and remove the Middle frame.
-
-
-
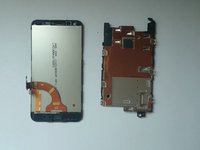
Now gently remove the LCD Display.
-
If you have a broken LCD, replace it and reassemble the phone.
-
We will continue with removing the Touch screen Glass.
-
-
-
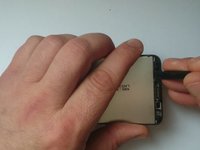
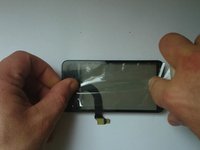
Put a scotch tape to prevent the glass from scattering.
-
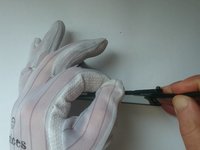
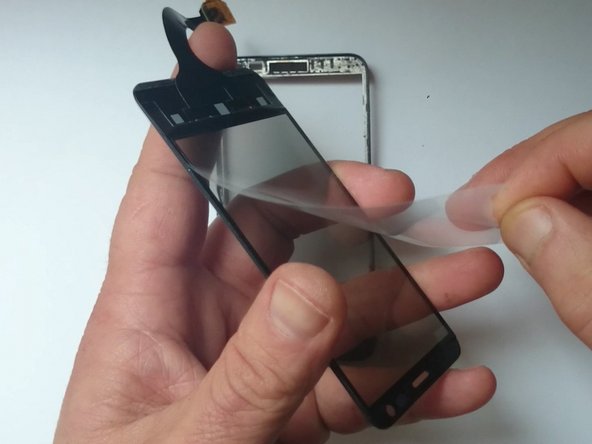
With a hot air warm the glass to soften the adhesive.
-
Start with separating at the middle, where the bonded area is smaller.
-
-
-
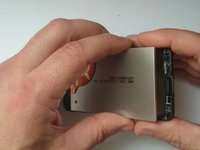
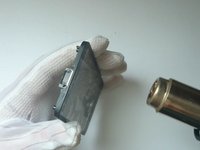
Continue with the separation by using a plastic tool.
-
-
-
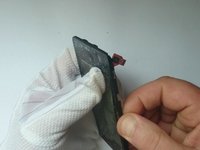
Clean the remnants of the old adhesive tape.
-
If the spare parts come without adhesive tape, you must put by himself.
-
Prepare the new digitizer glass and install it.
-
Reassemble the device.
-
-
-
That's all.
-
.
-
.
-
.
-
.
-
.
-
.
-
Did you do it successfully?
-


To reassemble your device, follow these instructions in reverse order.
To reassemble your device, follow these instructions in reverse order.
crwdns2935221:0crwdne2935221:0
crwdns2935229:013crwdne2935229:0

crwdns2915084:0crwdne2915084:0

Master Techs crwdns2935289:0Master Techscrwdne2935289:0
Community
crwdns2931471:0328crwdne2931471:0
crwdns2935297:01.440crwdne2935297:0
crwdns2947412:02crwdne2947412:0
great guide! I made it quite easily, thanks so much
i am purchase urgent