crwdns2915892:0crwdne2915892:0
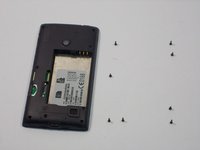
After many attempts of pushing the buttons, and failing to get a response. It may be time to replace your malfunctioning volume and power buttons. This repair guide has qualities required for your particular repair needs for the Nokia 520.
crwdns2942213:0crwdne2942213:0
-
-
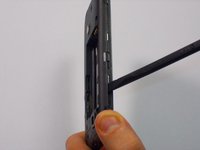
Insert the spudger (non damaging nylon stick tool) into the crevice located between the back cover of the phone and the body of the phone.
-
-
-
Lift the spudger gently to separate the back cover of the phone and the body of the phone.
-
-
-
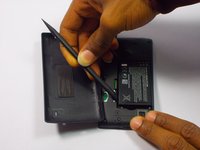
Insert the spudger into the space between the battery and the battery holder, then lift gently to remove the battery.
-
-
-
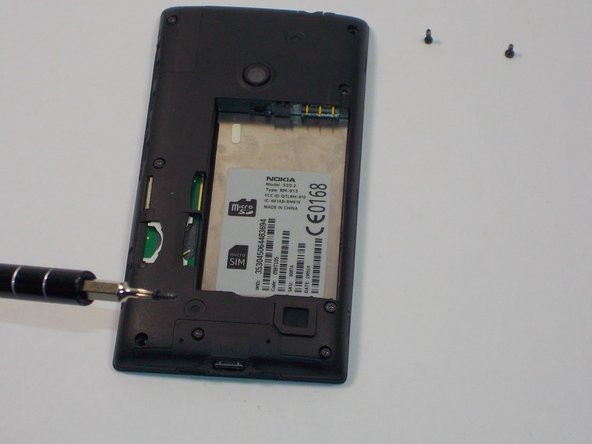
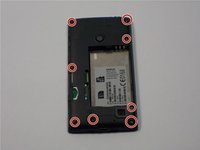
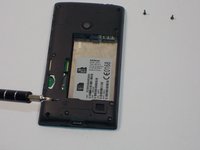
Unscrew the eight screws in the body of the phone using the Torx screw driver (T4).
-
Once the screws are removed keep them nearby for convenience when repairing the phone later.
-
-
-
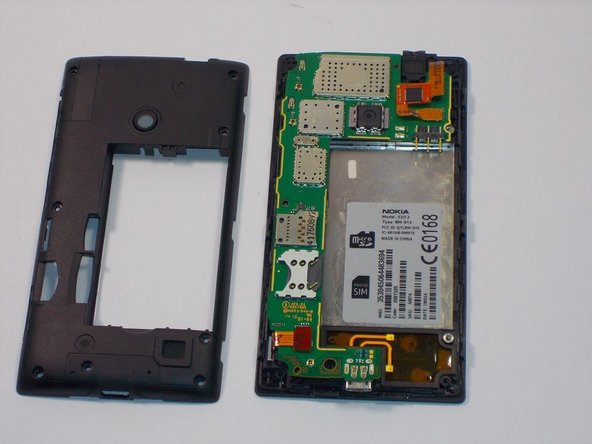
Slowly and carefully use your spudger to remove the plastic casing over the motherboard.
-
-
-
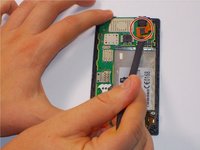
Using your spudger, carefully unclip the digitizer touch screen cable. Next unclip the display screen cable.
-
-
-
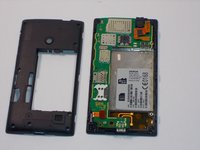
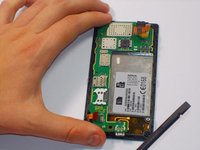
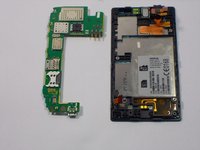
Gently remove the motherboard with your hands.
-
Flip it over. Then turn it 90 degrees counterclockwise. Ensure the switches (pictured) are facing you.
-
-
-
Gently take the power/volume switches off using a pair of needle nose pliers. Once removed, gently clean the solder that was there. Replace the solder with a new coat of solder.
-


To reassemble your device, follow these instructions in reverse order.
To reassemble your device, follow these instructions in reverse order.
crwdns2935221:0crwdne2935221:0
crwdns2935229:04crwdne2935229:0
crwdns2915084:0crwdne2915084:0

UMass Dartmouth, Team 1-5, Bhusal Fall 2015 crwdns2935289:0UMass Dartmouth, Team 1-5, Bhusal Fall 2015crwdne2935289:0
UMASSD-BHUSAL-F15S1G5
crwdns2931471:03crwdne2931471:0
crwdns2935297:08crwdne2935297:0