crwdns2915892:0crwdne2915892:0
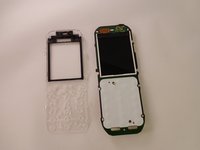
This guide will help you to access the screen if you have cracked it and want to replace the whole screen. Additionally this guide can help you to access the screen if your screen is not turning on to check to see if the screen is attached properly. This guide will give you step by step instructions on how to take the device apart in order to access the screen.
crwdns2942213:0crwdne2942213:0
-
-
Using your thumbs, press and slide down the back cover of the Nokia 1010.
-
-
-
Insert the prying tool in the notch above the battery.
-
Once the prying tool is inserted, lift up the battery.
-
-
-
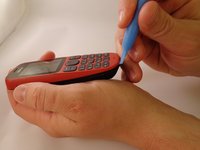
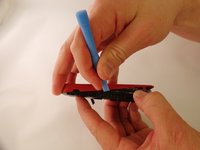
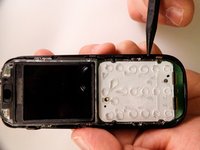
Insert the prying tool between the seam of the faceplate and the body.
-
-
-
-
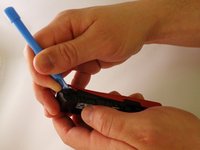
Starting from the bottom of the phone, begin prying around the base of the phone alternating form left to right.
-
-
-
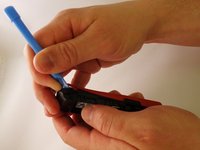
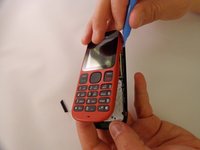
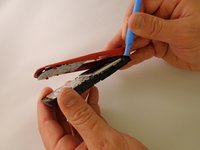
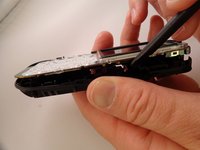
As the base loosens, slowly increase the separation between the plates and the body of the phone.
-
-
-
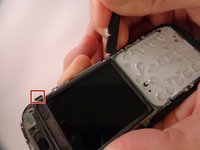
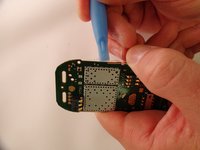
Using the spudger, pry back three tabs located on the left edge and three tabs located on the right edge of the body.
-
-
-
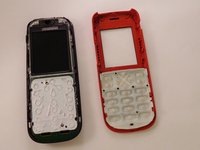
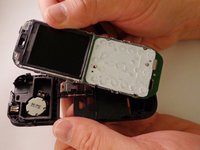
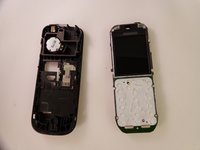
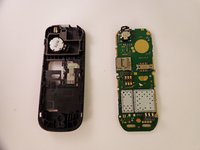
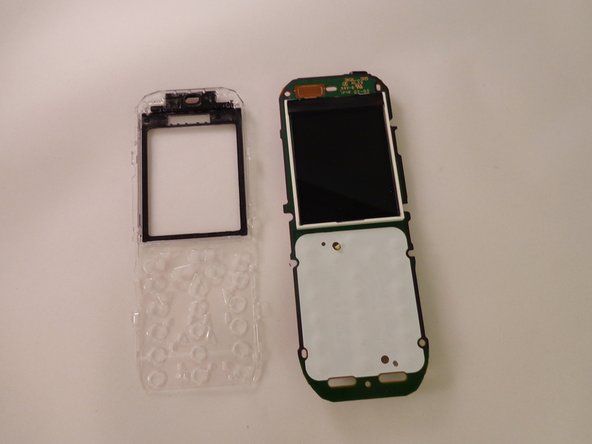
Once detached, lift and remove the faceplate from the motherboard.
-
-
-
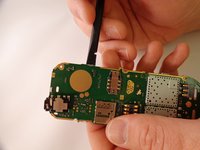
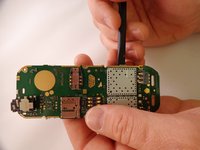
Locate the four clear tabs that connect the screen to the motherboard.
-
-
-
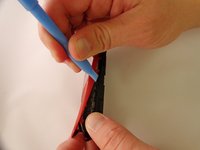
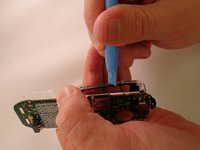
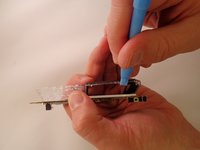
Insert the prying tool between the tabs and the motherboard. Loosen and separate slowly.
-
To reassemble your device, follow these instructions in reverse order.
crwdns2935221:0crwdne2935221:0
crwdns2935229:014crwdne2935229:0
crwdns2947412:02crwdne2947412:0
يبقه على الشعار مال النوكيه بس
You didn't even removed the screen you just removed the glass.


