crwdns2915892:0crwdne2915892:0
To complete this guide, you will need to disassemble your tablet and use a soldering iron to replace the battery. The battery is removed first in most cases, even if you are trying to remove other components.
crwdns2942213:0crwdne2942213:0
-
-
Look towards the topside of the tablet, where the power button is located.
-
Insert a plastic opening tool in the crack between the two parts of the case.
-
Move it gently back and forth to open the case.
-
-
-
With the plastic opening tool in the opening between the two sides of the case, slide the tool along the tablet's border to separate the two sides completely.
-
-
-
-
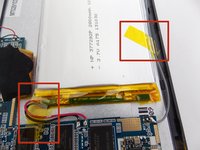
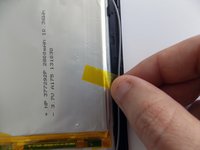
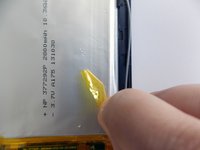
Remove the tape holding the battery in place.
-
-
-
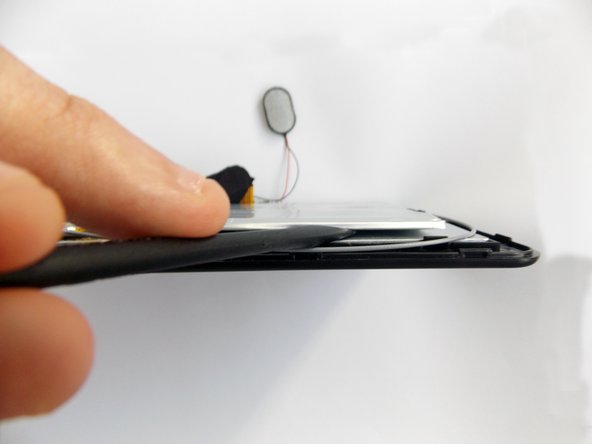
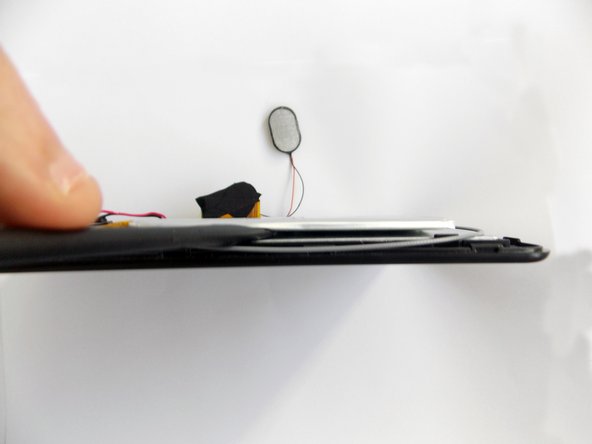
Insert the flat end of the spudger tool in the crack beneath the battery.
-
Move the spudger tool carefully side to side to remove the glue that is holding the battery in place.
-
-
-
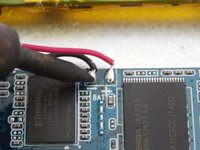
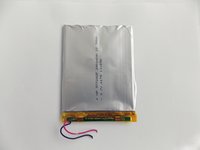
After the battery is unglued, locate the cables that connect it to the motherboard.
-
-
-
Desolder the cables with a soldering iron and use a desoldering braid to remove the solder.
-
To reassemble your device, follow these instructions in reverse order.
To reassemble your device, follow these instructions in reverse order.
crwdns2935221:0crwdne2935221:0
crwdns2935229:03crwdne2935229:0
crwdns2947410:01crwdne2947410:0
where do you find that battery? tried searching by the numbers on it and nothing


