crwdns2915892:0crwdne2915892:0
Use this guide to replace the directional pad buttons on your Nintendo Wii U GamePad.
crwdns2942213:0crwdne2942213:0
-
-
Remove the ten 8.9mm Tri-point Y1 screws hidden underneath square stickers.
-
Lift up the back plate.
-
-
-
Unplug the connector that connects the back plate to the motherboard.
-
Remove the back panel.
-
-
-
Take out the left and right shoulder buttons in the upper corners.
-
Remove the ZR and ZL trigger buttons by lifting up and sliding outward.
-
-
-
-
Remove the top rubber cover by pulling it off of its mounts to access one of the mounting screws.
-
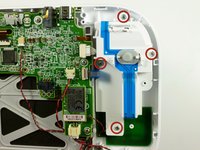
Remove the four 5.2mm Phillips #0 screws.
-
-
-
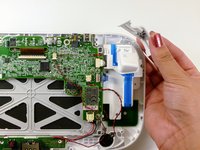
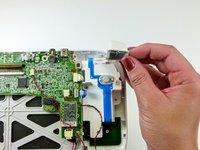
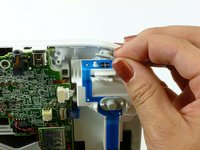
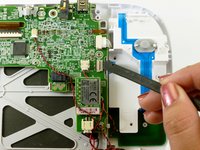
Use a spudger to lift the tab which releases the blue ribbon cable.
-
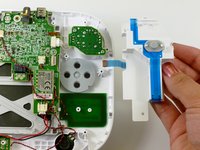
Remove the analog stick and button cover.
-
-
-
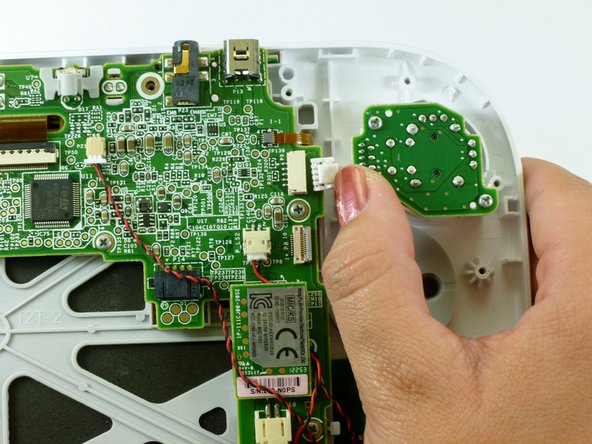
Use your thumb and push the connector towards the rightmost edge to disconnect the analog stick cable connector.
-
-
-
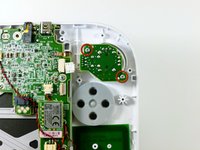
Remove the two 9.0mm Tri-point Y0 screws.
-
Lift out the analog stick.
-
-
-
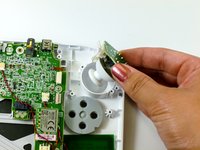
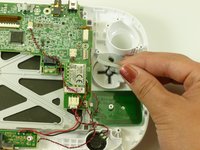
Lift up and remove the rubber cover for the directional pad.
-
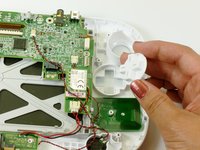
Remove the directional pad buttons.
-
To reassemble your device, follow these instructions in reverse order.
To reassemble your device, follow these instructions in reverse order.
crwdns2935221:0crwdne2935221:0
crwdns2935229:012crwdne2935229:0
crwdns2947410:01crwdne2947410:0
Where can you find the blue ribbon mentioned in step 5, for the buttons at?


