crwdns2915892:0crwdne2915892:0
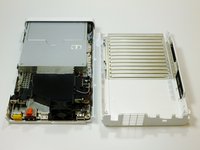
Use this guide to remove the outer case of the Nintendo Wii U and gain access to the DVD drive.
crwdns2942213:0crwdne2942213:0
-
-
With the bottom of the console facing up, remove the following 6 screws hidden underneath the white square stickers:
-
Three 5.1mm Phillips #000 screws
-
Two 6.1mm Tri-wing Y0 screws
-
One 13.2mm Tri-wing Y1 screw
-
-
-
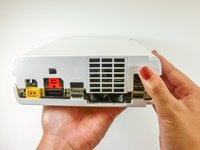
Rotate the console 180 degrees so that the exhaust vents are facing you.
-
Remove the two 7.1mm Phillips #00 screws.
-
-
-
-
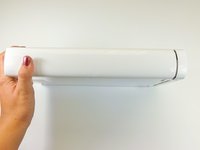
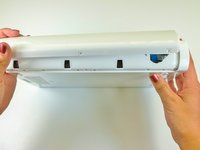
On the side opposite of the exhaust vents, slide the cover faceplate towards the back of the console and pull upwards to release it.
-
-
-
On the bottom of the console beneath the previously removed faceplate, remove the three 13.2mm Tri-wing Y1 screws.
-
-
-
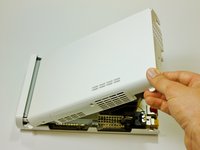
On the back of the console, lift up and release the main top cover.
-
To reassemble your device, follow these instructions in reverse order.
crwdns2935221:0crwdne2935221:0
crwdns2935229:032crwdne2935229:0


