crwdns2915892:0crwdne2915892:0
Use this guide to remove the white plastic outer case protecting the Wii's innards. Removing the outer case requires a Tri-wing screwdriver.
crwdns2942213:0crwdne2942213:0
-
-
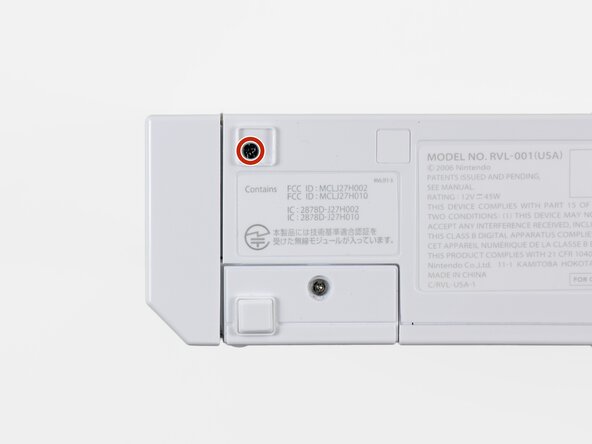
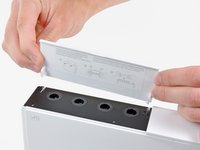
Use a metal spudger to remove the white plastic screw covers stuck to the lower case near the front of the Wii.
-
-
-
Remove the two 8.3 mm Tri-Point screws hidden under the covers you just removed.
-
-
-
Remove the single 5.9 mm Phillips screw under the controller port door nearest the faceplate.
-
-
-
Use a metal spudger to remove the rubber foot stuck to the side of the Wii near the DVD drive opening.
-
-
-
Remove the single 5.9 mm Phillips screw hidden under the foot you just removed.
-
-
-
crwdns2935267:0crwdne2935267:0Tweezers$4.99
-
-
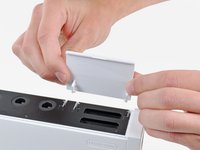
Open the controller port cover until it is perpendicular to the black controller port bezel.
-
Pull the controller port cover straight up to release it from the outer case.
-
-
-
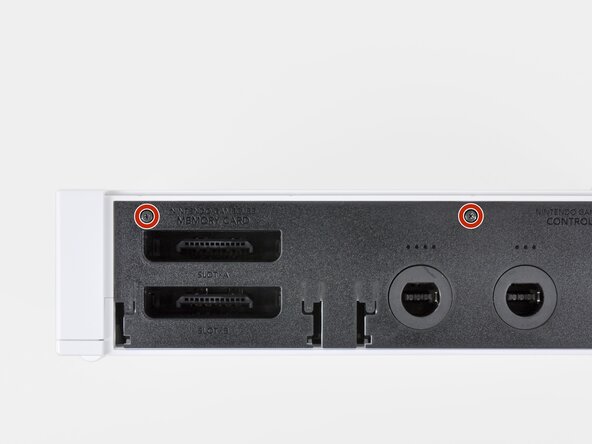
Remove the two remaining 4.1 mm Phillips screws along the top edge of the black plastic controller port bezel.
-
Lift the bezel from the long edge furthest away from the controller ports and remove it from the Wii.
-
-
-
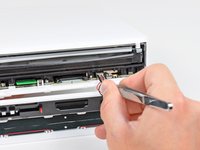
Remove the two 5 mm Phillips screws above the controller ports.
-
-
-
Use a metal spudger to remove the three highlighted screw covers stuck to the side of the Wii.
-
-
-
Remove the following screws:
-
Two 5 mm Phillips screws
-
One 8.2 mm Tri-Point screw
-
-
-
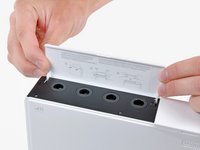
Use a metal spudger to remove the two rubber feet stuck to the bottom face of the Wii near the rear ports.
-
-
crwdns2935267:0crwdne2935267:0iFixit Precision 4 mm Screwdriver Bit$2.99
-
Remove the two 8.2 mm Tri-Point screws hidden under the feet you just removed.
-
-
-
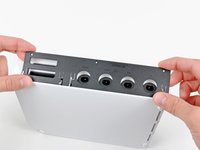
Lift the outer case straight up off the body of the Wii.
-


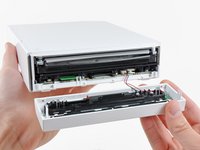


To reassemble your device, follow these instructions in reverse order.
crwdns2935221:0crwdne2935221:0
crwdns2935229:040crwdne2935229:0

crwdns2947412:04crwdne2947412:0
Great guide. I had no problems.
Ugh, I went and purchased an iFixit Essential Electronics Toolkit and the Tri-wing screwdriver is too small! Y000 is what it says on the box, time to return this purchase.
Unfortunately this guide stops half way through and doesn’t include the other side of the case, which involves quite a few screws as the motherboard is screwed down in quite a few places, and the cpu heatsink has to come up, it’s much more complicated than this.
yes i would love if the poster edited the guide and made it so it could be used as a "reshell" guide because i am considering purchaseing a lower condition wii and reshelling it in another color
Sqwerks -