crwdns2915892:0crwdne2915892:0
This guide will show you the steps on installing the motherboard. This will be helpful if the controller won't turn on or if it turns on and doesn't work.
crwdns2942213:0crwdne2942213:0
-
-
Pull down on the battery cover release lever and pull back to remove the cover.
-
-
-
Remove both batteries from the device.
-
-
-
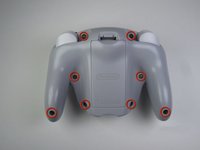
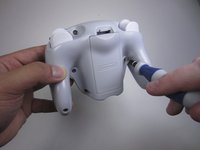
Remove the eight 9 mm screws from the back panel using the Tri-point Y1 screwdriver.
-
-
-
-
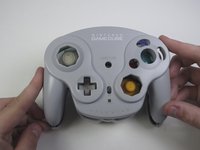
Carefully turn over the controller and place it on a flat surface.
-
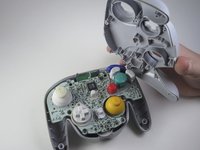
Slowly separate the top panel from the bottom panel.
-
Once separated, set aside the top panel.
-
-
crwdns2935267:0crwdne2935267:0Tweezers$4.99
-
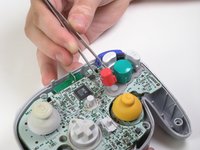
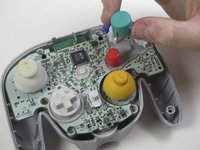
Use tweezers to remove the buttons.
-
-
crwdns2935267:0crwdne2935267:0Tweezers$4.99
-
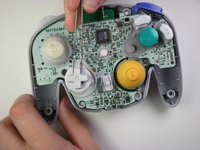
Using tweezers remove the three grey button pads from the motherboard.
-
-
-
With your fingers gently grip the motherboard on both sides and lift it away from the back panel.
-
To reassemble your device, follow these instructions in reverse order.
crwdns2935221:0crwdne2935221:0
crwdns2935229:07crwdne2935229:0


