crwdns2915892:0crwdne2915892:0
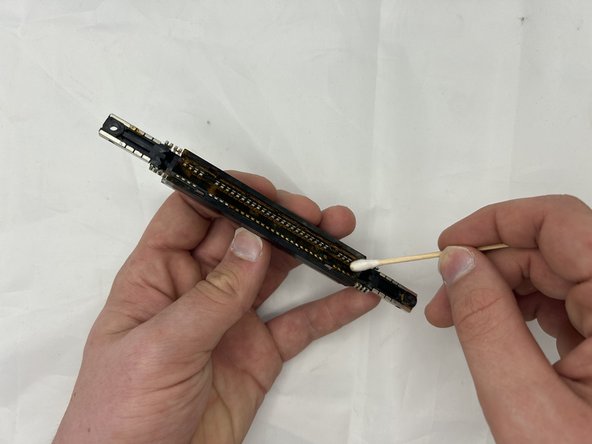
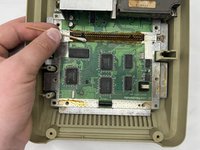
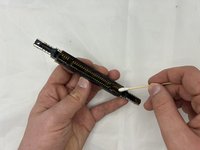
Is your Super Famicon experiencing start up issues? The substances in the cartridge may have been consumed over a period of time to contribute to the poor performance of your system. With this guide, we will give you the steps needed to replacing the cartridge and cleaning the cartridge port. You will need a 4.5mm Gamebit screwdriver, a J1 Phillips head, rubbing alcohol, Q-tips, and a replacement cartridge port. As you know, this Super Famicon is Japan's fourth generation of the device, therefore region restrictions may be applicable. This will likely result in needing to purchase your replacement port directly from Japan. Happy fixing!
crwdns2942213:0crwdne2942213:0
-
-
Remove the six 13.5 mm screws on the lower case with a 4.5 mm Gamebit screwdriver.
-
-
-
Flip the Famicom over and set it down.
-
Lift off the upper case.
-
-
-
Remove the mechanism by lifting the axle slightly to the right and drawing it out.
-
-
-
-
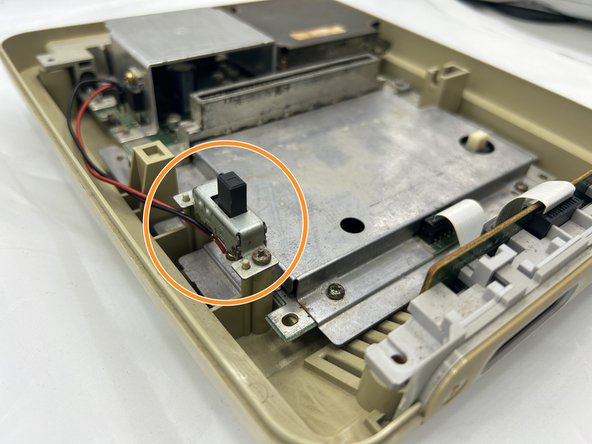
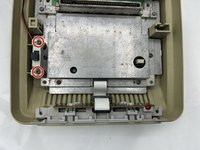
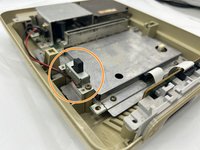
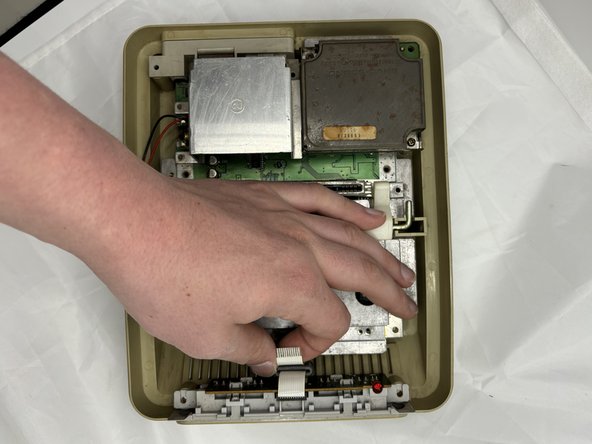
Use a Phillips screwdriver to remove the two screws that secure the power switch.
-
The power switch is connected to the main board via a little plastic connection; grip the motherboard connector and pull it straight out of its port.
-
-
-
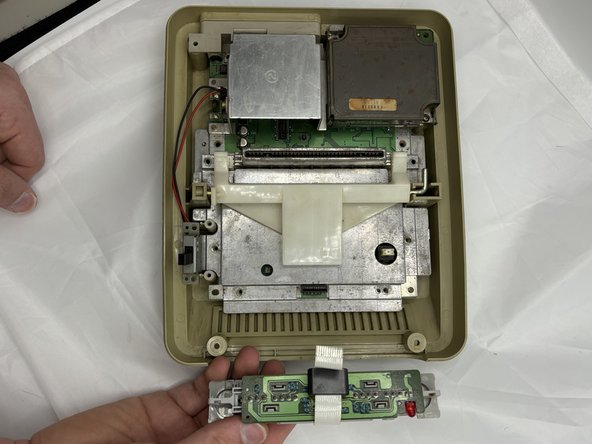
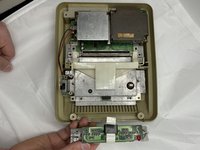
Carefully pull the ribbon cable that is attached to the controller board and the main board.
-
Remove the controller port.
-
-
-
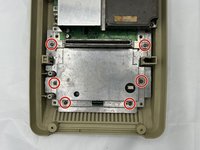
Use a Phillips screwdriver to remove the six 15.6 mm screws that secure the silver protective shield.
-
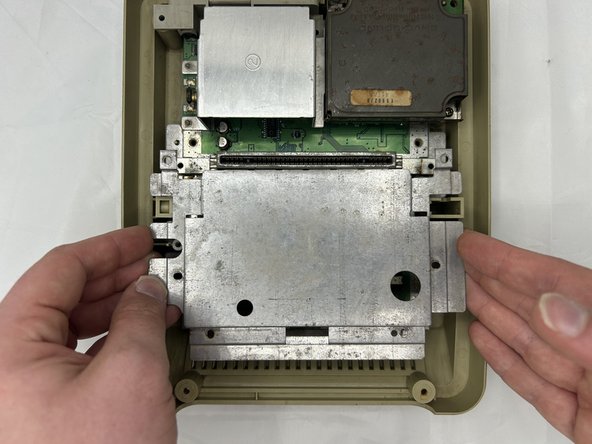
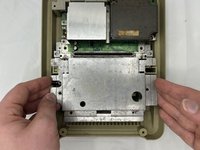
Remove the silver shield.
-
-
-
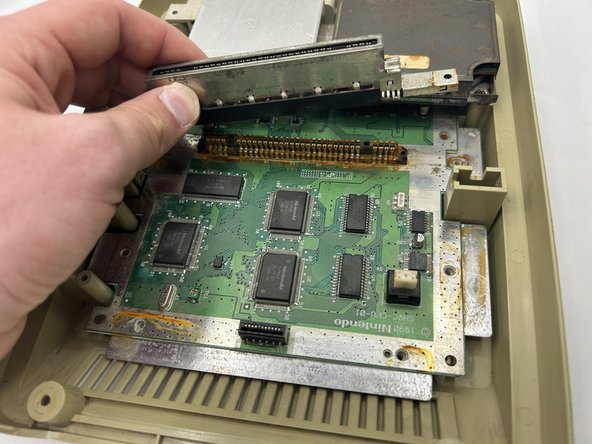
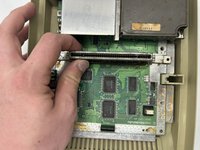
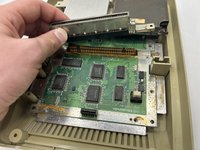
Lift the cartridge slot up and out of the device.
-
To reassemble your device, follow these instructions in reverse order.


