crwdns2915892:0crwdne2915892:0
Removing these panels allows further access to the GameCube's components.
crwdns2942213:0crwdne2942213:0
-
-
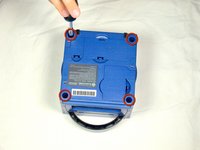
Turn over the Gamecube so that the bottom side is facing up.
-
Use the 4.5 mm Gamebit screwdriver to remove all four screws.
-
-
-
With the bottom side of the GameCube facing upward and the screws removed, carefully pull the outer shell of the unit away from the top half.
-
Move the GameCube so that the inside is facing upwards.
-
-
-
-
Gently press down on the clips located on either side of the back panel.
-
Carefully remove the back panel from the GameCube.
-
-
-
Unclip the controller ports at the front of the unit.
-
-
-
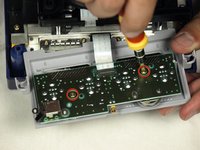
Use a Phillips #2 screwdriver to remove the two screws on the back of the control port.
-
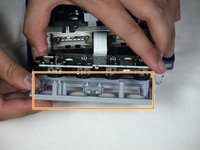
Carefully separate the gray outer casing of the control port and the circuit board.
-
To reassemble your device, follow these instructions in reverse order.
crwdns2935221:0crwdne2935221:0
crwdns2935229:06crwdne2935229:0


