crwdns2915892:0crwdne2915892:0
The brightness switch is the circular button with a sun symbol engraved into it. The brightness switch is located at the top of the button panel.
crwdns2942213:0crwdne2942213:0
-
-
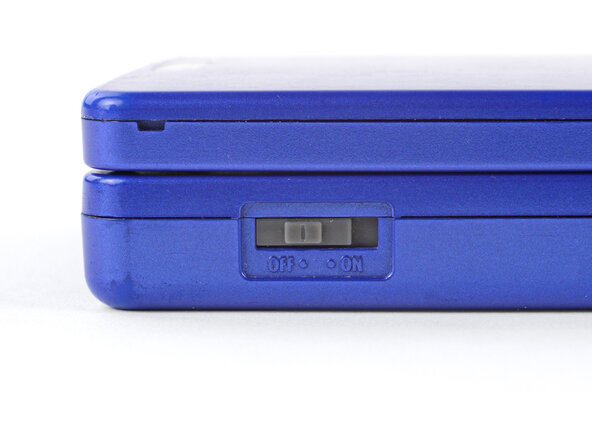
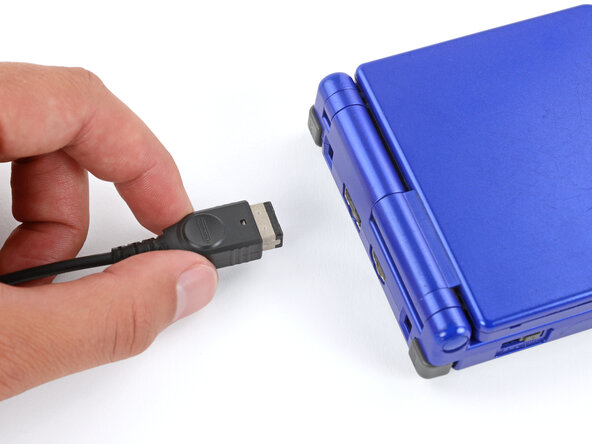
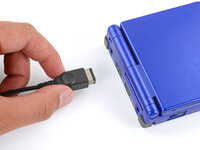
Slide the power switch to the OFF position and unplug any cables.
-
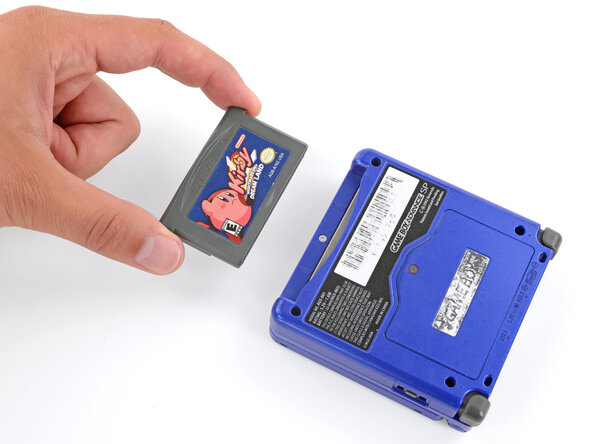
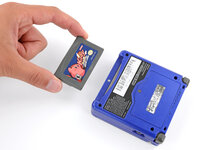
If you have a game cartridge in, remove it.
-
-
-
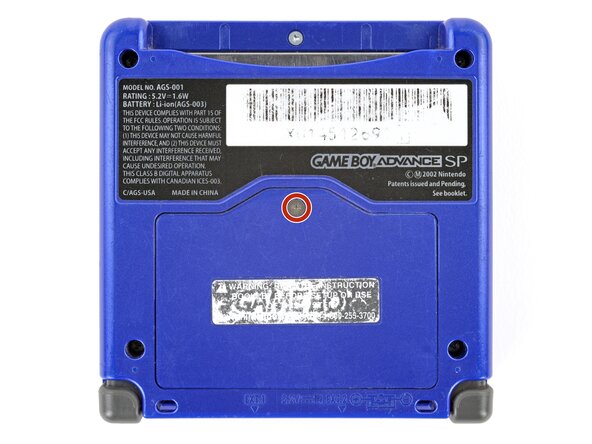
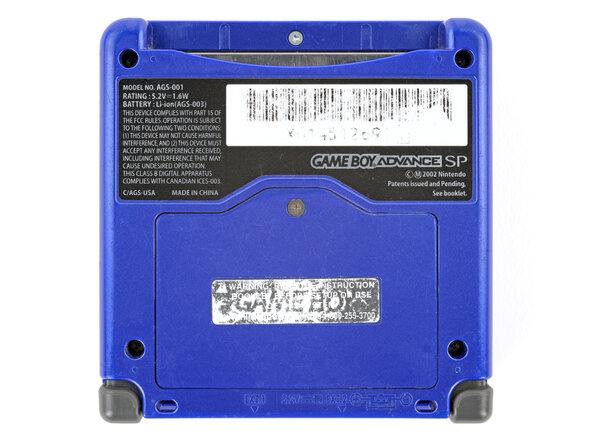
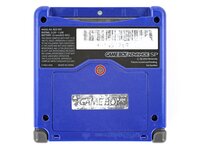
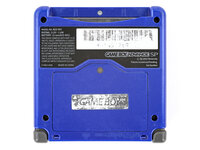
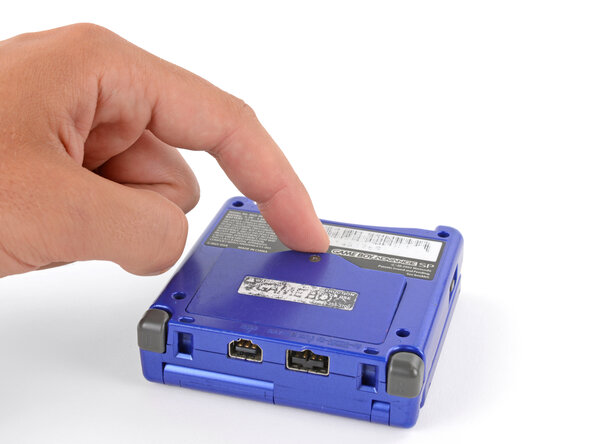
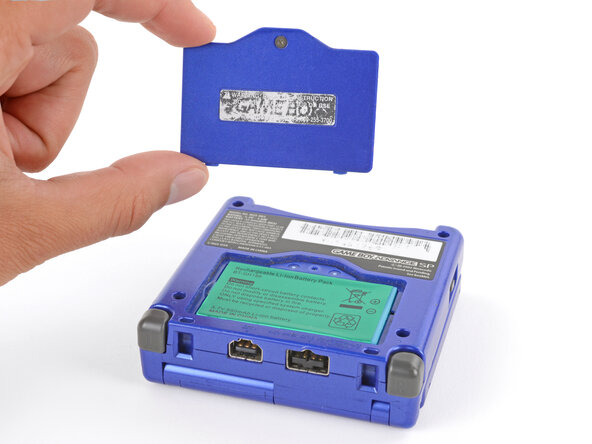
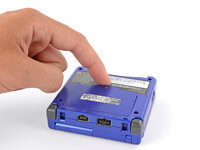
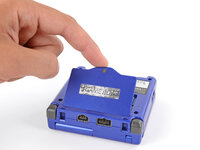
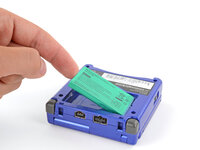
Use a JIS 00 screwdriver to loosen the captive screw securing the battery cover.
-
-
-
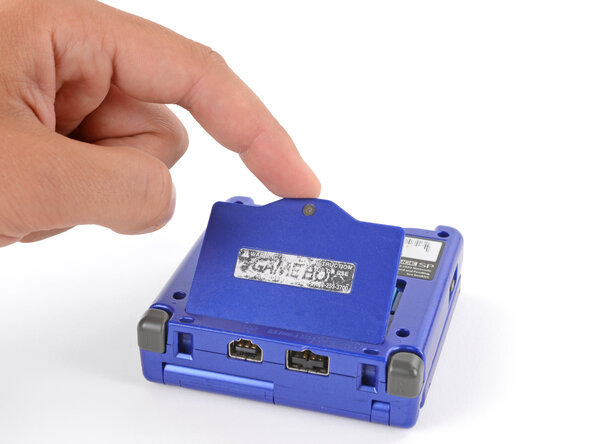
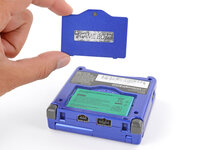
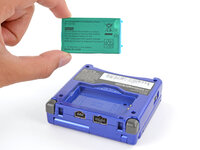
Lift the edge of the cover near the screw and remove the cover.
-
-
-
-
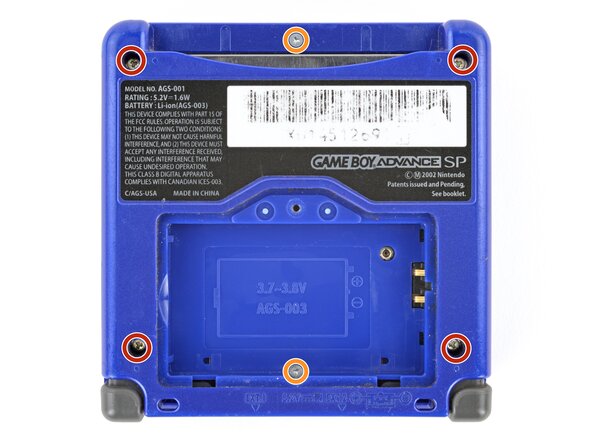
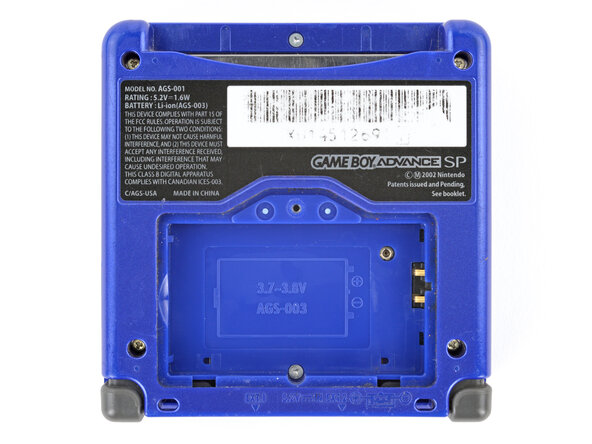
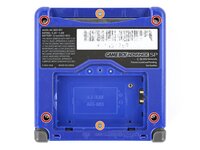
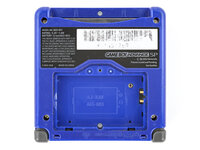
Use a tri‑point Y0 screwdriver to remove the six screws securing the bottom shell:
-
Four 6.3 mm‑long recessed screws
-
Two 4.6 mm‑long screws
-
-
-
-
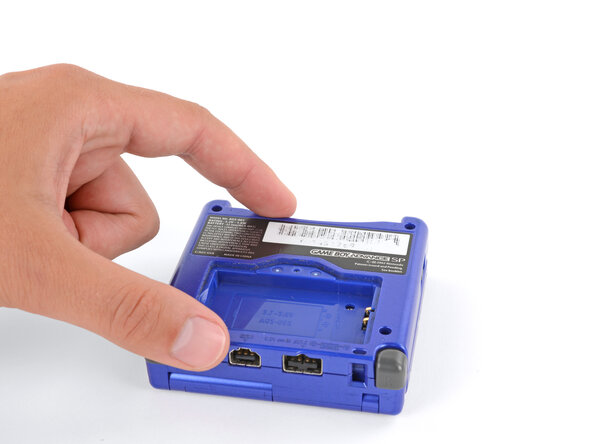
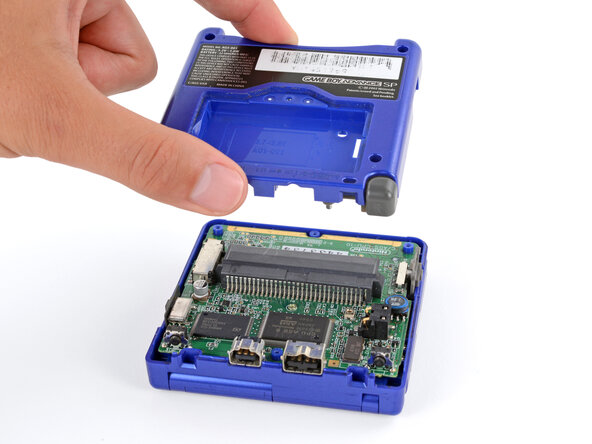
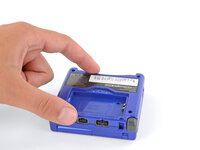
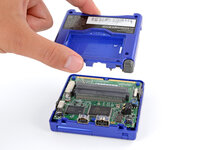
Lift the bottom shell straight up and remove it.
-
-
-
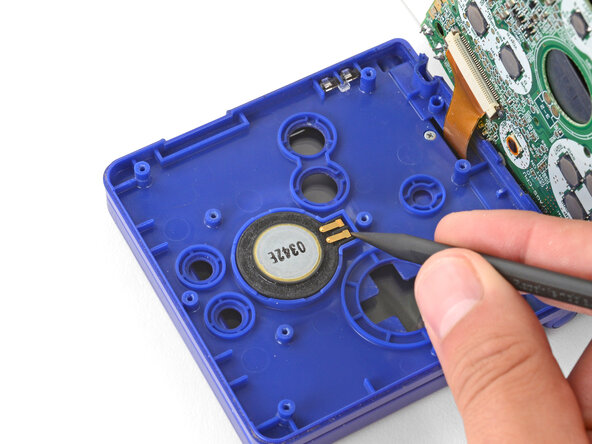
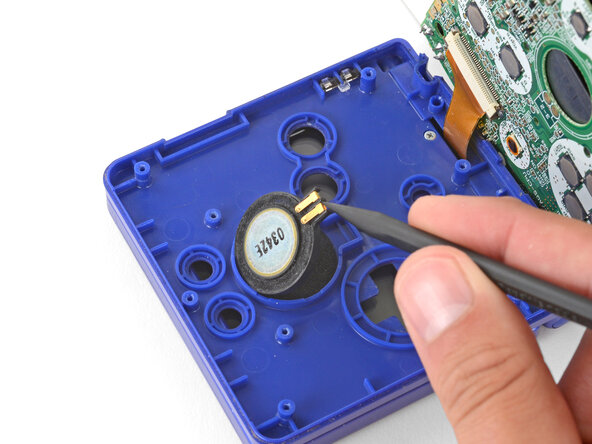
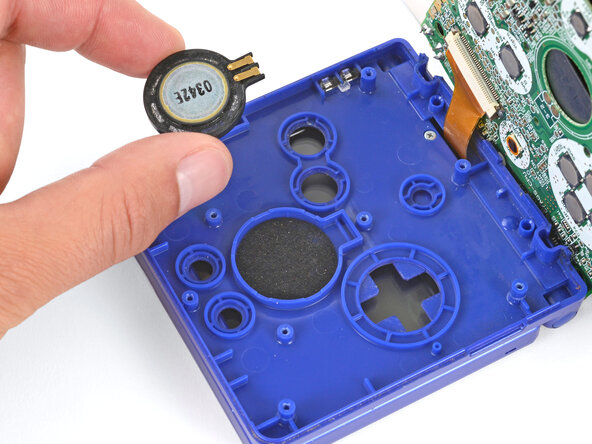
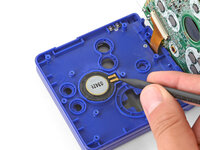
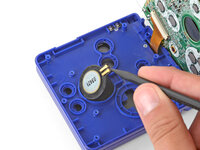
Use the point of a spudger or a clean fingernail to lift the speaker until you can grip it with your fingers.
-
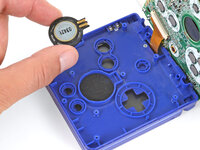
Remove the speaker.
-
-
-
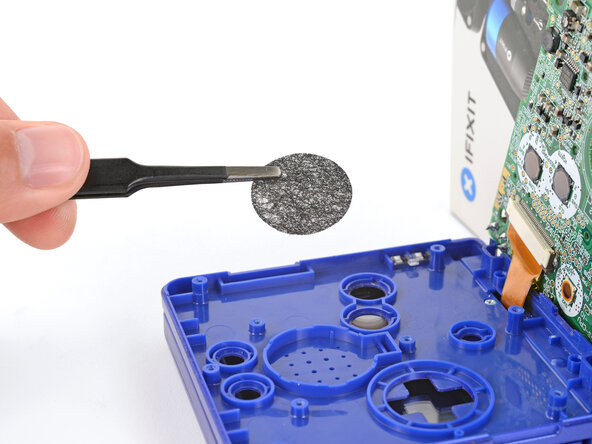
Remove the circular mesh from the speaker recess and set it aside—the piece can easily fall out and get lost when working.
-
-
-
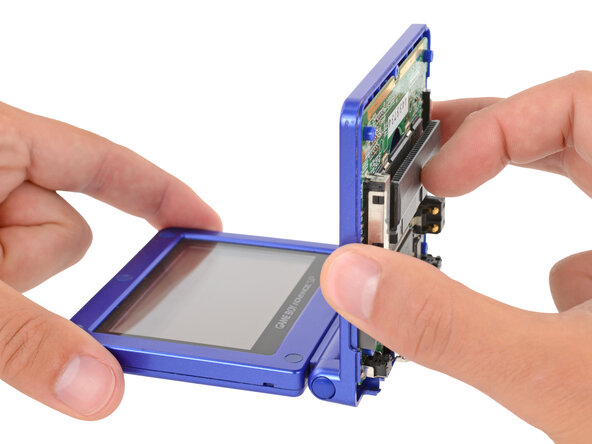
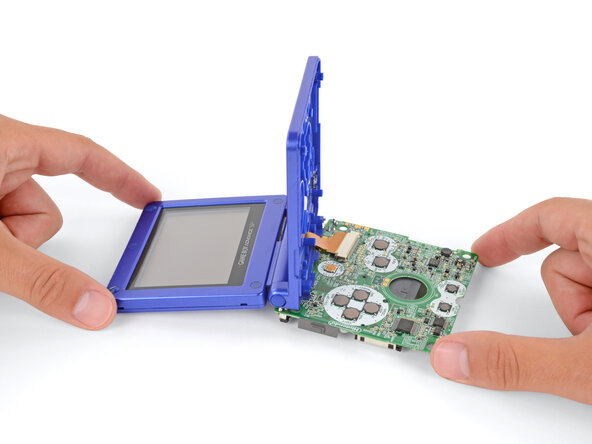
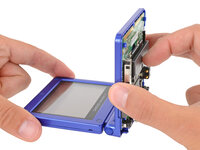
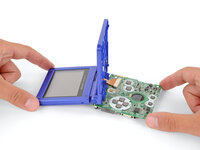
Option 1: Open the main body of your Game Boy to a 90‑degree angle and gently lay the motherboard down. Make sure the main body is resting on top of the motherboard to give the cable slack.
-
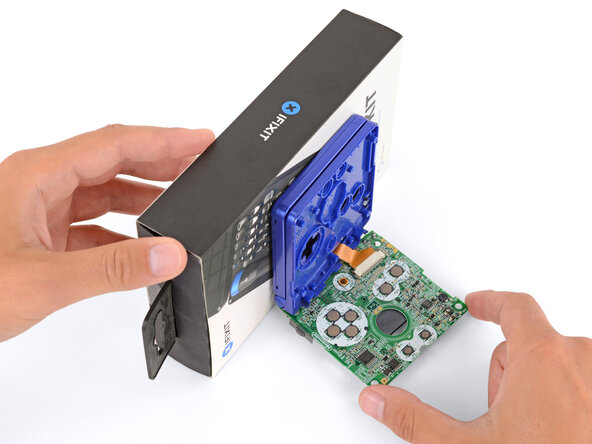
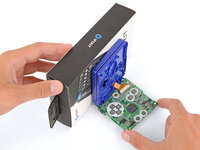
Option 2: Keep the main body closed and prop it up on the edge of the logic board, using a sturdy object to hold it up.
-
-
-
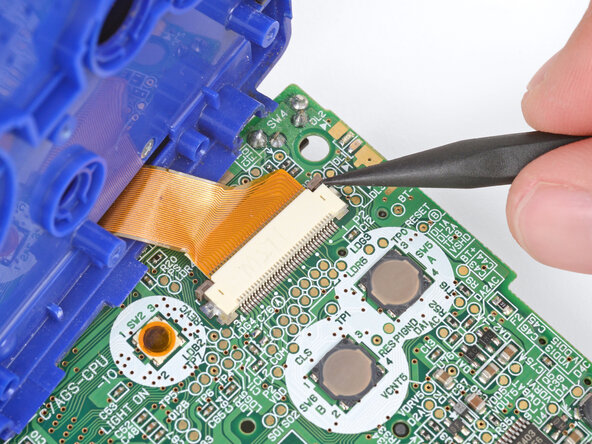
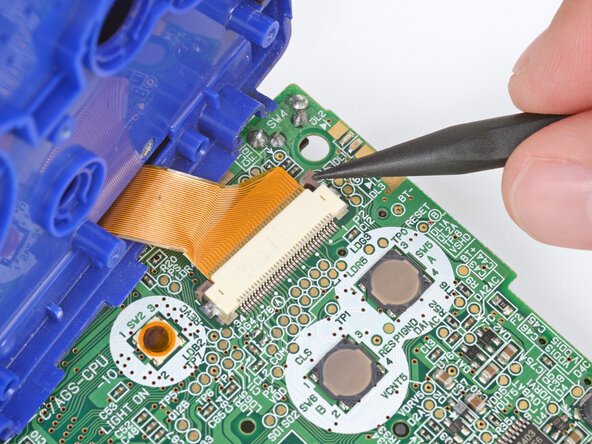
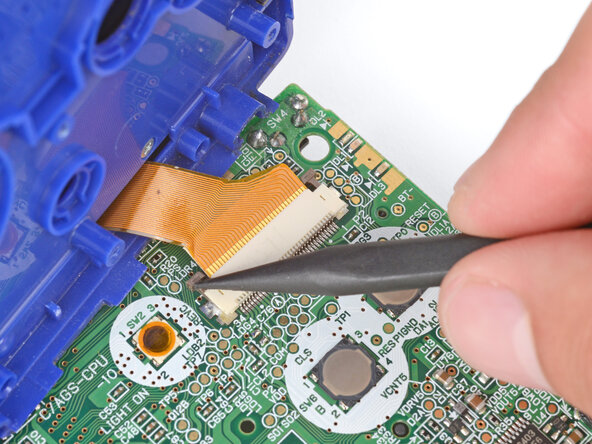
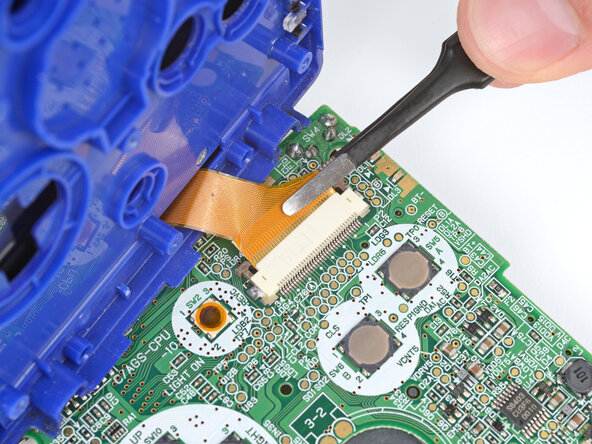
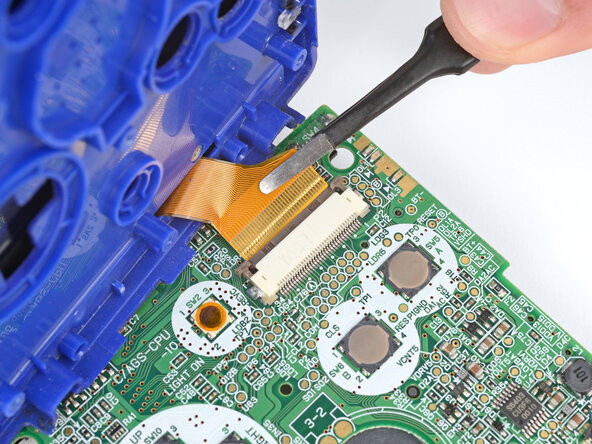
Use the point of a spudger to push the two tabs on either side of the screen cable connector into the unlocked position.
-
-
-
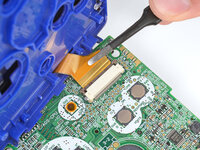
Use a pair of tweezers to gently slide the screen cable out of its socket.
-
-
-
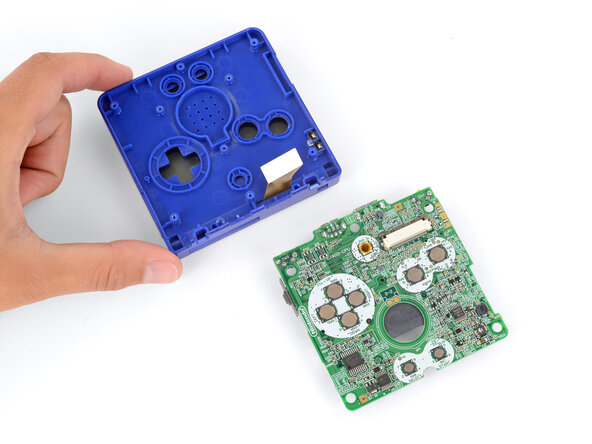
Remove the main body from the motherboard.
-
-
-
With your fingers, lift the track pad out off the brightness switch.
-
-
crwdns2935267:0crwdne2935267:0Tweezers$4.99
-
Using tweezers, lift the brightness switch out of the Game Boy Advance SP.
-
To reassemble your device, follow these instructions in reverse order.
crwdns2935221:0crwdne2935221:0
crwdns2935229:016crwdne2935229:0
