crwdns2915892:0crwdne2915892:0
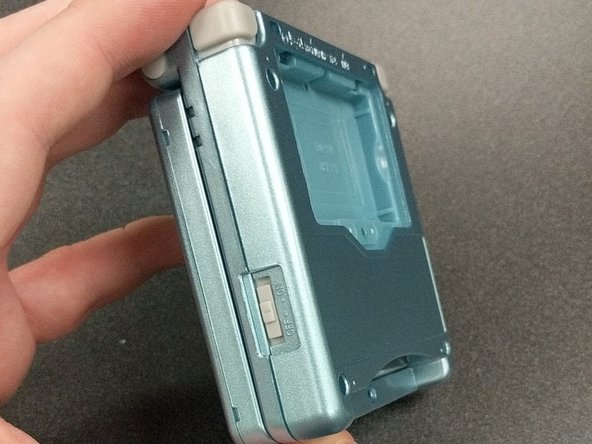
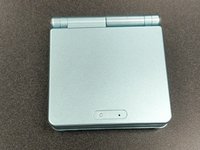
If your GameBoy Advance SP AGS-001 or AGS-101 has a deteriorating shell, or if you’re looking to customize it, use this guide to replace the shell.
Before using this guide, plug in your console and charge it for a few minutes. If the battery is too old, it may start expanding and could potentially explode. If it starts to swell, you’ll have to order a replacement battery - which you can find below:
https://www.amazon.com/Game-Boy-Advance-...
Before beginning the replacement process, power off your console and unplug it from the outlet if it is plugged in.
crwdns2942213:0crwdne2942213:0
-
-
Unscrew the screw on the battery compartment with a Phillips #00 screwdriver.
-
Open the battery compartment and remove the battery.
-
Remove the four 6.45 mm Tri-point Y00 screws from the corners of the device.
-
Remove the two 4.6 mm Tri-point Y00 screws from inside the battery compartment and game cartridge comparments.
-
-
-
Lift off the bottom cover to expose the motherboard.
-
Remove the three 4mm Phillips #00 screws from the motherboard.
-
Gently lift up the motherboard and remove the ribbon cable by gently pulling the two clips on the side up and towards the cable.
-
Remove the small Phillips #00 screw hidden underneath the ribbon cable. It holds the hinge cover of the top screen together.
-
-
-
Open the GBA SP screen and use the pointed end of a spudger to remove the rubber pads around the screen bezel.
-
Remove the five Tri-point Y00 screws hidden beneath the rubber pads.
-
Remove the bezel from the screen with a spudger.
-
-
-
-
Remove the hinges from the original shell. This is the most difficult step, as it requires a lot of force to remove the hinges.
-
Apply pressure with the pointed end of a spudger from the inside, pushing out with plenty of force. The hinges will likely fly out of the shell a few feet; this is normal.
-
Once the hinges are removed, remove the caps on the end of each hinge.
-
-
-
Take out your replacement shell.
-
Push the hinges from the old case into the slot of the new case about halfway while the case is closed.
-
Then open the shell and push the hinges the rest of the way in.
-
-
-
Place your screen into the new shell and affix the bezel into position; the ribbon cable should slide through the gap like before.
-
Reinstall the five Tri-point Y00 screws around the screen.
-
Reinstall the speaker, buttons, and silicone pads into the bottom case.
-
-
-
Reinsert the ribbon cable into the motherboard and lock it into place.
-
Guide the motherboard into the new case and screw it down with the three 4mm Phillips #00 screws.
-
Install the square, threaded washer on the back of the shell. This is where the battery compartment's screw gets held, so it is important!
-
-
-
Make sure the volume and power sliders are in place before putting the back cover on.
-
Put the back cover on and push the two parts together.
-
Screw the shell together with the four 6.45 mm Tri-point Y00 and two 4.6 mm Tri-point Y00 screws, then reinstall the battery.
-
-
-
Reinstall the rubber pads around the screen bezel—they stop the shell from rubbing together on the inside.
-
Find the "Nintendo" logo replacement sticker and put it into place.
-
Test the console and make sure it works properly!
-
Rehousing your GBA SP can be a fun project! It doesn’t take very long, and once you’re done you’ll have a fun new customized console! The ease of difficulty and ability to express yourself both make this project well worth attempting.
Rehousing your GBA SP can be a fun project! It doesn’t take very long, and once you’re done you’ll have a fun new customized console! The ease of difficulty and ability to express yourself both make this project well worth attempting.
crwdns2935221:0crwdne2935221:0
crwdns2935229:023crwdne2935229:0
crwdns2947412:06crwdne2947412:0
Excellent guide thank you! My GBA is looking great now :)
Hello this guide is great but it has some flaws (missing some steps) but I used an eXtremeRate GBA SP shell and they are the best ones to go with because they have It molded in a way to remove the Nintendo logo sticker and so you can put in a ips screen with out needing to trim and it is made out of a high quality plastic and it better than other third party shell and I used purple/blue color
Thanks for the helpful guide! A couple things of note that I noticed along the way:
If you're replacing the screen lens, make sure you line it up properly so the end result isn't crooked.
Make sure to organize your screws, a mismatched screw can poke a hole through the shell.
Be gentle but firm when tightening a screw. I definitely messed up a screw or two being too forceful.
(I might be stupid) keep an eye on the battery lid screw hole. Mine ended up warping so I had to duct tape the lid to the shell.
If you're doing a button replacement too, be careful with the triggers.
Excelent guide, just a quick detail: you forgot to add the part when you put the screw under the screen ribbon, the one that afix the hinge in place. The rest was amazing, thank you very much.
Bad guide, misses crucial parts (especially proper installation of the shoulder buttons)
edit: and it misses the top hinge cover.


