crwdns2933423:0crwdne2933423:0
crwdns2947577:0crwdnd2947577:0crwdne2947577:0

Nintendo Entertainment System Disassembly

crwdns2942213:0crwdne2942213:0

    1. Nintendo Entertainment System Disassembly, Remove Top Housing: crwdns2935265:01crwdnd2935265:01crwdnd2935265:02crwdne2935265:0 Nintendo Entertainment System Disassembly, Remove Top Housing: crwdns2935265:01crwdnd2935265:02crwdnd2935265:02crwdne2935265:0
      • Remove six 13.25mm Phillips screws on the bottom of the system.

      • The screws are recessed about 40mm.

      • Once all screws are removed, simply lift the bottom half away from the top housing.

      crwdns2952109:0crwdne2952109:0

      crwdns2917038:0crwdne2917038:0

    2. Nintendo Entertainment System Disassembly, Remove Top RF Shield: crwdns2935265:02crwdnd2935265:01crwdnd2935265:03crwdne2935265:0 Nintendo Entertainment System Disassembly, Remove Top RF Shield: crwdns2935265:02crwdnd2935265:02crwdnd2935265:03crwdne2935265:0 Nintendo Entertainment System Disassembly, Remove Top RF Shield: crwdns2935265:02crwdnd2935265:03crwdnd2935265:03crwdne2935265:0
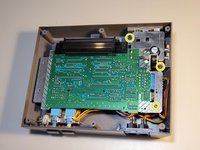
      • Remove seven 13.25mm Phillips screws around the perimeter of the RF shield.

      • Lift the RF shield up and away from the system and place aside.

      crwdns2952109:0crwdne2952109:0

      crwdns2917038:0crwdne2917038:0

    3. Nintendo Entertainment System Disassembly, Remove Cartridge Tray: crwdns2935265:03crwdnd2935265:01crwdnd2935265:03crwdne2935265:0 Nintendo Entertainment System Disassembly, Remove Cartridge Tray: crwdns2935265:03crwdnd2935265:02crwdnd2935265:03crwdne2935265:0 Nintendo Entertainment System Disassembly, Remove Cartridge Tray: crwdns2935265:03crwdnd2935265:03crwdnd2935265:03crwdne2935265:0
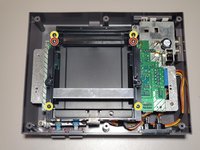
      • Remove four 13.25mm Phillips screws from the four corners of the cartridge tray.

      • Your system may only have two screws on the bottom.

      • Remove two 17.25mm Phillips screws from the top of cartridge tray.

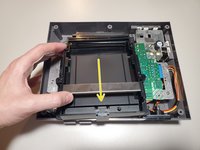
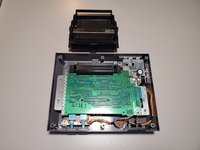
      • Once free, slide the cartridge tray towards you and then lift slightly in the front to remove.

      crwdns2952109:0crwdne2952109:0

      crwdns2917038:0crwdne2917038:0

    4. Nintendo Entertainment System Disassembly, Remove Motherboard Pt. 1: crwdns2935265:04crwdnd2935265:01crwdnd2935265:03crwdne2935265:0 Nintendo Entertainment System Disassembly, Remove Motherboard Pt. 1: crwdns2935265:04crwdnd2935265:02crwdnd2935265:03crwdne2935265:0 Nintendo Entertainment System Disassembly, Remove Motherboard Pt. 1: crwdns2935265:04crwdnd2935265:03crwdnd2935265:03crwdne2935265:0
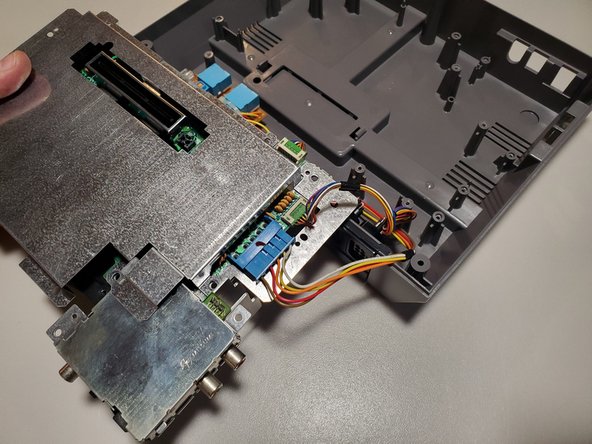
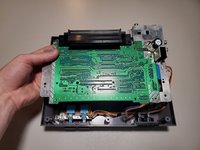
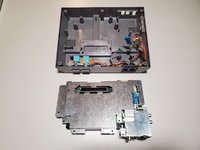
      • Remove three 13.25mm Phillips screws to free the motherboard from the bottom housing.

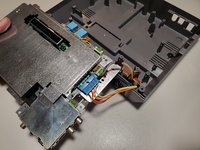
      • Carefully lift the motherboard and turn it over to find the wired connections.

      crwdns2952109:0crwdne2952109:0

      crwdns2917038:0crwdne2917038:0

    5. Nintendo Entertainment System Disassembly, Remove Motherboard Pt. 2: crwdns2935265:05crwdnd2935265:01crwdnd2935265:02crwdne2935265:0 Nintendo Entertainment System Disassembly, Remove Motherboard Pt. 2: crwdns2935265:05crwdnd2935265:02crwdnd2935265:02crwdne2935265:0
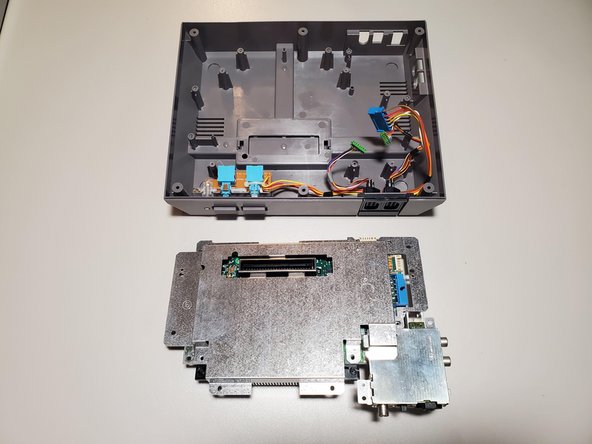
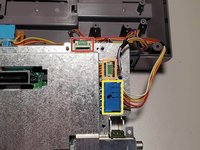
      • Disconnect the wired connections from the motherboard.

      • Player 1 (Shorter wires)

      • Player 2 (Longer wires)

      • Power/Reset Buttons

      crwdns2952109:0crwdne2952109:0

      crwdns2917038:0crwdne2917038:0

    6. Nintendo Entertainment System Disassembly, Remove Bottom RF Shield: crwdns2935265:06crwdnd2935265:01crwdnd2935265:02crwdne2935265:0 Nintendo Entertainment System Disassembly, Remove Bottom RF Shield: crwdns2935265:06crwdnd2935265:02crwdnd2935265:02crwdne2935265:0
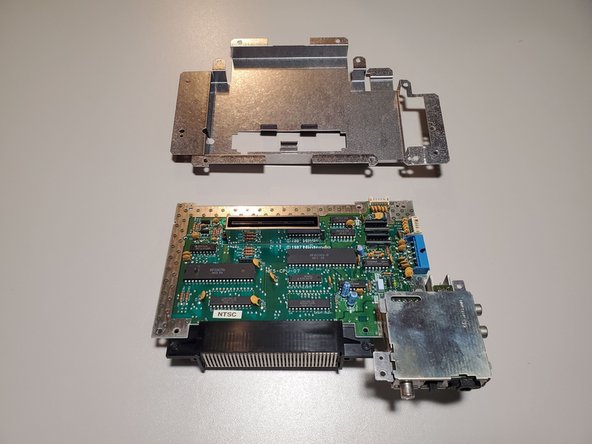
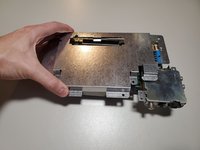
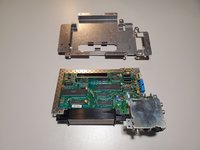
      • The bottom RF shield is held on by tension around the expansion port. Lift the shield up and away from the motherboard.

      crwdns2952109:0crwdne2952109:0

      crwdns2917038:0crwdne2917038:0

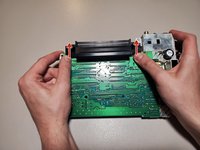
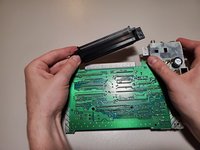
    7. Nintendo Entertainment System Disassembly, Remove 72-Pin Connector: crwdns2935265:07crwdnd2935265:01crwdnd2935265:02crwdne2935265:0 Nintendo Entertainment System Disassembly, Remove 72-Pin Connector: crwdns2935265:07crwdnd2935265:02crwdnd2935265:02crwdne2935265:0
      • To remove the 72-Pin connector, apply force to each edge and slide the connector off the contacts on the motherboard.

      crwdns2952109:0crwdne2952109:0

      crwdns2917038:0crwdne2917038:0

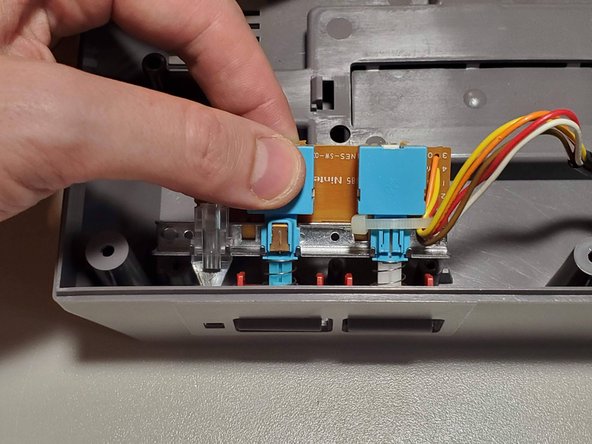
    8. Nintendo Entertainment System Disassembly, Remove Power/Reset Buttons: crwdns2935265:08crwdnd2935265:01crwdnd2935265:02crwdne2935265:0 Nintendo Entertainment System Disassembly, Remove Power/Reset Buttons: crwdns2935265:08crwdnd2935265:02crwdnd2935265:02crwdne2935265:0
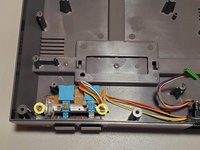
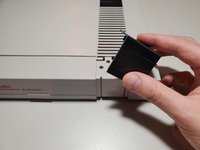
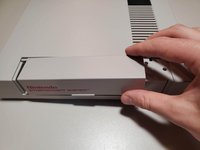
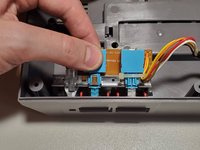
      • Remove two 13.25mm Phillips screws from the button assembly. Lift slightly in the back and then up and away from the housing to remove.

      crwdns2952109:0crwdne2952109:0

      crwdns2917038:0crwdne2917038:0

    9. Nintendo Entertainment System Disassembly, Remove Controller Ports: crwdns2935265:09crwdnd2935265:01crwdnd2935265:03crwdne2935265:0 Nintendo Entertainment System Disassembly, Remove Controller Ports: crwdns2935265:09crwdnd2935265:02crwdnd2935265:03crwdne2935265:0 Nintendo Entertainment System Disassembly, Remove Controller Ports: crwdns2935265:09crwdnd2935265:03crwdnd2935265:03crwdne2935265:0
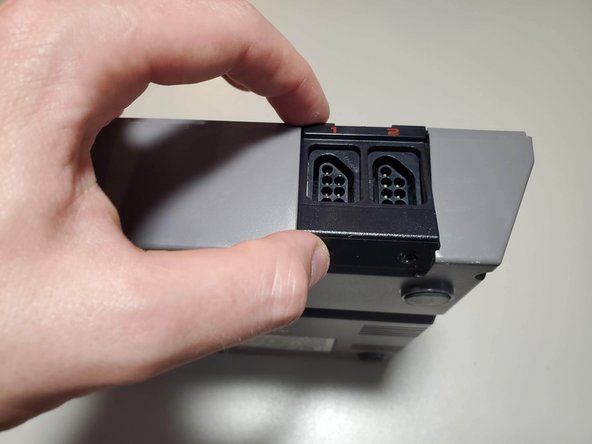
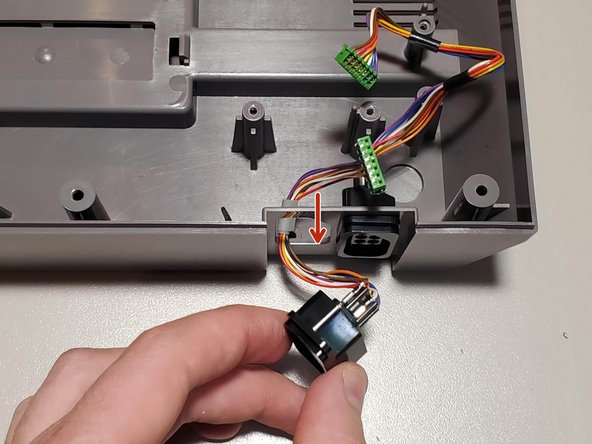
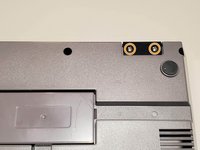
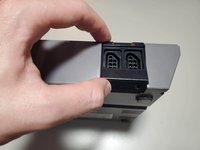
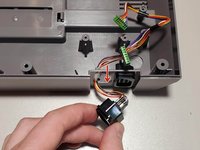
      • Remove two 7.25mm Phillips screws from the bottom of the system. Lift the controller port faceplate up and away.

      • Remove the controller ports by feeding them through the port holes to the front of the housing.

      • When reassembling, Player 1 (Left) has shorter wires that Player 2 (Right).

      crwdns2952109:0crwdne2952109:0

      crwdns2917038:0crwdne2917038:0

    10. Nintendo Entertainment System Disassembly, Remove Plastic Door and Accent Pieces: crwdns2935265:010crwdnd2935265:01crwdnd2935265:03crwdne2935265:0 Nintendo Entertainment System Disassembly, Remove Plastic Door and Accent Pieces: crwdns2935265:010crwdnd2935265:02crwdnd2935265:03crwdne2935265:0 Nintendo Entertainment System Disassembly, Remove Plastic Door and Accent Pieces: crwdns2935265:010crwdnd2935265:03crwdnd2935265:03crwdne2935265:0
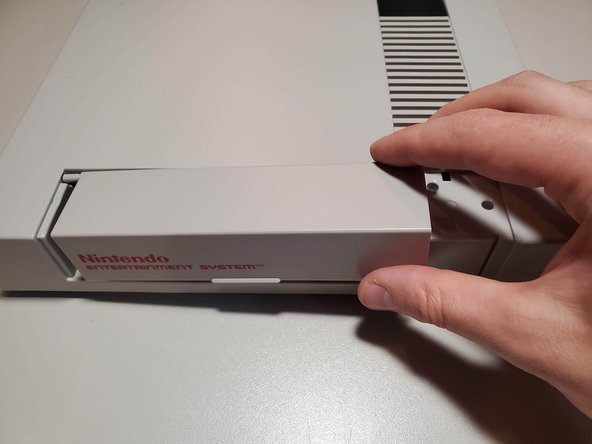
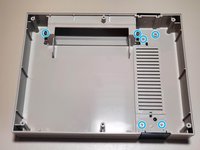
      • Remove seven 7.25mm small flathead screws from the inside of the top housing.

      • Two of these screws also hold a spring for the door. When reassembling, refer to the keyed shape of the plastic to orient these correctly.

      crwdns2952109:0crwdne2952109:0

      crwdns2917038:0crwdne2917038:0

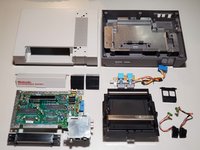
    11. Nintendo Entertainment System Disassembly, Disassembly Complete!: crwdns2935265:011crwdnd2935265:01crwdnd2935265:02crwdne2935265:0 Nintendo Entertainment System Disassembly, Disassembly Complete!: crwdns2935265:011crwdnd2935265:02crwdnd2935265:02crwdne2935265:0
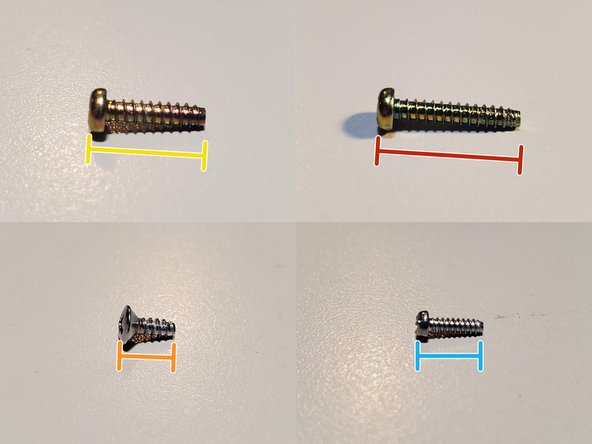
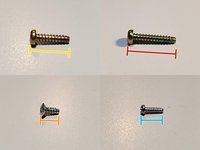
      • Screw List

      • (19x) 13.25mm Phillips

      • (2x) 17.25mm Phillips

      • (2x) 7.25mm Phillips (Silver, large cap)

      • (7x) 7.25mm Flathead (Silver, small)

      crwdns2952109:0crwdne2952109:0

      crwdns2917038:0crwdne2917038:0

crwdns2915888:0crwdne2915888:0

To reassemble your device, follow these instructions in reverse order.

crwdns2935221:0crwdne2935221:0

crwdns2935229:027crwdne2935229:0

Joe Shacar

crwdns2935283:006/01/21crwdne2935283:0

1,345 crwdns2915208:0crwdne2915208:0

crwdns2935295:0crwdne2935295:0

crwdns2947412:06crwdne2947412:0

Very well done easy to do and easier to follow.

rictic1 - crwdns2934203:0crwdne2934203:0 crwdns2950251:0crwdne2950251:0
Great guide, I wanted to confirm that I had the right screws on me since I had disassembled my NES on a workbench with some other consoles (bad habit).

I thought I was going crazy though since the 13.25mm Phillips screw count is off- it's 20 if you have 2 screws on your cartridge tray, and 22 if you have the 6 screws shown in the guide.

- 6x outer casing

- 7x top RF shield

- 2x or 4x cartridge tray

- 3x lower motherboard

- 2x power/reset button assembly

Dylan French - crwdns2934203:0crwdne2934203:0 crwdns2950251:0crwdne2950251:0

crwdns2917038:0crwdne2917038:0

crwdns2936625:0crwdne2936625:0:

crwdns2936751:024crwdne2936751:0 31

crwdns2936753:07crwdne2936753:0 187

crwdns2936753:030crwdne2936753:0 863

crwdns2942667:0crwdne2942667:0 38,028