crwdns2915892:0crwdne2915892:0
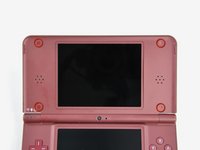
Get a better view of whats going on in your games by replacing a scratched upper screen. This is not the touchscreen.
crwdns2942213:0crwdne2942213:0
-
-
Use a push pin to remove the four plastic screw covers on the front bezel.
-
-
-
Remove four Phillips screws securing the front bezel to the rear bezel.
-
-
-
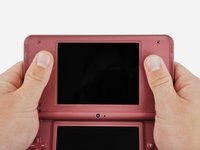
Using two hands, gently slide the rear bezel upwards.
-
-
-
Insert a spudger into the gap between the front and rear bezel
-
Rotate the spudger away from the DSi XL, prying the two bezels apart.
-
-
-
In the same manner as described above, continue prying along the top edge of the front and rear bezels.
-
-
-
-
Separate the rear bezel from the front bezel.
-
-
-
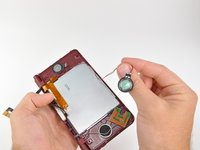
Use the flat end of a spudger to pry the rear camera off the rear bezel.
-
Remove the rear bezel.
-
-
-
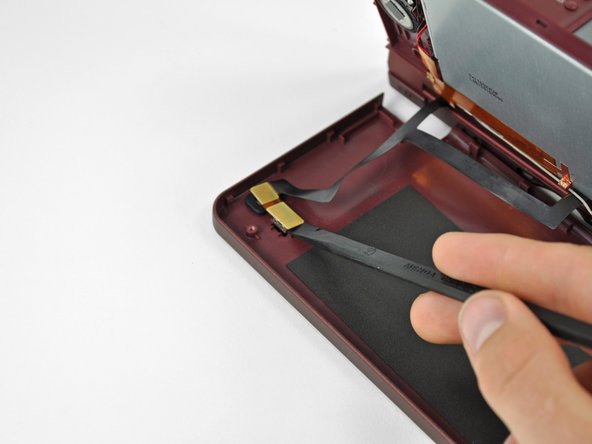
Using the flat end of a spudger, pry the Wi-Fi antenna out of its housing from within the front bezel and move it aside.
-
-
-
Using the flat end of a spudger, pry the left speaker out of its socket on the front bezel.
-
De-route the speaker cable along the top edge of the screen.
-
In the same manner as described above, remove the right speaker from its socket on the front bezel.
-
Place both speakers on the back of the upper LCD.
-
-
-
Carefully push the upper display assembly through its housing in the front bezel.
-
Rotate the upper display assembly out of the front bezel.
-
-
-
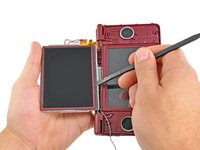
Insert the flat end of a spudger underneath the adhesive strip that secures the front screen to the upper LCD.
-
Slide the spudger along the bottom side of the upper LCD, freeing the adhesive along that edge.
-
-
-
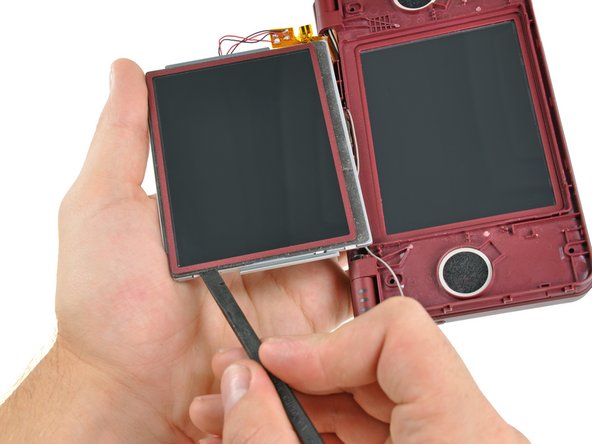
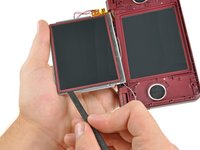
In the same manner as previously described, detach the adhesive along the left edge of the upper LCD.
-
-
-
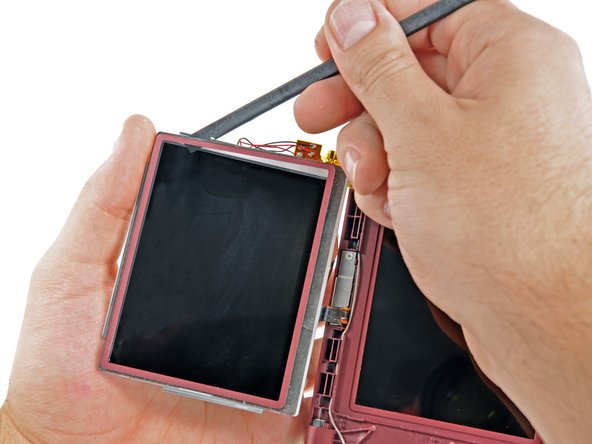
In the same manner as previously described, detach the adhesive along the right side of the upper LCD.
-
-
-
Carefully lift the upper screen from the bottom edge.
-
Pull the upper screen away from the upper LCD.
-


To reassemble your device, follow these instructions in reverse order.
To reassemble your device, follow these instructions in reverse order.
crwdns2935221:0crwdne2935221:0
crwdns2935229:06crwdne2935229:0


crwdns2947412:05crwdne2947412:0
This step-through is not complete.....
how do you actually change the screen????
Yes, you're right. Also there's a gap between steps 7 to 8 because you cannot actually detach the upper screen without disconnect the board cable from the lower screen part.
By the way, I can't quite successfuly open the upper screen part on my dsi xl because it dont seem to give any space between the two covers. Any suggestions?
@Irj7 find the top lcd replacement guide here:
NOTE To others out there… this guide is only to change the plastic cover over the screen, and not the screen itself. See James Bourne’s link for the real “how to replace upper LCD” guide.
Does anyone know what the material is in the upper shell (behind the LCD screen) link. I looks like some kind of foam pad?