crwdns2915892:0crwdne2915892:0
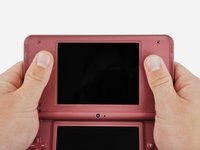
Be the envy of onlooking gamers with a shiny new rear bezel on your DSi XL.
crwdns2942213:0crwdne2942213:0
-
-
Use a push pin to remove the four plastic screw covers on the front bezel.
-
-
-
Remove four Phillips screws securing the front bezel to the rear bezel.
-
-
-
Using two hands, gently slide the rear bezel upwards.
-
-
-
-
Insert a spudger into the gap between the front and rear bezel
-
Rotate the spudger away from the DSi XL, prying the two bezels apart.
-
-
-
In the same manner as described above, continue prying along the top edge of the front and rear bezels.
-
-
-
Separate the rear bezel from the front bezel.
-
-
-
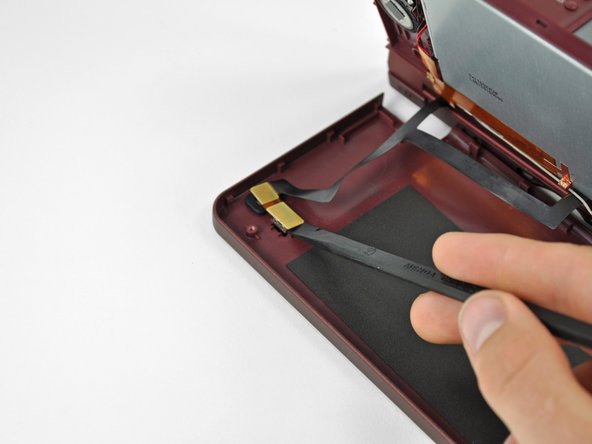
Use the flat end of a spudger to pry the rear camera off the rear bezel.
-
Remove the rear bezel.
-


To reassemble your device, follow these instructions in reverse order.
To reassemble your device, follow these instructions in reverse order.
crwdns2935221:0crwdne2935221:0
crwdns2935229:03crwdne2935229:0
