crwdns2915892:0crwdne2915892:0
If your games won't load replacing the gamecard reader is an option. Watch out for delicate ribbon cables in the device.
crwdns2942213:0crwdne2942213:0
-
-
Unscrew the two 3mm Phillips #1 head screws along the top edge of the device.
-
-
-
Pull the top corner tabs of the front face plate outward and towards you.
-
Pull the faceplate up and out of the slots at the bottom of the device.
-
Set aside the back faceplate.
-
-
-
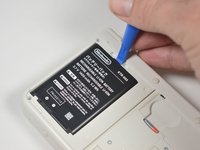
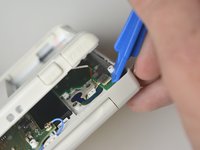
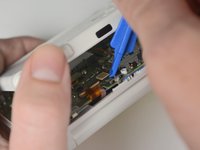
Insert a plastic opening tool into the notch at the top of the battery.
-
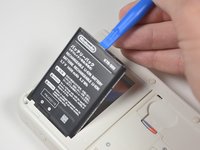
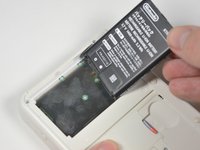
Pry the battery up with the plastic opening tool.
-
-
-
Unscrew the three 3mm Y0 screws along the right and bottom of the SD card reader.
-
-
-
-
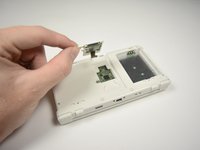
Pull the SD card reader from the edge with two holes gently to free the tab at the top of the SD card reader.
-
Reorient the device so that the power jack faces you.
-
-
-
Lift the SD card reader gently.
-
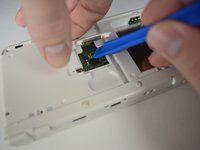
Use a plastic opening tool to pry the SD card ribbon cable off the socket on the motherboard.
-
Lift the SD card reader out off of the lower casing.
-
-
crwdns2935267:0crwdne2935267:0Tweezers$4.99
-
Reorient the device so that the game slot now faces you.
-
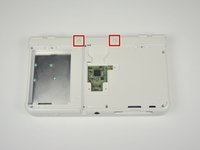
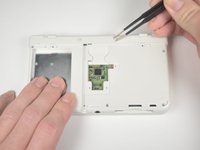
Remove the two rubber bumpers along the top of the device using tweezers.
-
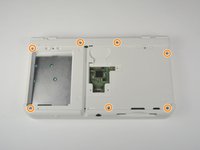
Unscrew the seven 6mm Phillips #00 screws along the top and bottom of the 3DS.
-
-
-
Lift the top edge of the lower case slightly off on the 3DS.
-
Pry the ribbon cable socket under the right trigger using a plastic opening tool.
-
Pry the ribbon cable socket under the infrared receiver cover using a plastic opening tool.
-
-
-
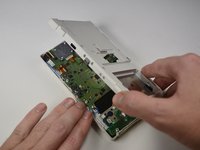
Open the device slowly from its top edge. Be careful not to tug the ribbon cable connected near the bottom edge of the device.
-
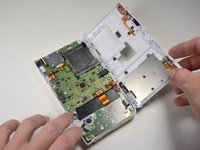
Pry the last ribbon cable attached to the lower case using a plastic opening tool.
-
-
-
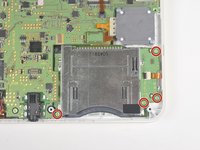
Locate the gamecard reader near the bottom right corner of the motherboard.
-
Unscrew the four 3mm Phillips #00 screws along the edge of the gamecard reader.
-
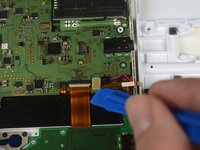
Lift the black latch on the ZIF connector along the right side of the reader using a plastic opening tool.
-
-
-
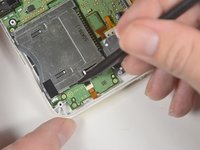
Pry the ribbon cable from its socket, just left of the joystick, using the flat side of a spudger.
-
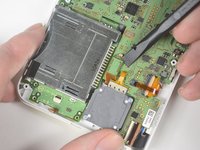
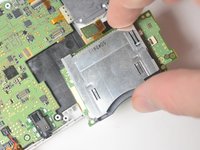
Grab the right edge of the gamecard reader and lift it out of the device, watching to make sure the ribbon cables don't snag.
-
To reassemble your device, follow these instructions in reverse order.
To reassemble your device, follow these instructions in reverse order.
crwdns2935221:0crwdne2935221:0
crwdns2935229:03crwdne2935229:0
crwdns2947412:03crwdne2947412:0
Where can I find this replacement Part?
Hello! Unfortunately replacement parts for this particular model are difficult to find. There seems to be some replacement parts for the XL; however, I don't think that they are the compatible with the regular 3ds. Additionally, slot replacements are sold widely; however, it would require difficult smd rework. Your best bet is to find a New 3ds 2015 that is being sold for parts on ebay that has a working gamecard reader and use that as a replacement.
Does anyone know a replacement part link for this? I don't have the money for another one.


