crwdns2915892:0crwdne2915892:0
This guide will demonstrate how to replace any of the push button switches on the circuit board. Each button has four solder pads to desolder. When replaced these must be in the correct orientation in order for the device to work. For soldering help, follow the How to Solder and Desolder Connections guide.
crwdns2942213:0crwdne2942213:0
-
-
Remove the five screws (13mm long, 6mm head) attaching the Base Cover using a Phillips screwdriver (Ph2).
-
Remove the two screws (13 mm long, 6mm head) attaching the Base Cover using a T10 screwdriver.
 crwdns2952109:0crwdne2952109:0
-
-
-
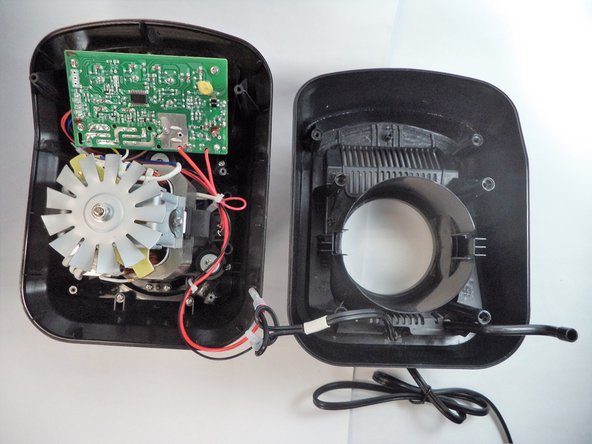
Carefully remove the second layer from the base. You will not need a screwdriver for this step.
-
-
-
-
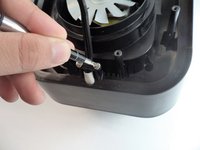
Remove the 2 screws (13mm, 6mm head) connected to the plastic piece holding down the power cord.
-
Then remove the additional 4 screws (13mm, 6mm head) and 2 screws (11mm, 5mm head) securing the base.
-
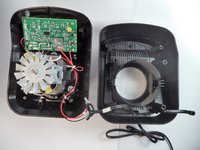
Carefully lift the base up from the rest of the blender.
-
-
-
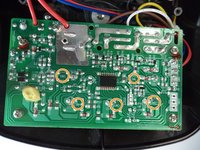
Remove 4 screws (11mm, 4mm head) connecting the circuit board to the base.
-
-
-
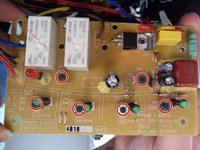
Locate which button you wish to replace.
-
On the back of the circuit board from the button, there are four solder pads with the designation "SW" followed by a number.
-


To reassemble your device, follow these instructions in reverse order.
crwdns2935221:0crwdne2935221:0
crwdns2935227:0crwdne2935227:0

crwdns2935287:0crwdne2935287:0

Arkansas State University, Team S1-G4, Chamberlain Fall 2017 crwdns2935289:0Arkansas State University, Team S1-G4, Chamberlain Fall 2017crwdne2935289:0
ARSU-CHAMBERLAIN-F17S1G4
crwdns2931471:02crwdne2931471:0
crwdns2935297:014crwdne2935297:0
crwdns2947412:04crwdne2947412:0
Hi! I changed the “power button” and when I plugged it back, it went on without the press of the button, and it didn’t work. Think I may have made a lousy soldering job… :/
Luis - crwdns2934203:0crwdne2934203:0 crwdns2950251:0crwdne2950251:0
Got a dead BL780. Pretty sure it’s the power switch as it’s been harder and harder to push to turn on. Going to attempt to replace on the board. I’m guessing that it’s a tactile momentary switch and that the board controls the power activation instead of the tactile switch being a push on/push off. Any insight would be appreciated.
Mark - crwdns2934203:0crwdne2934203:0 crwdns2950251:0crwdne2950251:0
Where can I purchase the power button?
Mark
Cenek Picka - crwdns2934203:0crwdne2934203:0 crwdns2950251:0crwdne2950251:0
Where can buy switch? What part number is the switch?
Mountain Buoy - crwdns2934203:0crwdne2934203:0 crwdns2950251:0crwdne2950251:0