crwdns2915892:0crwdne2915892:0
This guide will allow you to disassemble the camera to the point where the screen can be replaced, help you replace it and provide direction for reassembly.
crwdns2942213:0crwdne2942213:0
-
-
Turn the camera upside down and locate the two, black screws.
-
Using the Philips #00 Screwdriver, remove each screw.
-
-
-
Rotate the camera to the left side and remove the two, black, #00 Philips screws.
-
-
-
Rotate the camera to the right side and remove the two, black, #00 Philips screws.
-
-
-
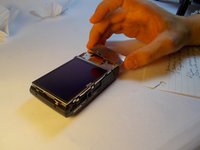
Carefully remove the back plate from the body of the camera.
-
-
-
-
Using the Philips #00 Screwdriver, remove the two screws that are holding the keypad.
-
-
-
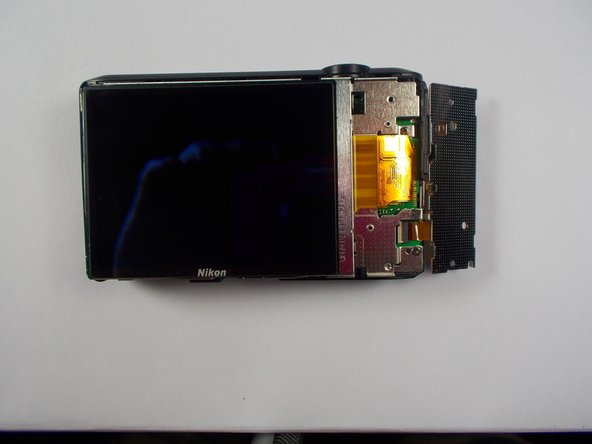
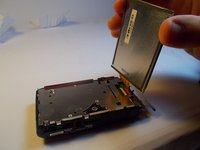
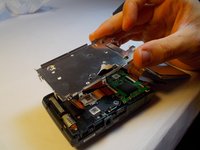
Gently pull the display away from the camera body.
-
Fold the display away from the camera
-
-
-
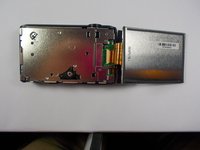
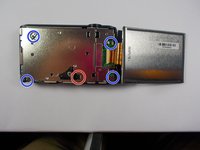
Remove the visible midframe screws.
-
There is a screw beneath the foam square that must be removed as well.
-
The screw holding the silver wrist-strap loop on the side of the camera must also be removed.
-
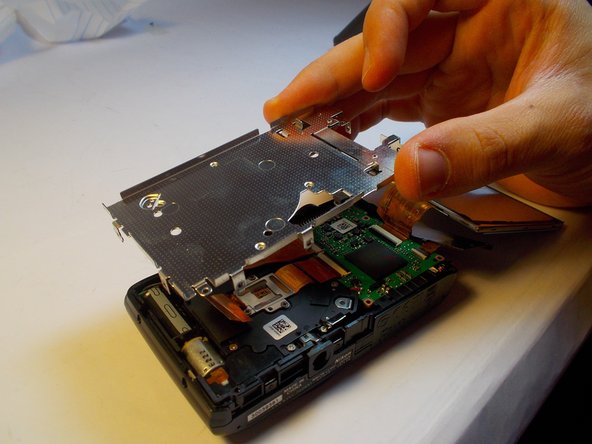
Gently lift the midframe up and out of the device.
-
-
-
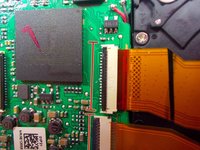
Flip up the little black tab on the connecter of the display's ribbon.
-
-
-
Gently pull out the ribbon. It should come out easily, don't force it.
-
-
-
Take the new display and orient it the same way as the old screen before it was removed.
-
Gently slide the end of the electric ribbon into the connector.
-
To make sure that the ribbon is completely in the connector give it a firm push but don't force anything. The ribbon should slide in with only a little resistance.
-


To reassemble your device, follow these instructions in reverse order.
To reassemble your device, follow these instructions in reverse order.
crwdns2915084:0crwdne2915084:0

UMass Dartmouth, Team 1-2, Shastany Spring 2015 crwdns2935289:0UMass Dartmouth, Team 1-2, Shastany Spring 2015crwdne2935289:0
UMASSD-SHASTANY-S15S1G2
crwdns2931471:04crwdne2931471:0
crwdns2935297:08crwdne2935297:0