crwdns2915892:0crwdne2915892:0
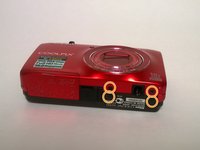
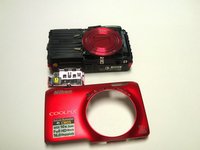
This guide shows how to remove the polarizing lens from the S6300 after removing the battery, the camera front and back covers, and display.
crwdns2942213:0crwdne2942213:0
-
-
Place the camera facing upwards.
-
Press down on the battery cover and slide towards the front face of the camera.
-
-
-
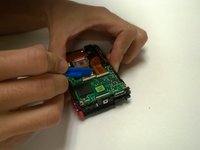
Rotate the orange battery clip in the camera to release the battery.
-
-
-
Locate the eight outer PH 2mm screws on the device.
-
Using the PH00 screwdriver remove all of the screws from the camera.
-
-
-
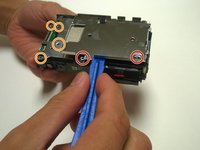
Using a plastic opening tool, gently pry off the front and rear plates.
-
Be patient with this step, do not force the clips holding the plates together.
-
-
-
-
Using a Phillips #00 screwdriver, remove the PH 2 mm screw located to the right of the screen, above the OK dial.
-
-
-
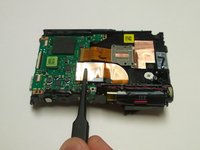
Disconnect the connectors using a plastic spudger.
-
-
-
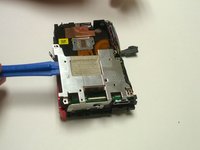
You may now remove the internal panel of the buttons.
-
-
-
Remove the clasp from the ribbon cable using the plastic spudger.
-
You may now remove the display.
-
-
-
Remove the four PH00 2.5 mm screws around the edges of the display plate.
-
Remove the three PH00 2 mm screws from the sides of the buttons plate and the 2.5 mm screw from the center of the buttons plate.
-
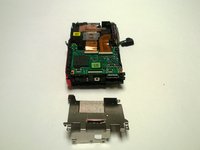
Lift the buttons plate out of the camera with the plastic tool.
-
Lift the display plate out of the camera with the plastic tool.
-
-
crwdns2935267:0crwdne2935267:0Tweezers$4.99
-
Use the plastic opening tool to gently flip the white folders at the end of the ribbon cables.
-
Use this tweezers to gently pull the cables out of the holders.
-
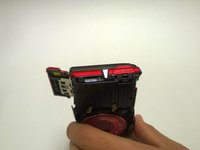
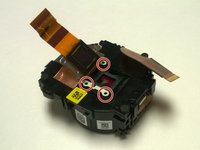
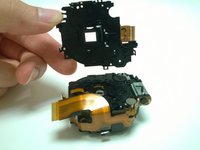
Lift the lens apparatus out of the rest of the camera by pushing the front of lens up from the bottom.
-
-
-
Use the plastic opening tool to flip the two white clips holding the ribbon cables.
-
Use tweezers to pull the cables from clamps.
-
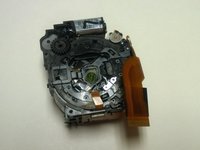
Use the PH00 screwdriver to remove the three 2 mm screws around the first lens area.
-
-
-
Lift the first lens from the rest of the lens apparatus.
-
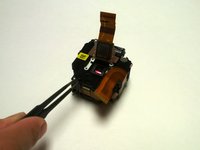
Use thin tweezers to left and remove the polarizing lens from the apparatus.
-


To reassemble your device, follow these instructions in reverse order.
crwdns2935221:0crwdne2935221:0
crwdns2935229:02crwdne2935229:0
crwdns2935287:0crwdne2935287:0

USF Tampa, Team 1-2, Remmell Fall 2015 crwdns2935289:0USF Tampa, Team 1-2, Remmell Fall 2015crwdne2935289:0
USFT-REMMELL-F15S1G2
crwdns2931471:05crwdne2931471:0
crwdns2935297:010crwdne2935297:0
crwdns2947410:01crwdne2947410:0
Be sure to either fully discharge the inbuilt battery or wear anti-shock gloves
Because it's not fun getting shocked by the point you have to hold the camera to unscrew