crwdns2915892:0crwdne2915892:0
You will need a #00 phillip's head screwdriver and a black spudger (or equivalent tool).
crwdns2942213:0crwdne2942213:0
-
-
First, use a Phillips #00 screwdriver to remove all five screws that are located at the bottom of the camera.
-
-
-
Next, slide the battery door open in the direction of the arrow to reveal a hidden screw on the opposite side of the orange lever.
-
Remove this screw using the Phillips #00 screwdriver.
-
-
-
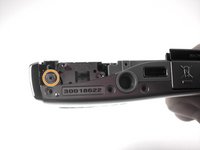
Rotate the camera to find the side panel with the lanyard attachment.
-
Detach the side panel by the lifting bottom corner slightly with the spudger.
-
-
-
-
With the back cover lifted, lift the black flap that connects the ribbon to the motherboard with the spudger.
-
Carefully remove the back cover.
-
-
-
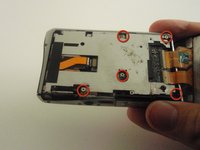
Remove the five screws on the metal plate.
-
Remove the screw at the bottom of the camera.
-
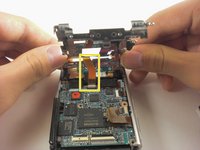
Carefully lift the metal plate from the right side to reveal a ribbon connected to the motherboard.
-
-
-
Lift the white flap with the spudger to release the ribbon.
-
Remove the back metal plate.
-
-
-
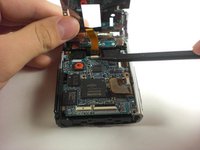
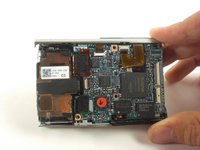
Lift the two ribbons with the spudger to disconnect the lens and pull it out.
-
-
-
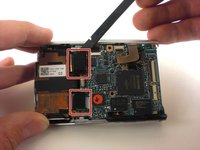
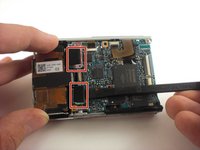
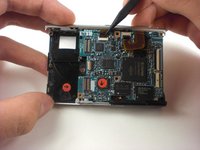
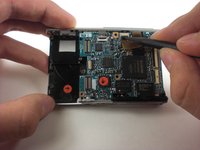
Lift two flaps with the spudger on the top of the motherboard to release ribbons.
-
-
-
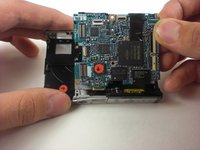
lift motherboard from the top to remove it from the camera.
-


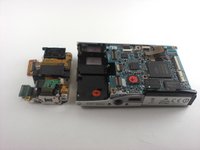


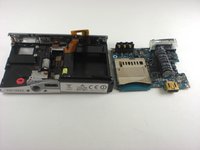
To reassemble your device, follow these instructions in reverse order.

crwdns2935287:0crwdne2935287:0

Cal Poly, Team 18-24, Garner Spring 2011 crwdns2935289:0Cal Poly, Team 18-24, Garner Spring 2011crwdne2935289:0
CPSU-GARNER-S11S18G24
crwdns2931471:04crwdne2931471:0
crwdns2935297:06crwdne2935297:0