crwdns2915892:0crwdne2915892:0
If you need to replace the video record, playback, or camera mode buttons, then you must follow these steps to replace the metal plate with the mounted wiring.
crwdns2942213:0crwdne2942213:0
-
-
Using a Philips #000 head screwdriver, remove the 8 screws (3.30 mm) visible on the external part of the camera.
-
There are 2 on each side, and 4 on the bottom.
-
-
-
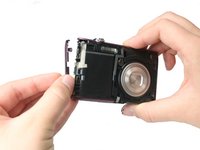
Remove the black casing on the back of the camera that runs around the LCD screen.
-
-
-
Using the Philips #000 head screwdriver, remove the 1.90 mm internal screw located just above the lanyard mount.
-
-
-
Using the Philips #000 head screwdriver, remove the 3.30 mm screw located on the side of the camera near the lanyard mount.
-
-
-
-
Using the Philips #000 head screwdriver, remove 2 additional 3.30 mm screws holding the lanyard mount in place.
-
-
-
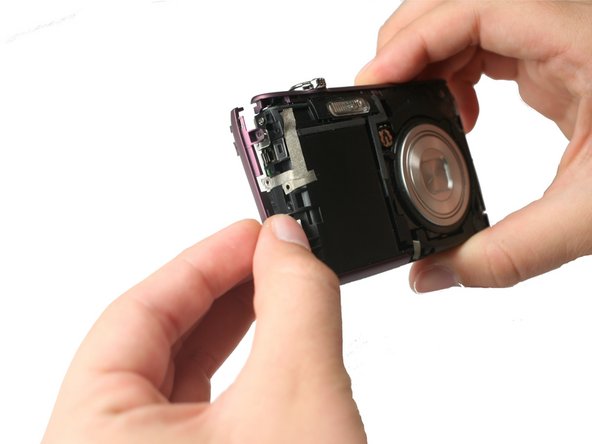
Remove the lanyard mount and accompanying side shell casing off of the camera.
-
-
-
Using the Philips #000 head screwdriver, remove the 3.30 mm screw securing the top shell casing.
-
-
-
Using the Philips #000 head screwdriver, remove the 3.40 mm screw located on the front of the camera in the upper corner by the LED light.
-
-
-
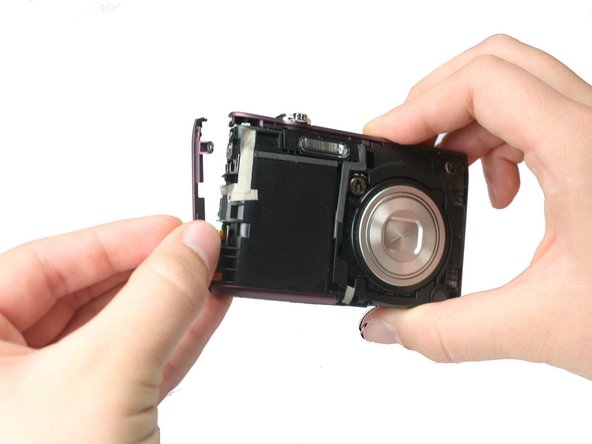
Remove the remaining side shell casing.
-
-
-
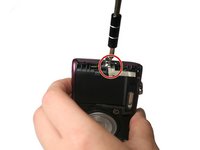
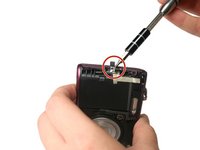
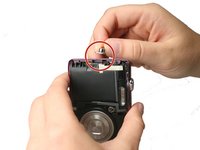
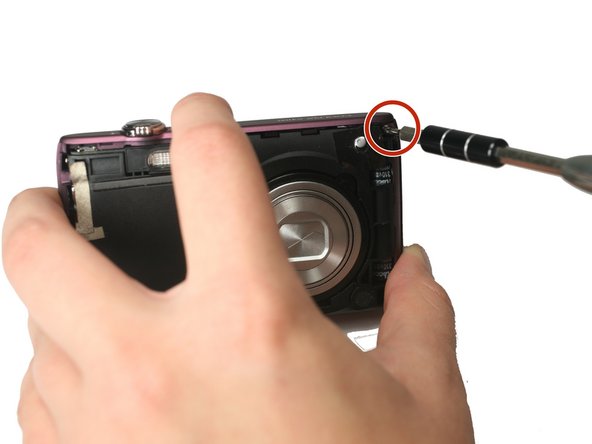
Using the Philips #000 head screwdriver, remove the 3.40 mm screw located near the functional buttons.
-
-
crwdns2935267:0crwdne2935267:0Tweezers$4.99
-
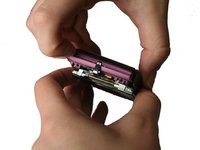
Using precision tweezers, remove the ribbon cable that runs from the functional buttons plate to the under side of the motherboard.
-
-
-
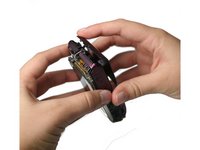
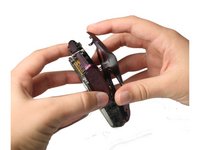
Using precision tweezers, lift up the bottom of the functional buttons plate and remove the metal plate.
-


To reassemble your device, follow these instructions in reverse order.
crwdns2935221:0crwdne2935221:0
crwdns2935227:0crwdne2935227:0
crwdns2935287:0crwdne2935287:0

Baylor, Team 4-2, Williams Fall 2015 crwdns2935289:0Baylor, Team 4-2, Williams Fall 2015crwdne2935289:0
BU-WILLIAMS-F15S4G2
crwdns2931471:04crwdne2931471:0
crwdns2935297:08crwdne2935297:0