crwdns2915892:0crwdne2915892:0
If there are problems with the camera’s flash, the camera light may need to be replaced. If you are not sure if you need to replace the camera light, take a look at our camera flash troubleshooting page first.
crwdns2942213:0crwdne2942213:0
-
-
Slide the battery door open with a finger or thumb and release it so the door opens.
-
-
-
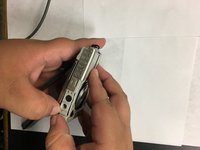
Push the orange tab back and the battery will pop out.
-
-
-
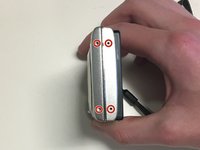
Remove four 2mm Phillips #000 screws.
-
Remove two black 3mm Phillips #000 screws.
-
Remove one 4mm Phillips #000 screws.
-
Remove two silver 3mm Phillips #000 screws.
-
-
-
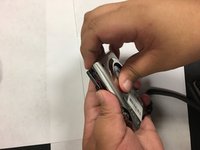
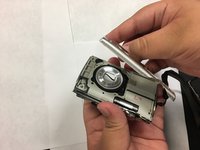
Use your fingers, or a spudger, to lift up one end of the casing and then pry the two pieces apart.
-
-
-
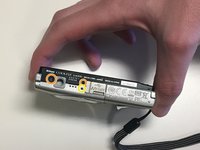
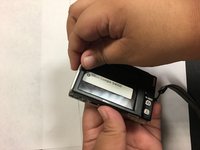
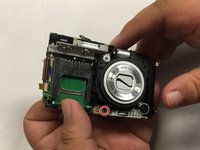
Turn the camera over.
-
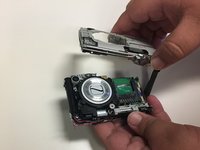
Use your fingers, or spudger, to lift one end of the back casing and pry it apart from back of the camera.
-
-
-
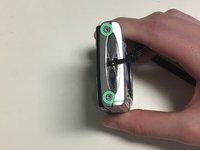
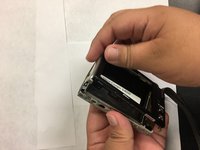
Remove the single 3mm Phillips #000 screw from the back of the camera.
-
-
-
-
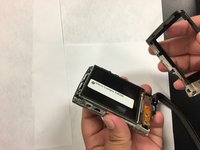
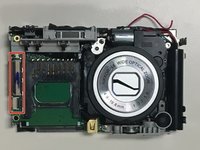
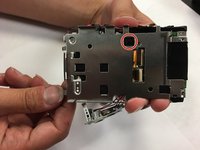
Turn the camera over and pry the lens casing off by slipping your fingers, or spudger, under the lip of the casing.
-
Desolder the two wires connecting the casing to the motherboard.
-
-
-
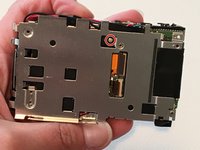
Remove the single 2mm Phillips #000 screw.
-
-
-
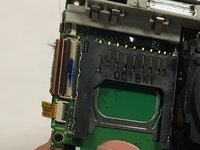
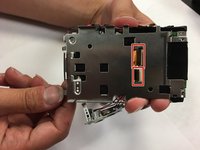
Use the flat end of a spudger to lift up the black tabs on the ZIF connectors.
-
Pull the ribbon cables out of the ZIF connectors.
-
-
-
Grabbing the top left corner of the screen, pull it up until the screen comes completely off.
-
-
-
Remove the two 3mm Phillips #000 screws.
-
-
-
Turn the camera over and remove a single 4mm Phillips #000 screw.
-
-
-
Use the flat end of a spudger to flip up the black tabs on the ZIF connectors.
-
Pull the ribbon cables out of the ZIF connectors.
-
-
-
Use the flat end of a spudger to pry the lens locking tabs open while pulling the lens away from the camera body.
-
-
-
Use the flat end of a spudger to lift up the black tab on the ZIF connector.
-
Pull the orange ribbon cable out of the ZIF connector.
-
Separate the lens from the motherboard.
-
-
-
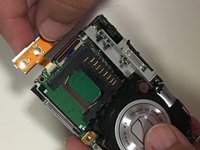
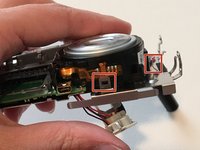
Remove the 3mm black screw from top of the camera light.
-
-
-
Pull the camera light away to detach it from the camera.
-
-
-
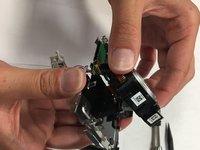
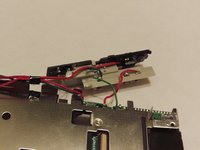
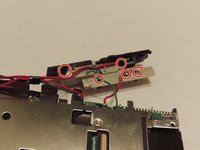
Remove the connected wires from the camera light.
-
Solder the wires on to the connectors of the new camera light.
-


To reassemble your device, follow these instructions in reverse order.
crwdns2935287:0crwdne2935287:0

University of North Texas, Team S4-G1, Thompson Spring 2018 crwdns2935289:0University of North Texas, Team S4-G1, Thompson Spring 2018crwdne2935289:0
UNT-THOMPSON-S18S4G1
crwdns2931471:05crwdne2931471:0
crwdns2935297:016crwdne2935297:0