crwdns2915892:0crwdne2915892:0
Get out your 90s DSLRs, the "vintage" photography look is in!
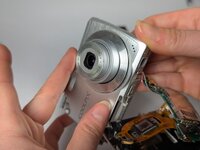
Use this guide to remove and replace the malfunctioning or broken lens on your Nikon Coolpix S200.
Your lens may need to be replaced after the years due to natural wear and tear of age. A common issue of these small cameras is a stuck lens, due to moisture and dust entry. This issue can lead to further damage to the internal camera system.
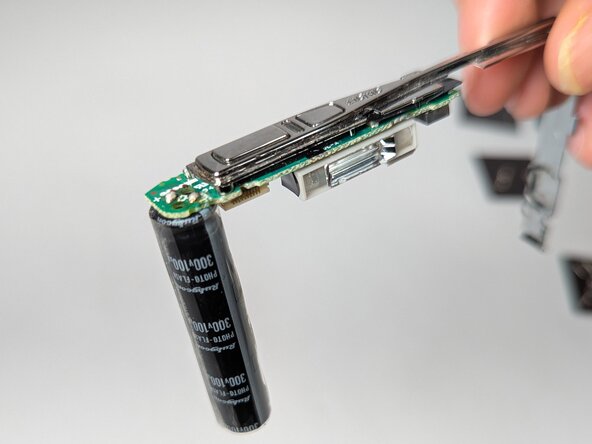
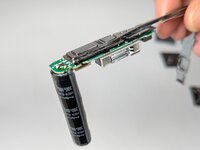
In Step 9, you will be handling the camera's cylinder-charged part. Be cautious of minor electrocution when disassembling the internal camera system. To avoid the risk of electrocution, wear a latex or rubber glove during this process. Throughout this guide you'll be handling tiny screws: we highly suggest using magnet strips for easy organization.
crwdns2942213:0crwdne2942213:0
-
-
Push the power button to activate the camera's power and lens.
-
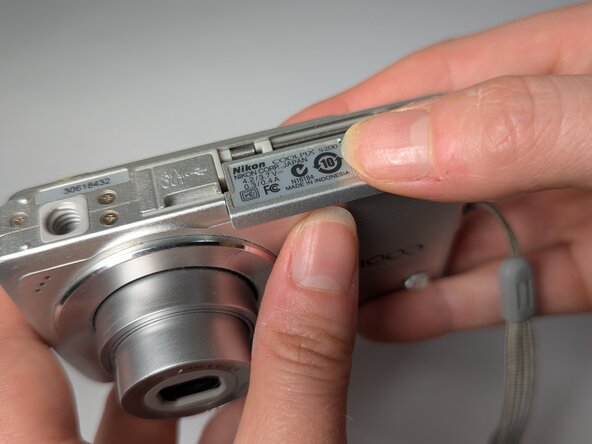
Rotate the camera so the bottom is facing up and the battery case is facing you.
-
Slide open the battery case, moving it towards the lens.
-
-
-
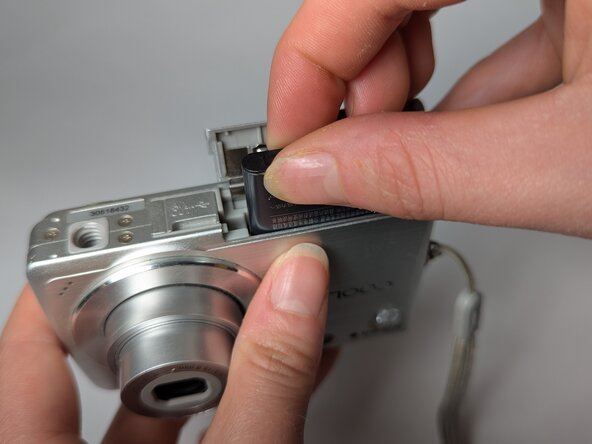
Gently slide the orange tab slightly away from the battery to unlock and release it.
-
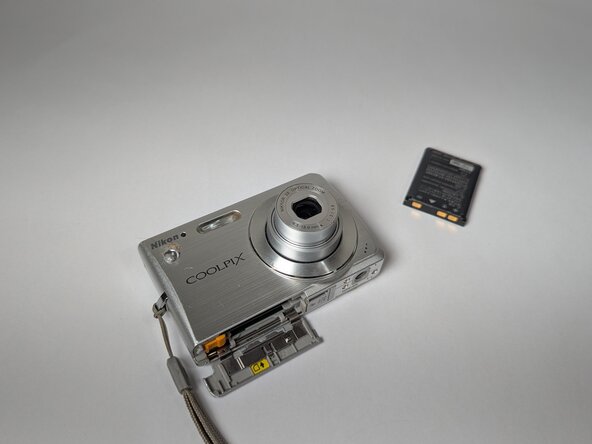
Remove the battery with your thumb and index finger, close the cover, and set the battery aside.
-
-
-
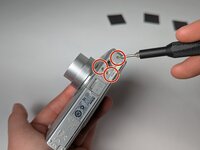
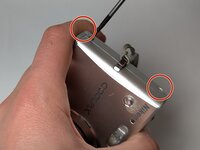
Remove the 2.8 mm screws located on the bottom and sides of the camera using a Phillips #00 screwdriver.
-
As you work place screws onto magnets to keep track of them
-
-
-
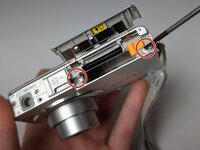
Open the battery and memory cover again.
-
Using a Phillips #00 screwdriver, remove the 3 mm screws near the yellow tab.
-
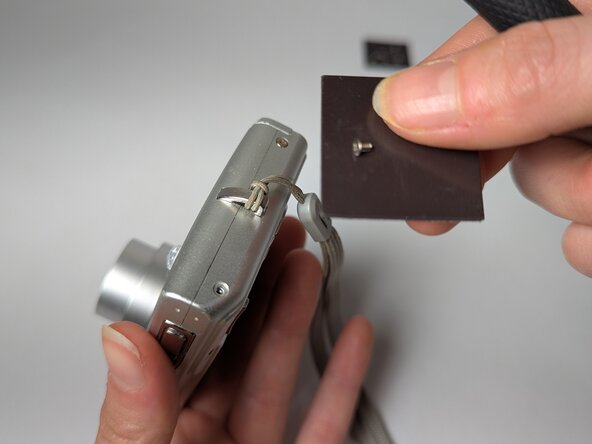
Rotate the camera again to reveal last side of the camera, with the tassel.
-
Remove the 3 mm screws and place them on the magnet strips.
-
-
-
-
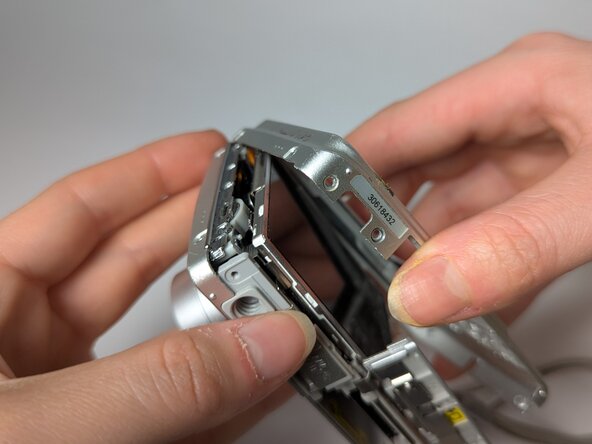
Gently lift the shell and place aside.
-
-
-
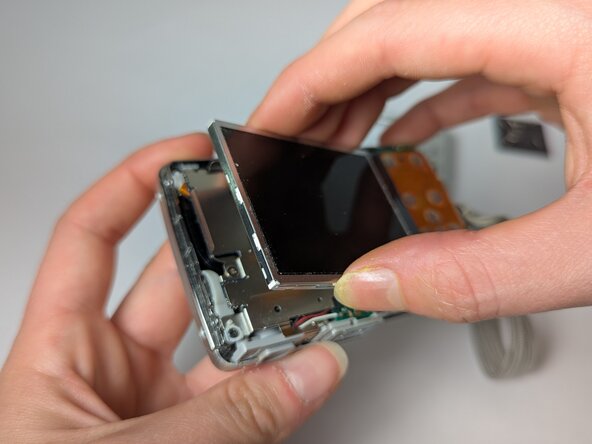
Using your fingers, gently lift the screen.
-
-
-
Remove two 4 mm screws from the corners and one on the left-hand side.
-
Remove two black 4 mm screws from the center.
-
Remove two silver 3 mm screws from the center.
-
Place loose screws on magnet strips.
-
-
-
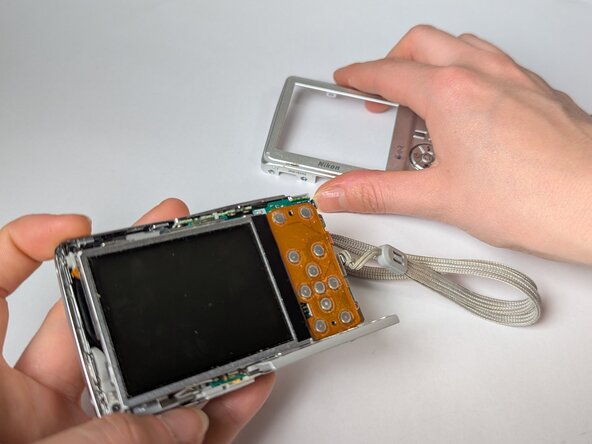
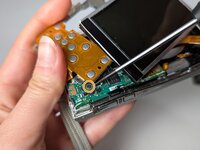
Flip the screen back down to work on the orange circuit board.
-
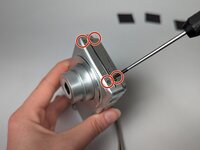
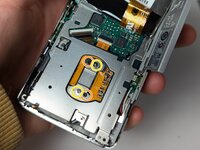
Unscrew the two 3 mm screws.
-
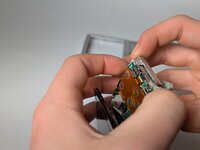
Gently lift the orange circuit board, maintaining all the connected ribbons.
-
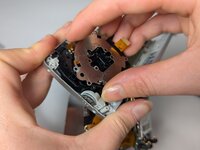
Underneath the orange circuit board, remove the 3 mm screw from the green circuit board.
-
-
-
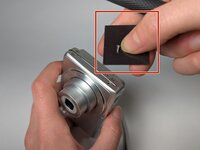
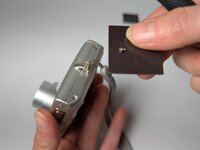
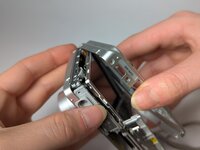
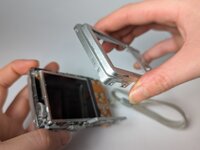
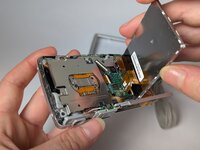
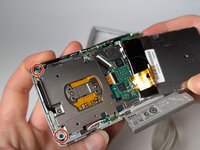
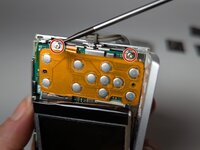
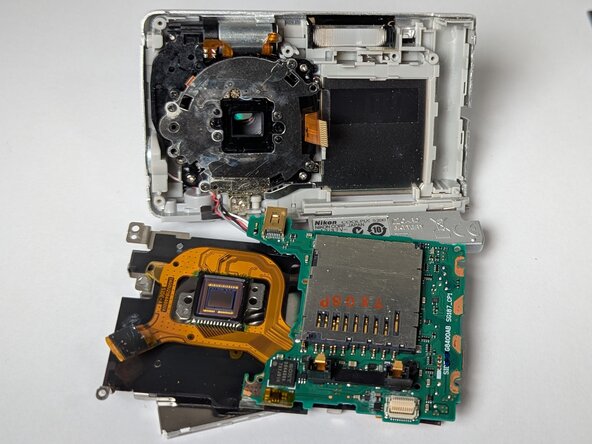
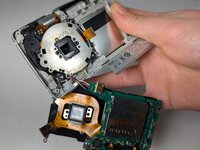
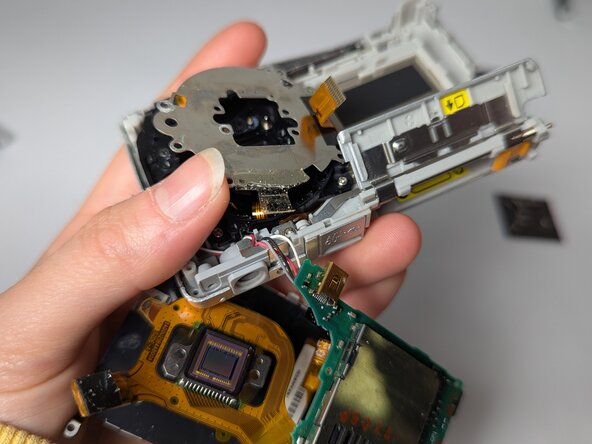
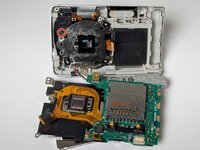
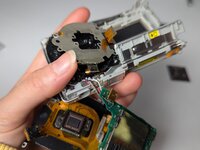
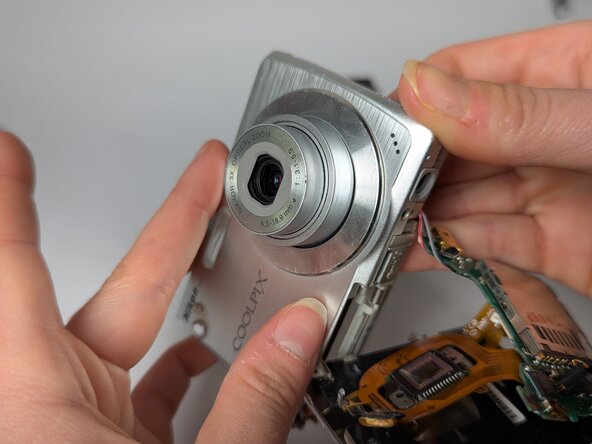
Using caution and a slightly firm hand, separate the camera into three parts: main body with lens, circuit board with screen, and the flash piece (pictured second).
-
-
-
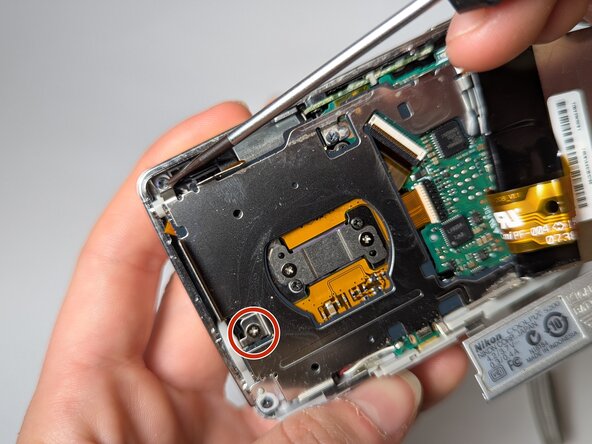
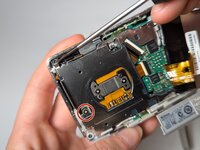
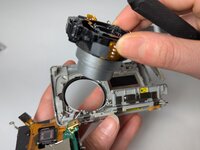
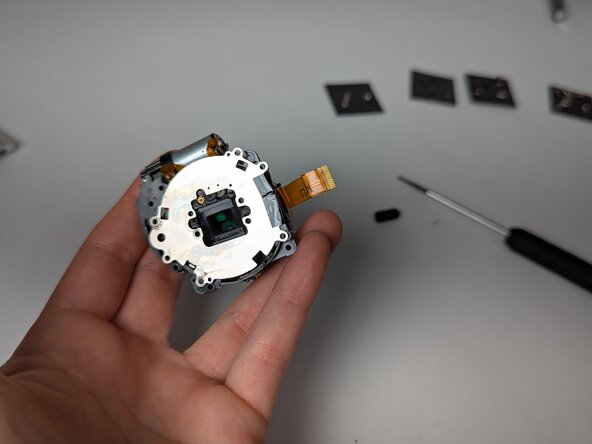
Remove all but one black 3 mm screws from the silver lens plate.
-
Lift the lens assembly free.
-
-
-
Grab your new lens and all your screws from disassembly.
-
Insert the new lens into the plastic housing where the old lens was.
-
Check the front of the lens to see if it is facing correctly.
-
Reassemble camera!
-


To reassemble your device, follow these instructions in reverse order.

crwdns2935287:0crwdne2935287:0

UC Davis, Team 1-4, Andersen Winter 2025 crwdns2935289:0UC Davis, Team 1-4, Andersen Winter 2025crwdne2935289:0
UCD-ANDERSEN-W25S1G4
crwdns2931471:03crwdne2931471:0
crwdns2935303:01crwdne2935303:0