crwdns2915892:0crwdne2915892:0
If the shutter button on your Nikon Coolpix L830 is damaged, replacement is necessary. Following these steps will allow you to replace the broken button with a new one to allow complete shutter functionality to return.
crwdns2942213:0crwdne2942213:0
-
-
Use a Phillips #000 screwdriver to unscrew the two 3.0mm Phillips screws located on the side of the camera with the HDMI port.
-
-
-
Unscrew the five 3.0mm Phillips #000 screws that are located on the bottom side of the camera.
-
-
-
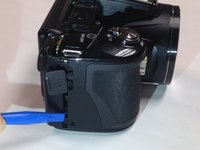
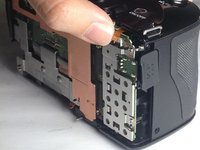
Unscrew the 4.0mm Phillips #000 screw located underneath the grey flap on the side of the camera with the "DC IN 5.0 V" marker.
-
Unscrew the exposed 3.0mm Phillips #000 screw on the same side.
-
-
-
Press the flash button to open the flash component.
-
Remove the 3.0mm Phillips #000 screw located directly in-between the two arms.
-
-
-
Open the LCD monitor to reveal two 2.0mm Phillips screws.
-
Remove the 2.0mm Phillips #000 screws.
-
-
-
-
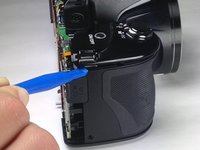
Insert a plastic opening tool between the back and front surface components of the camera.
-
Wiggle the plastic opening tool backwards and forwards along the top edge until the back surface comes off.
-
-
-
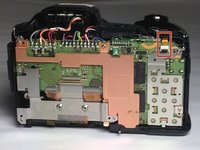
Gently pull the LCD ribbon connector up to allow the back casing to be completely removed.
-
-
-
Open the battery panel on the bottom of the camera by pushing the slider up and tugging the battery panel to the right.
-
Remove the 3.0mm Phillips screw in the top battery panel.
-
-
-
Remove the 3.0mm Phillips #000 screw located above the grey power flap on the side of the camera.
-
-
-
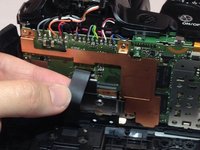
Use your finger to gently pull up the wire ribbon which connects the shutter button to the motherboard.
-
-
-
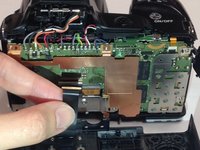
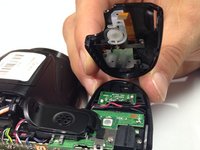
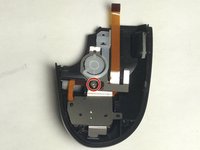
Insert the blue plastic opening tool between the main casing and the shutter component.
-
Wiggle the plastic opening tool up and down to pry off the shutter component.
-
-
-
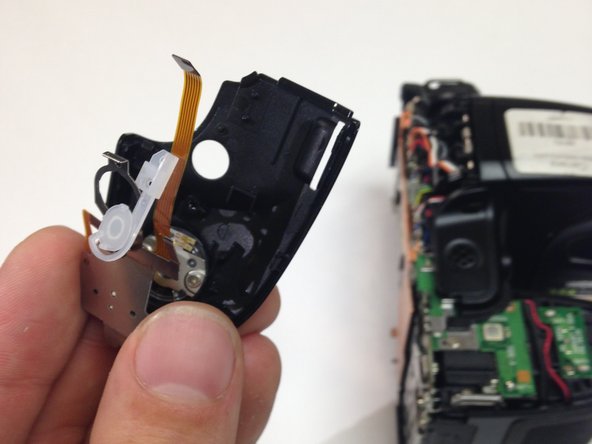
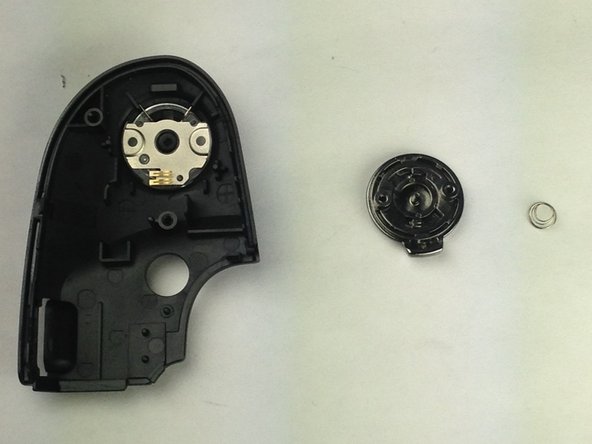
Unscrew the single 2.0mm Phillips #000 screw located on the dark brown strip on the back of the shutter button panel.
-
Once the Phillips screw is removed, gently take off the metal component with your hand or a wedge tool.
-
-
-
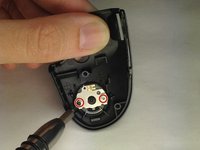
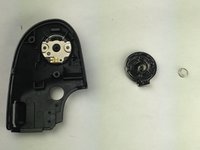
Remove the final two 2.0mm Phillips #000 screws, releasing the shutter button.
-


To reassemble your device, follow these instructions in reverse order.
crwdns2935287:0crwdne2935287:0

Baylor, Team 4-4, Williams Fall 2016 crwdns2935289:0Baylor, Team 4-4, Williams Fall 2016crwdne2935289:0
BU-WILLIAMS-F16S4G4
crwdns2931471:03crwdne2931471:0
crwdns2935297:010crwdne2935297:0