crwdns2915892:0crwdne2915892:0
This guide will show you how to access the LCD screen to replace it, or simply clean dust from under the clear plastic cover.
crwdns2942213:0crwdne2942213:0
-
-
There are six screws attaching the back housing to the camera. Remove the screws from the body with a PH000 screw head.
-
Two 1.5x2.5mm screws on the right side.
-
Two 1.5x2.5mm screws on the underside.
-
Two 1.5x2.5mm screw on the left side.
-
-
-
After removing the screws, use a metal spudger or plastic opening tool to push the back cover out.
-
Remove the back housing of the camera by lifting it directly up.
Note:
There are 3 locking cam-lugs along the top edge of the back plate. These slot over the top of matching very delicate moulded catches. Carefully lift and lever this top edge first.
-
-
-
-
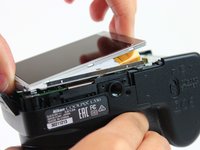
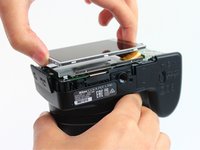
Insert the tips of your fingers into the space between the screen and back-plate.
-
Gently lift the screen up and out of the frame.
-
-
-
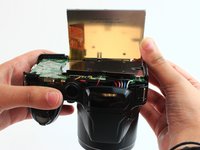
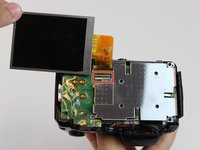
Tilt the screen so that the display cable forms a hinge with the backplate.
-
Rotate the display 180 degrees so that it faces you.
-
-
-
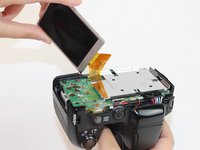
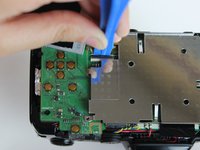
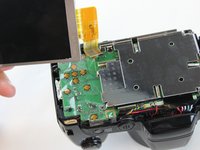
Using a plastic opening tool or fingernail, pop up the black clip holding the display cable. This will release the cable.
-
Slide the display cable out of the connector.
-
To reassemble your device, follow these instructions in reverse order.
To reassemble your device, follow these instructions in reverse order.
crwdns2935221:0crwdne2935221:0
crwdns2935229:05crwdne2935229:0
crwdns2947410:01crwdne2947410:0
Thank you, saved me money and time


