crwdns2915892:0crwdne2915892:0
This guide shows how to replace the motherboard and battery housing. This can be replaced if there are any issues with the battery connectivity or the board blows out.
crwdns2942213:0crwdne2942213:0
-
-
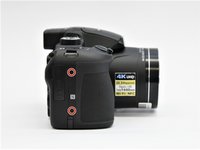
Use the Phillips screwdriver to remove the two 5.5 mm screws on the left side of the camera.
-
-
-
Use the Phillips screwdriver to remove seven 5.5 mm screws from the bottom of the camera.
-
-
-
Use the Phillips screwdriver to remove the two 5.5mm screws on the right side of the camera.
-
Open the HDMI flap to remove a 5.5mm screw.
-
-
-
Use the Phillips screwdriver to remove the two 5.5mm screws under the LCD panel.
-
-
-
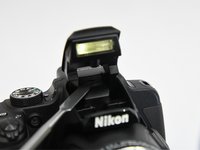
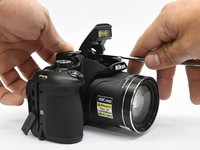
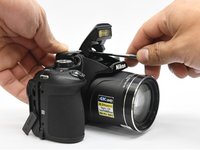
Open the flash assembly and insert the spudger into the slot under the flash unit and twist.
-
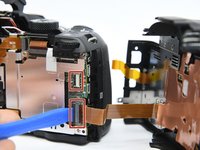
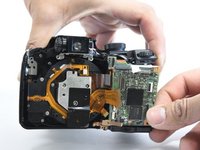
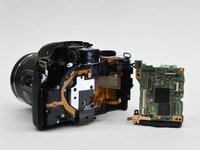
While twisting, pry apart the shell to split the camera in half.
-
-
-
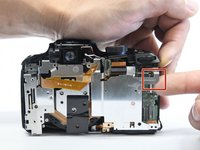
Place the pry tool under the black latch. Lift gently until the latch flips up.
-
Gently pull the ribbon away from the latch.
-
-
-
-
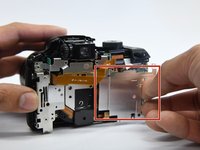
Use the Phillips screwdriver to remove the remaining five 5.55mm screws.
-
Remove the single 6mm screw.
-
-
-
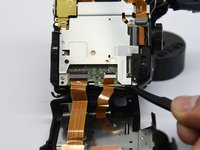
Insert the pry tool under the latch and gently lift up to remove the ribbon.
-
-
-
Move the ribbon out of the way to reveal the hidden screw.
-
-
-
Lift the button assembly gently to give access to remove the 4mm screw.
-
-
-
On the top of the camera, remove the 6mm screw.
-
-
-
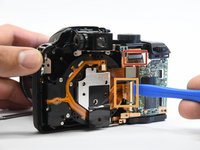
With the spudger tool gently pry off the white tap holding in the bracket.
-
Use the same tool to remove the glued-on ribbon.
-
-
-
Gently lift up the button assembly to slide the bracket out.
-
-
-
With the pry tool gently lift up the latch and pull the cable toward the lens assembly.
-
Use the pry tool again and place it under the ribbon and lift straight up to disconnect the ribbon.
-
-
-
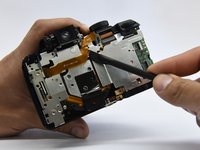
Use the metal spudger to open the latch to remove the ribbon.
-
-
-
Use the Phillips screwdriver to remove the single 6 mm screw.
-
-
-
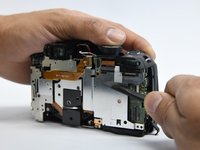
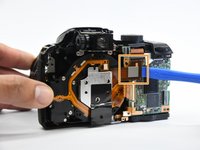
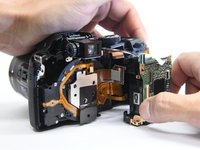
Gently lift the button assembly. Slide the motherboard out from the shell.
-
-
-
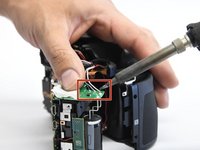
Desolder the black, gray, and white wires from the motherboard.
-


To reassemble your device, follow these instructions in reverse order.
To reassemble your device, follow these instructions in reverse order.
crwdns2935221:0crwdne2935221:0
crwdns2935229:02crwdne2935229:0
crwdns2915084:0crwdne2915084:0

Purdue University Northwest, Team S4-G5, Hingst Spring 2019 crwdns2935289:0Purdue University Northwest, Team S4-G5, Hingst Spring 2019crwdne2935289:0
PNW-HINGST-S19S4G5
crwdns2931471:04crwdne2931471:0
crwdns2935297:014crwdne2935297:0
crwdns2947410:01crwdne2947410:0
Nikon b700 all sorts part demegs