crwdns2915892:0crwdne2915892:0
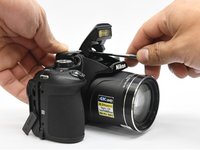
This guide shows how to replace the assembly of the shutter button/mode selector dial/buttons. This assembly can be replaced if any of the buttons malfunction or are faulty. The back cove and bracket need to be removed before removing the button assembly.
crwdns2942213:0crwdne2942213:0
-
-
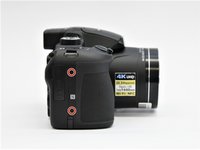
Use the Phillips screwdriver to remove the two 5.5 mm screws on the left side of the camera.
-
-
-
Use the Phillips screwdriver to remove seven 5.5 mm screws from the bottom of the camera.
-
-
-
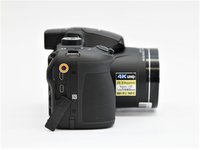
Use the Phillips screwdriver to remove the two 5.5mm screws on the right side of the camera.
-
Open the HDMI flap to remove a 5.5mm screw.
-
-
-
-
Use the Phillips screwdriver to remove the two 5.5mm screws under the LCD panel.
-
-
-
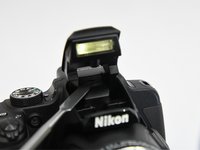
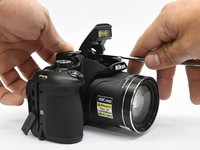
Open the flash assembly and insert the spudger into the slot under the flash unit and twist.
-
While twisting, pry apart the shell to split the camera in half.
-
-
-
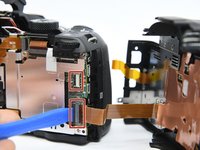
Place the pry tool under the black latch. Lift gently until the latch flips up.
-
Gently pull the ribbon away from the latch.
-
-
-
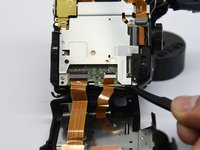
Lift the corner under the power button up.
-
While at the same time pushing the selector knob back.
-
-
-
This should remove the entire assembly from the camera housing.
-
To reassemble your device, follow these instructions in reverse order.
To reassemble your device, follow these instructions in reverse order.
crwdns2935221:0crwdne2935221:0
crwdns2935229:03crwdne2935229:0


