crwdns2915892:0crwdne2915892:0
Additional Information
crwdns2942213:0crwdne2942213:0
-
-
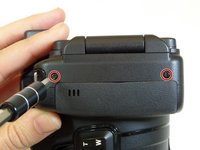
Position the back of the camera facing you and open the LCD screen to the left.
-
-
-
Use a Phillips screwdriver to unscrew the two 5.556 mm screws under the LCD screen.
-
-
-
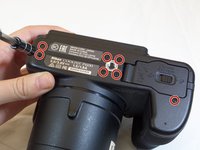
Use a Phillips screwdriver and remove the eleven 5.556 mm screws around the outside frame of the camera.
-
-
-
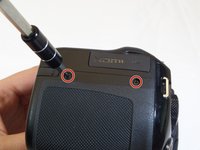
Open the "HDMI" rubber flap.
-
Use a Phillips screwdriver and remove the 5.556 mm screw underneath the flap.
For the P900, there are slight differences in screw position, but the basics are the same.
-
-
-
Press the flash button (as shown) to access flash.
-
-
-
Use a spudger to wedge underneath the flash
-
Pry (up and down) to separate.
P900, there are two more screws, one on each side of the flash
-
-
-
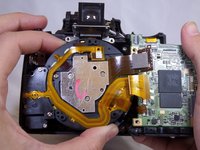
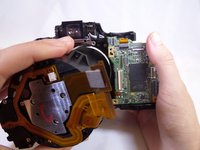
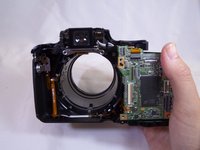
Use your hands to gently pull the front and back of the camera apart.
-
-
-
crwdns2935267:0crwdne2935267:0Tweezers$4.99
-
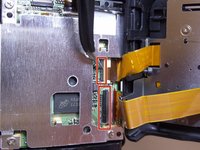
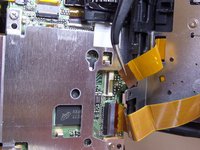
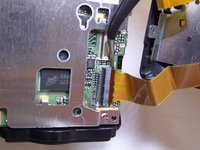
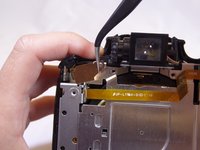
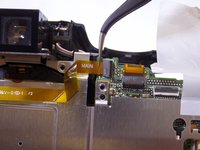
Use needle-nose tweezers to gently lift the black/grey latch towards the ribbon-wire (the latch rotates upward to release and snaps down to lock).
-
Use tweezers to gently remove ribbon-wires.
-
Pull the ribbon-wires towards the back-end of the camera.
-
-
-
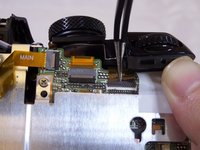
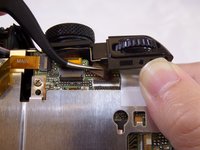
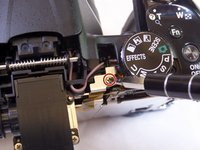
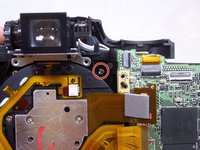
Use a Phillips screwdriver and remove the single 6.350 mm screw, left of the mode-adjustment dial.
-
-
-
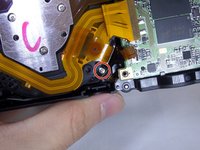
Use needle-nose tweezers to remove the large ribbon-wire located under the screw.
-
Gently wiggle the ribbon out in an upward motion.
-
-
-
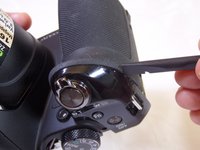
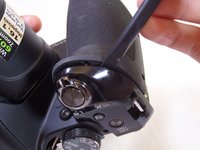
Insert a plastic opening tool under the shutter button.
-
Gently pry (back and forth) between the rubber grip and camera casing.
-
-
-
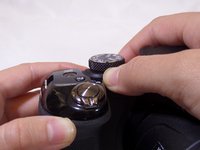
Place hands around the camera. Hold onto the mode dial and grip under the shutter button.
-
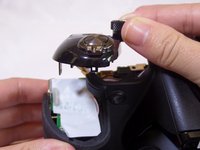
Gently push right thumb away and pull in left index finger to separate the camera halves.
onto the mode dial and grip under the shutter button.
Gently push right thumb away and pull in left index finger to separate the camera halves.
Add a comment
-
-
-
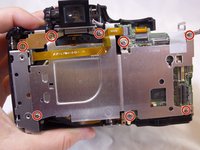
Use a Phillips screwdriver to remove the nine 3.175 mm screws on the inside of the camera.
-
Use tweezers to remove the golden bracket.
-
-
-
Use tweezers to remove the white film under the shutter-release button.
Be careful here. My tweezers touched something under this white film and shocked me really bad.
-
-
-
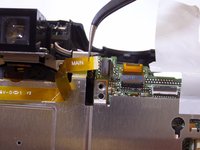
Use tweezers to remove the yellow ribbon-wire.
-
Gently wiggle it to the left and then out of its port.
-
-
-
Use hands to remove the metal cover.
-
Pull the cover up.
-
-
-
Use tweezers to remove the golden bracket.
-
-
-
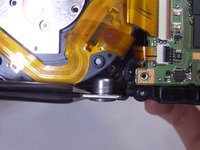
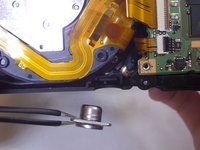
Use tweezers to remove the tripod connector.
-
-
-
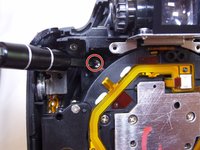
Unscrew the three 3.175mm screws.
-
-
-
Continue removing screws, keeping an awareness of the cavity right below the screw. It would be difficult to extract screw if lost in this cavity.
-
-
-
Remove lens by pulling up vertically.
-
Be careful not to damage any of the electrical ribbon on top of the lens.
-
To reassemble your device, follow these instructions in reverse order.
To reassemble your device, follow these instructions in reverse order.
crwdns2935221:0crwdne2935221:0
crwdns2935229:07crwdne2935229:0
crwdns2935103:0crwdne2935103:0
crwdns2947412:03crwdne2947412:0
Thank you this really helped me out
Hi,
I have the same camera with a swollen battery inside, i was able to remove it following your instructions but a little black piece popped out out of nowhere, I wonder if you have the same instructions for removing a battery when it is stocked. Thanks
where did you find the replacement lens for coolpix p610?


