crwdns2915892:0crwdne2915892:0
installing the flash
crwdns2942213:0crwdne2942213:0
-
-
Using two fingers, push up on the rear cover.
-
-
-
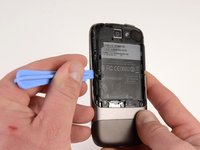
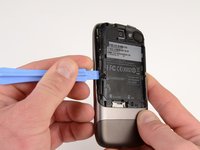
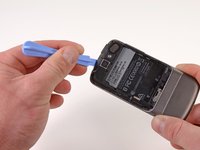
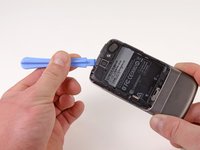
Using the plastic opening tools, pry the left bottom corner of the battery up.
-
-
-
-
Remove the two Torx T5 screws.
-
Remove the one Philips #00 screw.
-
-
-
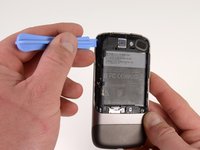
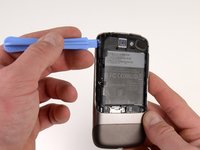
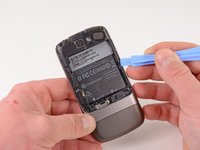
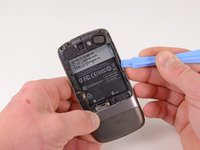
Using the plastic opening tool, pry up the battery housing upwards.
-
Push pry tool down, undoing the plastic tab.
-
-
-
Pry the upper left tab open on the battery housing.
-
-
-
Pry the top tab of the battery housing.
-
-
-
Pry the right side tab of the battery housing.
-
-
-
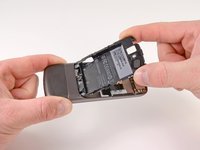
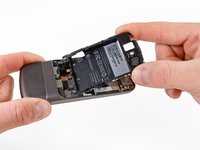
Pull up on the battery housing.
-
Slide the battery housing out to remove it.
-
-
-
Insert the spudger under the bottom of the flash board
-
Twist the spudger to lift and release the flash board.
-
To reassemble your device, follow these instructions in reverse order.
To reassemble your device, follow these instructions in reverse order.
crwdns2935221:0crwdne2935221:0
crwdns2935229:02crwdne2935229:0


