crwdns2915892:0crwdne2915892:0
This guide is used to remove and replace the motherboard of the Nexus 6 phone. It can be used if your phone's power supply continues to freeze or crash. Also, if your phone fails to recognize connectors that it previously recognized, you may need to replace the motherboard. Motherboard replacement should be treated with care.
crwdns2942213:0crwdne2942213:0
-
-
With a SIM card eject tool (a paperclip will work as well), push down on the hole at the top of the phone until the SIM card holder releases. This should not take much pressure.
-
Remove the SIM card and the SIM card holder.
-
-
crwdns2935267:0crwdne2935267:0iOpener$14.99
-
Lay out a soft cloth on your workspace to prevent scratching the screen in this and future steps.
-
Pry open the back casing using the soft plastic opening pick.
-
Carefully pull the back casing apart from the rest of the phone with your hands. Because the casing is glued to the rest of the phone, this step may require some force. Don't be alarmed if the casing flexes a bit.
-
-
-
Remove the twenty-two 2.3 mm T3 Torx screws with the T3 Torx Screwdriver.
-
-
crwdns2935267:0crwdne2935267:0Tweezers$4.99
-
With tweezers, remove the rubber protector on the lower part of the phone.
-
Disconnect the battery connector by gently prying it straight up with a spudger, on the side opposite the cable.
-
Completely separate the battery side from the motherboard side by gently pulling the sides apart with your hands.
-
-
-
crwdns2935267:0crwdne2935267:0Tweezers$4.99
-
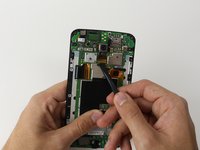
Use a spudger to gently detach the front facing camera connector.
-
Remove the front facing camera using the tweezers.
-
-
crwdns2935267:0crwdne2935267:0Tweezers$4.99
-
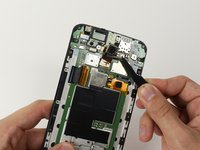
Use the spudger to release the rear facing camera connector.
-
Use tweezers to gently remove the rear facing camera.
-
-
crwdns2935267:0crwdne2935267:0Tweezers$4.99
-
-
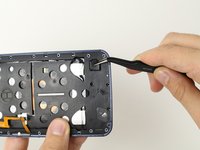
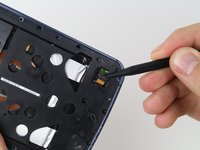
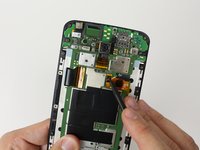
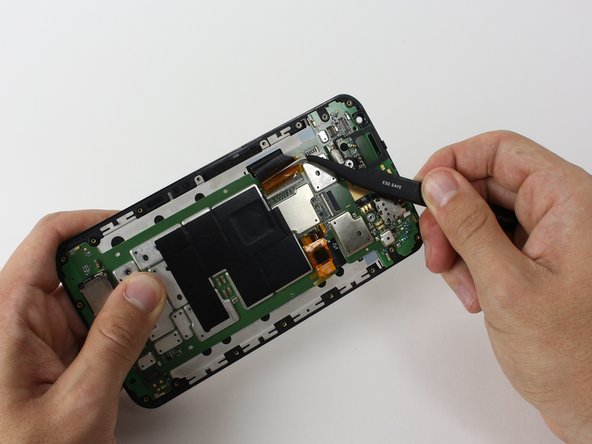
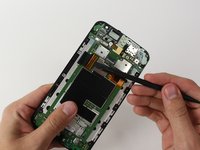
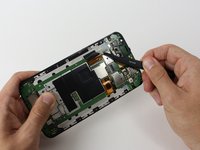
With a spudger, unlatch the ZIF connector of the big ribbon cable on the side of the phone. See instructions for detatching ZIF connectors here.
-
Use tweezers to release the ribbon cable completely.
-
-
-
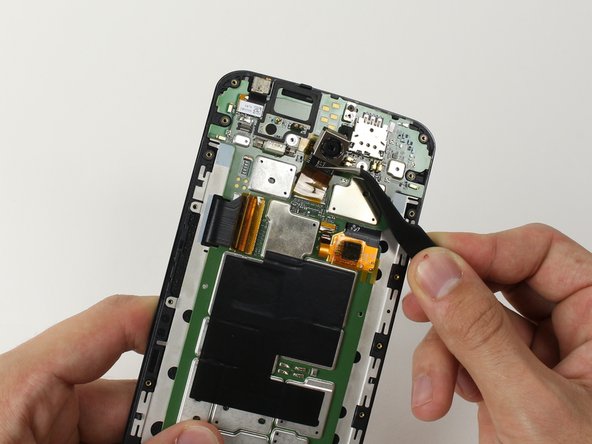
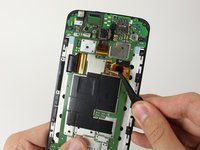
Remove the 2.3 mm T3 Torx screw on the top of the phone.
-
-
-
Peel the motherboard off of the screen with your hands.
-


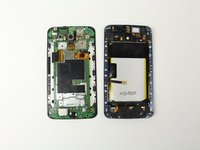


To reassemble your device, follow these instructions in reverse order.
crwdns2935221:0crwdne2935221:0
crwdns2935229:013crwdne2935229:0
crwdns2935287:0crwdne2935287:0

Cal Poly, Team 70-3, Forte Winter 2015 crwdns2935289:0Cal Poly, Team 70-3, Forte Winter 2015crwdne2935289:0
CPSU-FORTE-W15S70G3
crwdns2931471:04crwdne2931471:0
crwdns2935297:030crwdne2935297:0
crwdns2947410:01crwdne2947410:0
It worked great. Thanks!!!