crwdns2915892:0crwdne2915892:0
Use this guide to replace the rear-facing camera in your Nexus 5.
crwdns2942213:0crwdne2942213:0
-
-
Use a plastic opening tool to free the clips on the top and each side of the back cover.
-
-
-
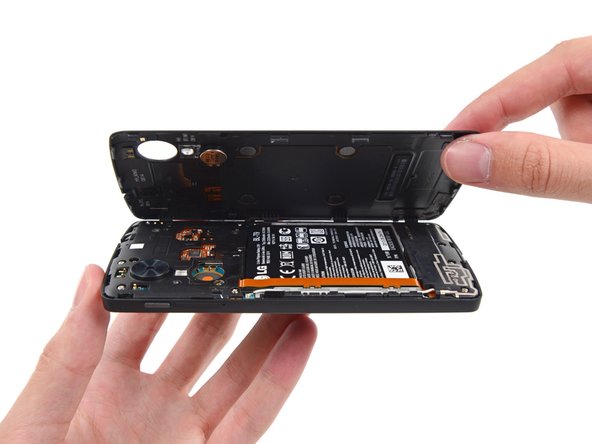
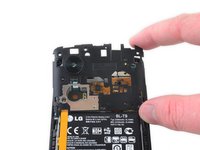
Remove the six 4.0 mm Phillips #00 screws that secure the midframe to the phone.
-
To replace the LCD screen and digitizer, remove the additional four 4.0mm daughterboard cover screws with the same screwdriver. You may have to pierce through clear adhesive material to remove them.
-
-
-
-
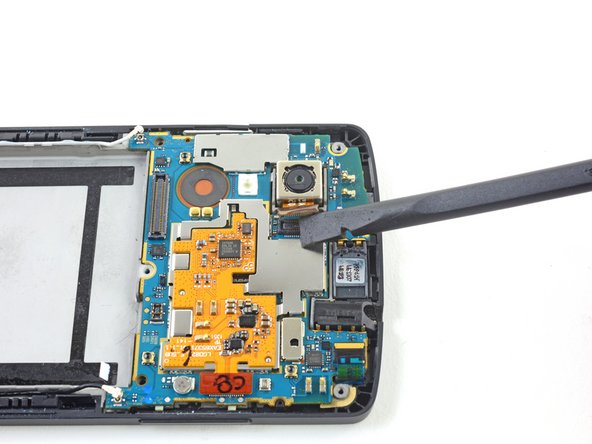
Use the flat end of a spudger to disconnect the battery connector.
-
-
-
Use the flat end of a spudger to disconnect the rear-facing camera.
-
-
-
Use a spudger to gently pry the rear-facing camera up to dislodge it from the adhesive.
-
Pull the camera laterally towards its ribbon to reveal the circuit board hiding under the motherboard.
-
Once you can see all of the camera fixture, you can pull up and remove it.
-


To reassemble your device, follow these instructions in reverse order.
To reassemble your device, follow these instructions in reverse order.
crwdns2935221:0crwdne2935221:0
crwdns2935229:026crwdne2935229:0
crwdns2915084:0crwdne2915084:0

USF Tampa, Team 13-4, Staggers Fall 2014 crwdns2935289:0USF Tampa, Team 13-4, Staggers Fall 2014crwdne2935289:0
USFT-STAGGERS-F14S13G4
crwdns2931471:03crwdne2931471:0
crwdns2935297:013crwdne2935297:0
crwdns2947410:01crwdne2947410:0
In case anyone else was confused about the end like I was: you don't have to remove the old adhesive, just leave it and put the replacement directly on top of it. It worked just fine for me!