crwdns2915892:0crwdne2915892:0
The Nextbook Ares 10A digitizer replacement is a fairly straightforward job, but a soldering iron will be required if you are to disconnect the battery.
crwdns2942213:0crwdne2942213:0
-
-
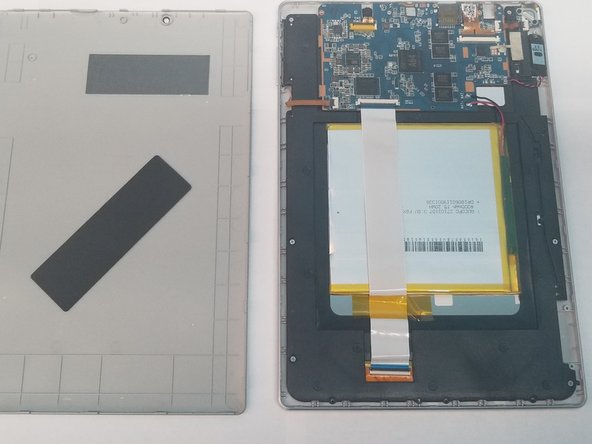
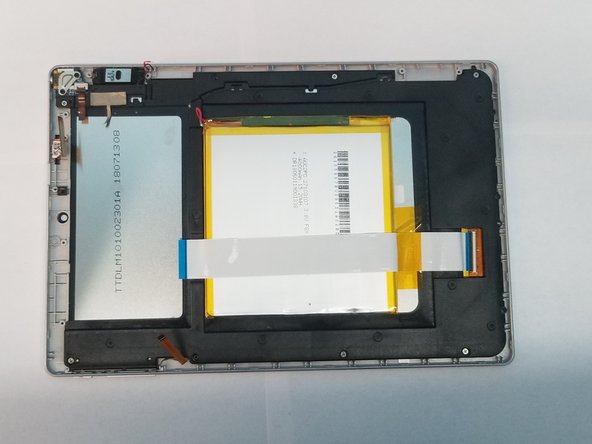
There are several retaining clips holding the back cover on the device.
-
Use a pry tool to seperate the back cover from the device.
-
-
-
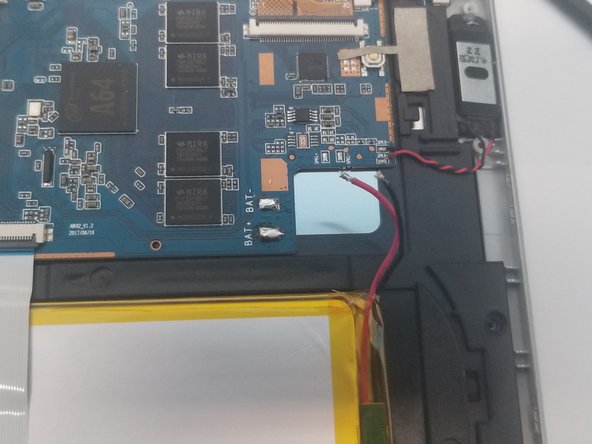
The battery is connected to the motherboard. We must disconnect it first before proceeding.
-
To disconnect the battery we must use a "soldering iron'' to disconnect the leads to the motherboard
-
With the battery successfully disconnected we can move on with the repair while also keeping us and the device safe
-
It's a good idea to put tape over the ends of the battery lead to protect it from touching anything.
-
-
-
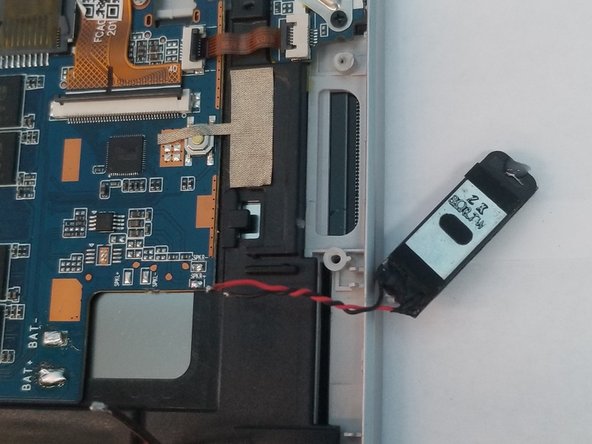
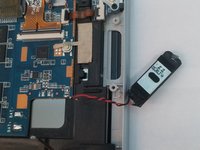
It may be a good idea to lift out the speaker at this point so the cables dont tear.
-
You will be moving the speaker over to the new digitizer and frame combo.
-
-
-
-
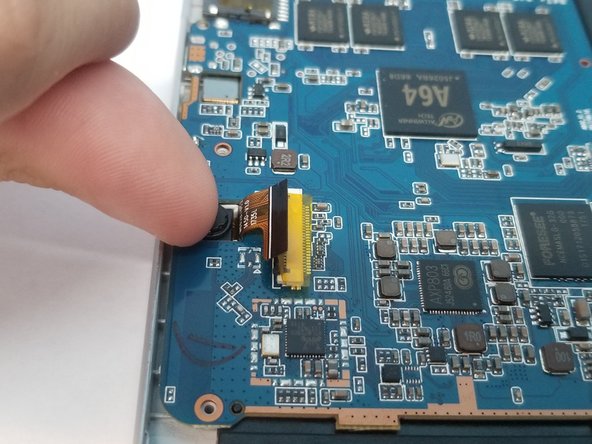
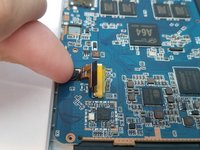
Flip up the five retaining flaps and pull out the fragile cables for the power and volume button, lcd, camera, digitizer, and daughter board holding the headphone jack.
-
It is not necessary to disconnect the camera but not doing so can risk tearing the fragile cable while removing the motherboard
-
-
-
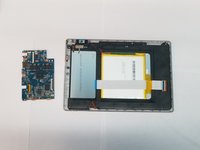
Remove the 3 Philip's screws holding the motherboard in place along the top.
-
Use a finger to lift up the rear camera module from the device, there is a small amount of adhesive under it to keep it secure
-
Removing the camera will keep it from tearing when removing it from the motherboard.
-
-
-
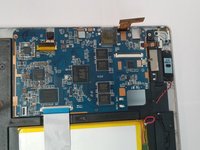
Lift up the motherboard to remove it from the device, being careful not to rip any cables in the process.
-
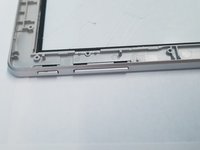
Remove the 6 silver colored philips screws holding the lcd to the digitizer frame.
-
Now remove the 2 black Philip's screws holding the headphone jack in place
-
-
-
Remove the silver plate over the headphone jack and lift up on the headphone jack to remove it.
-
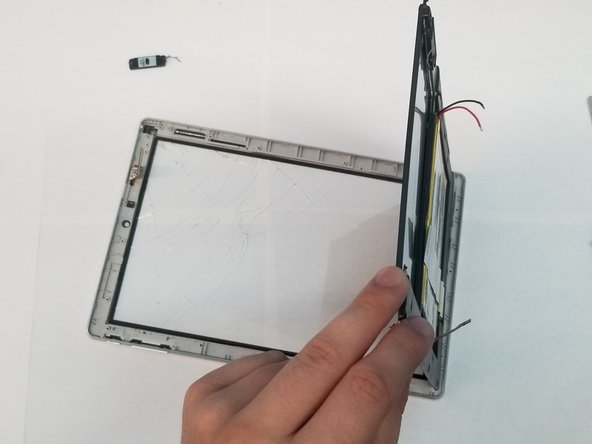
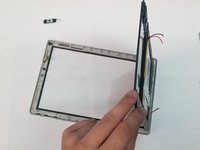
At this point, the lcd can be removed, the battery, power and volume control are both glued onto the assembly.
-
While lifting the lcd assembly out, ensure that you do not touch the screen on the other side and that the power controller stays attached to it.
-
-
-
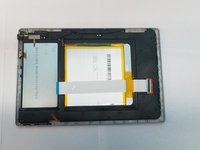
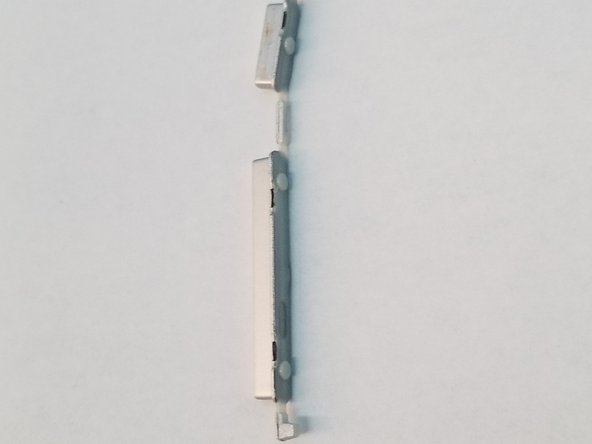
Lastly, the power and volume buttons need to be moved over to the new digitizer frame
-


To reassemble your device, follow these instructions in reverse order.
crwdns2947412:02crwdne2947412:0
Chris I can't give you 30 points because your info is not helpful in getting my code reset. I just open the box after 3 years
Did you get my message