crwdns2933423:0crwdne2933423:0

Nest Cam IQ Motherboard Replacement

crwdns2942213:0crwdne2942213:0

  1. Nest Cam IQ Motherboard Replacement, Motherboard: crwdns2935265:01crwdnd2935265:01crwdnd2935265:01crwdne2935265:0
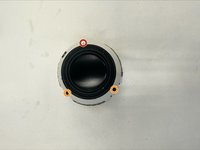
    • To soften the adhesive holding the camera together, heat up the edges of the glass lens using a heated iOpener on the device. Alternatively, you can use a heat gun to loosen the adhesive.

    • Leave the Opener on the glass lens for two minutes.

    • Be careful not to burn yourself while handling the hot iOpener. For more information on the Opener, use the iOpener Instructions Guide.

  2. Nest Cam IQ Motherboard Replacement: crwdns2935265:02crwdnd2935265:01crwdnd2935265:01crwdne2935265:0
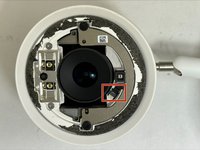
    • Use an opening tool to split apart the glass lens from the body.

    • Be careful to not break the glass when prying from the body.

  3. Nest Cam IQ Motherboard Replacement: crwdns2935265:03crwdnd2935265:01crwdnd2935265:01crwdne2935265:0
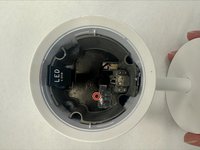
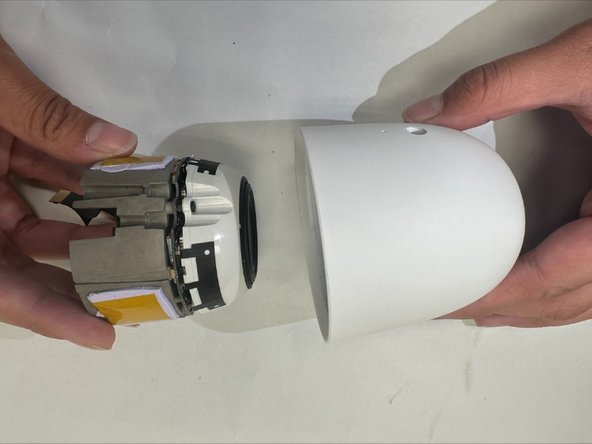
    • Place a suction cup on the glass lens that you heated up with the iOpener.

    • Press down on the suction cup to create a seal, and pull up with force to create a separation between the glass lens and the body.

    • Pull off the glass lens using the suction cup.

  4. Nest Cam IQ Motherboard Replacement: crwdns2935265:04crwdnd2935265:01crwdnd2935265:02crwdne2935265:0 Nest Cam IQ Motherboard Replacement: crwdns2935265:04crwdnd2935265:02crwdnd2935265:02crwdne2935265:0
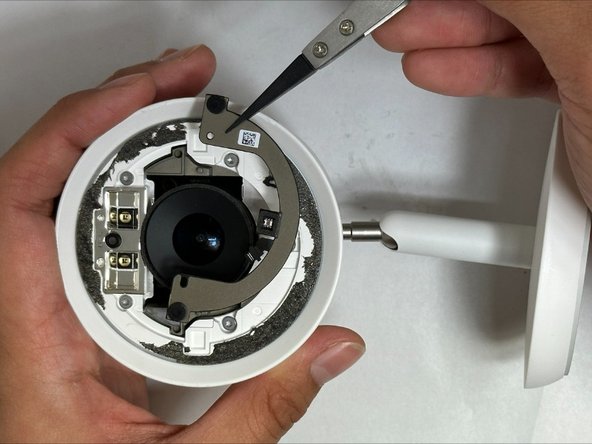
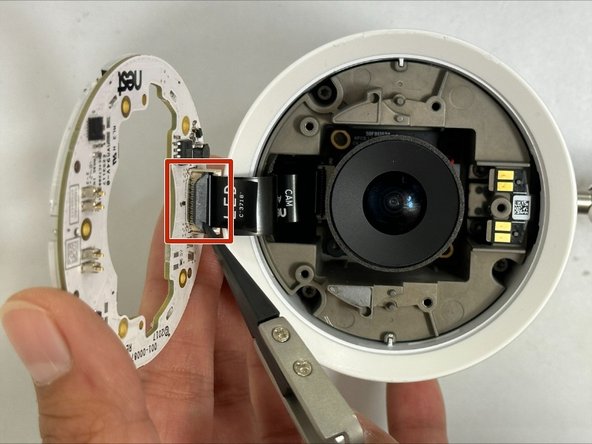
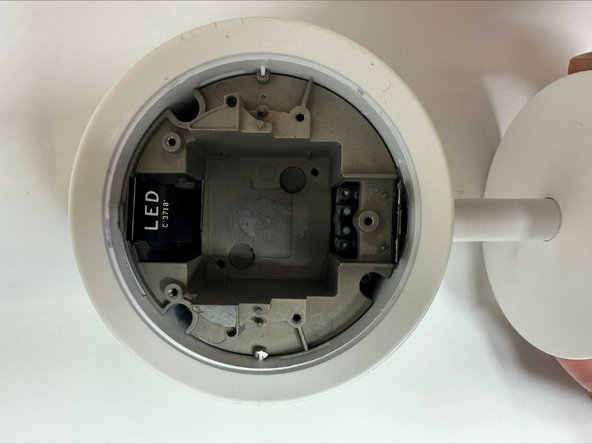
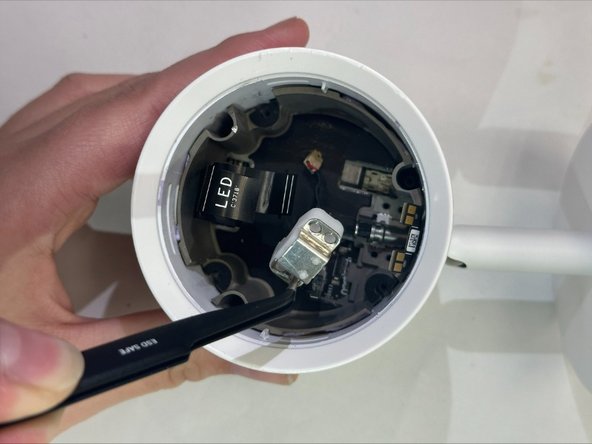
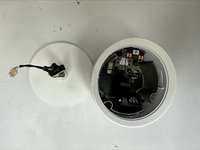
    • Carefully disconnect the flat black ribbon cable connecting the metal plate to the LED.

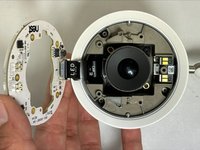
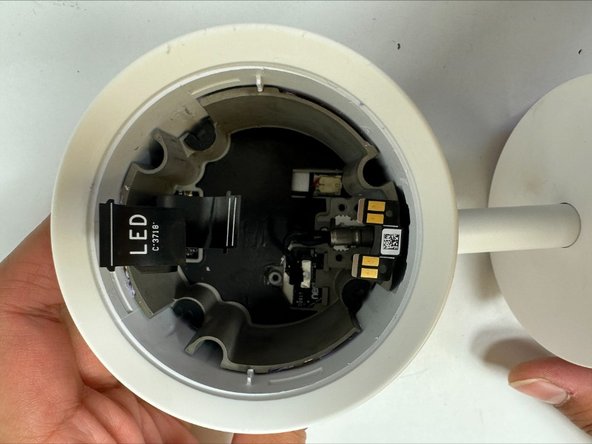
    • Remove the metal plate.

  5. Nest Cam IQ Motherboard Replacement: crwdns2935265:05crwdnd2935265:01crwdnd2935265:02crwdne2935265:0 Nest Cam IQ Motherboard Replacement: crwdns2935265:05crwdnd2935265:02crwdnd2935265:02crwdne2935265:0
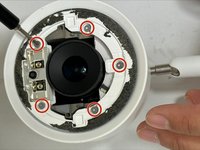
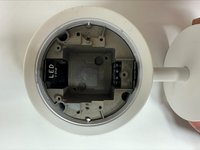
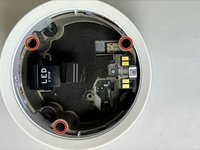
    • Remove the five 9 mm TR6 Torx screws from the LED cover.

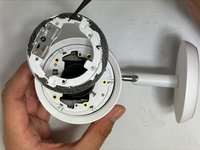
    • Pull off the LED cover.

    • As you remove the LED cover, be careful not to tear the flat black ribbon connecting the LED to the motherboard.

  6. Nest Cam IQ Motherboard Replacement: crwdns2935265:06crwdnd2935265:01crwdnd2935265:03crwdne2935265:0 Nest Cam IQ Motherboard Replacement: crwdns2935265:06crwdnd2935265:02crwdnd2935265:03crwdne2935265:0 Nest Cam IQ Motherboard Replacement: crwdns2935265:06crwdnd2935265:03crwdnd2935265:03crwdne2935265:0
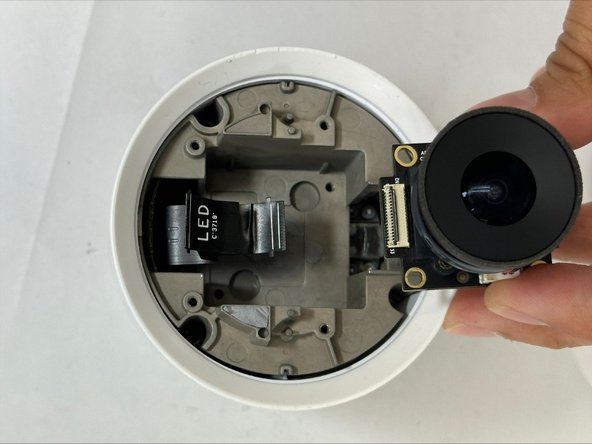
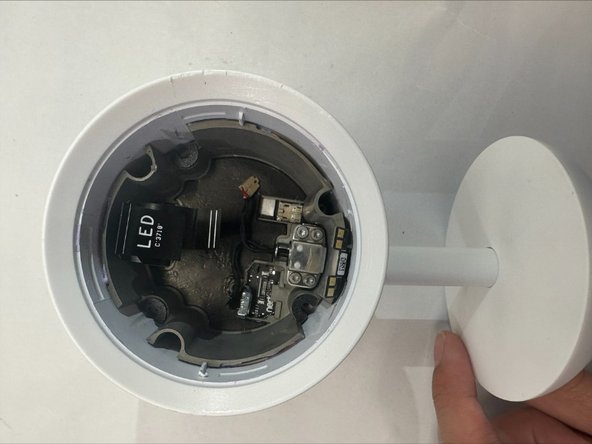
    • Carefully disconnect the flat black ribbon cable connecting the LED to the motherboard.

    • Remove the LED cover.

  7. Nest Cam IQ Motherboard Replacement: crwdns2935265:07crwdnd2935265:01crwdnd2935265:01crwdne2935265:0
    • Remove the two 7 mm TR6 Torx screws securing the camera.

    • Carefully pull out the camera.

    • As you remove the camera, be careful not to tear the flat black ribbon connecting the camera to the motherboard.

  8. Nest Cam IQ Motherboard Replacement: crwdns2935265:08crwdnd2935265:01crwdnd2935265:02crwdne2935265:0 Nest Cam IQ Motherboard Replacement: crwdns2935265:08crwdnd2935265:02crwdnd2935265:02crwdne2935265:0
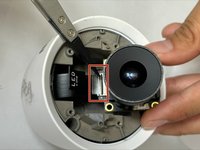
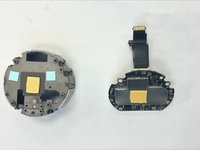
    • Carefully disconnect the flat black ribbon cable connecting the camera to the motherboard.

    • Remove the camera.

  9. Nest Cam IQ Motherboard Replacement: crwdns2935265:09crwdnd2935265:01crwdnd2935265:03crwdne2935265:0 Nest Cam IQ Motherboard Replacement: crwdns2935265:09crwdnd2935265:02crwdnd2935265:03crwdne2935265:0 Nest Cam IQ Motherboard Replacement: crwdns2935265:09crwdnd2935265:03crwdnd2935265:03crwdne2935265:0
    • Remove the three 19 mm TR6 Torx screws from the camera holder.

    • Carefully lift the tab up and away from the camera holder.

    • Remove the camera holder.

  10. Nest Cam IQ Motherboard Replacement: crwdns2935265:010crwdnd2935265:01crwdnd2935265:02crwdne2935265:0 Nest Cam IQ Motherboard Replacement: crwdns2935265:010crwdnd2935265:02crwdnd2935265:02crwdne2935265:0
    • Remove the one 4 mm TR6 Torx screw from the clear cover.

    • Remove the clear cover.

  11. Nest Cam IQ Motherboard Replacement: crwdns2935265:011crwdnd2935265:01crwdnd2935265:03crwdne2935265:0 Nest Cam IQ Motherboard Replacement: crwdns2935265:011crwdnd2935265:02crwdnd2935265:03crwdne2935265:0 Nest Cam IQ Motherboard Replacement: crwdns2935265:011crwdnd2935265:03crwdnd2935265:03crwdne2935265:0
    • Remove the four 11 mm TR6 Torx screws from the clamp securing the mounting stand.

    • Remove the clamp.

    • Carefully pull away the cables connecting the mounting stand to the body.

  12. Nest Cam IQ Motherboard Replacement: crwdns2935265:012crwdnd2935265:01crwdnd2935265:03crwdne2935265:0 Nest Cam IQ Motherboard Replacement: crwdns2935265:012crwdnd2935265:02crwdnd2935265:03crwdne2935265:0 Nest Cam IQ Motherboard Replacement: crwdns2935265:012crwdnd2935265:03crwdnd2935265:03crwdne2935265:0
    • Carefully remove the mounting stand.

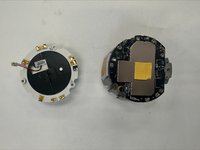
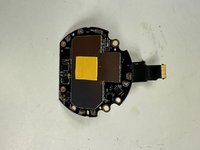
    • Remove the three 9 mm TR6 Torx connecting the motherboard and speaker to the body.

    • Pull the motherboard and speaker from the body.

  13. Nest Cam IQ Motherboard Replacement: crwdns2935265:013crwdnd2935265:01crwdnd2935265:03crwdne2935265:0 Nest Cam IQ Motherboard Replacement: crwdns2935265:013crwdnd2935265:02crwdnd2935265:03crwdne2935265:0 Nest Cam IQ Motherboard Replacement: crwdns2935265:013crwdnd2935265:03crwdnd2935265:03crwdne2935265:0
    • Remove the one 8 mm TR6 Torx screws securing the speaker to the motherboard.

    • Remove the two 4 mm TR6 Torx screws securing the speaker to the motherboard.

    • Carefully pull away the speaker.

    • As you pull away the speaker, be careful not to damage the cable connecting the speaker to the motherboard.

    • Carefully disconnect the cable connecting the speaker to the motherboard.

  14. Nest Cam IQ Motherboard Replacement: crwdns2935265:014crwdnd2935265:01crwdnd2935265:03crwdne2935265:0 Nest Cam IQ Motherboard Replacement: crwdns2935265:014crwdnd2935265:02crwdnd2935265:03crwdne2935265:0 Nest Cam IQ Motherboard Replacement: crwdns2935265:014crwdnd2935265:03crwdnd2935265:03crwdne2935265:0
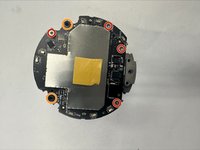
    • Remove the four 4 mm TR6 Torx screws securing the motherboard.

    • Remove the two 5 mm 3.5 low-head socket cap screws securing the motherboard.

    • Remove the motherboard.

crwdns2915888:0crwdne2915888:0

To reassemble your device, follow these instructions in reverse order.

Jas Ownby

crwdns2935283:009/08/23crwdne2935283:0

800 crwdns2915208:0crwdne2915208:0

crwdns2935297:04crwdne2935297:0

crwdns2915084:0crwdne2915084:0

University of New Orleans, Team 5-5, McDonald Fall 2023 crwdns2935289:0University of New Orleans, Team 5-5, McDonald Fall 2023crwdne2935289:0

UNO-MCDONALD-F23S5G5

crwdns2931471:03crwdne2931471:0

crwdns2935297:04crwdne2935297:0

crwdns2944067:00crwdne2944067:0

crwdns2917038:0crwdne2917038:0

crwdns2936625:0crwdne2936625:0:

crwdns2936751:024crwdne2936751:0 0

crwdns2936753:07crwdne2936753:0 0

crwdns2936753:030crwdne2936753:0 9

crwdns2942667:0crwdne2942667:0 90