crwdns2915892:0crwdne2915892:0
If any part of the handle or outer casing is damaged, disassembling the blaster may be required to repair it. A screwdriver with a long shaft will be needed to get to all of the screws. Also watch out for any small parts that may come apart and fall out as you're working on the device.
crwdns2942213:0crwdne2942213:0
-
-
Start by taking out all of the screws for the casing of the gun. Using the PH #00 screwdriver, unscrew all four 1.3 cm screws in the pump.
-
-
-
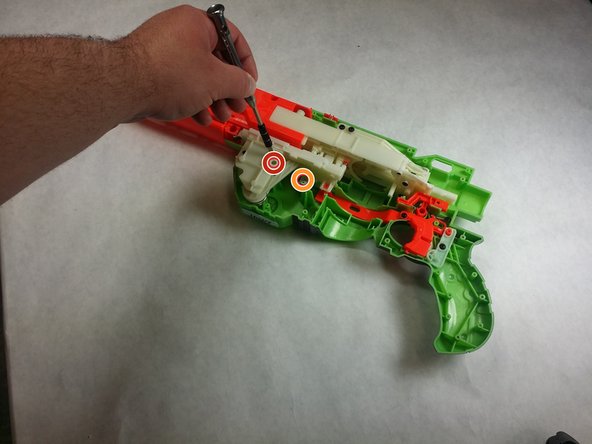
Take out all of the screws with a Phillips screwdriver. Using a PH #00 Screwdriver, unscrew all fourteen, 1.2 cm screws.
-
-
-
Remove the small stock at the back end of the gun by removing two, 1-cm screws.
-
-
-
-
Remove the 1.2 cm Phillips screw towards the front of the blaster.
-
Remove the silver 1.1 cm Phillips screw next to the first screw.
-
-
-
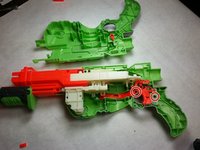
Remove the trigger components by removing these two 1.2 cm screws.
-
-
-
Remove the .7-cm screws towards the back of the inside of the outer case.
-
-
-
Remove single 1.2 cm screw that connects loading assembly.
-
-
-
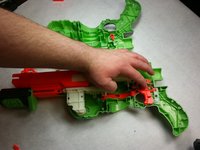
Pull out the white piece from the rest of the gun.
-


To reassemble your device, follow these instructions in reverse order.
crwdns2935287:0crwdne2935287:0

IUPUI, Team 3-1, Harley Spring 2016 crwdns2935289:0IUPUI, Team 3-1, Harley Spring 2016crwdne2935289:0
IUPUI-HARLEY-S16S3G1
crwdns2931471:03crwdne2931471:0
crwdns2935297:05crwdne2935297:0