crwdns2942213:0crwdne2942213:0
-
-
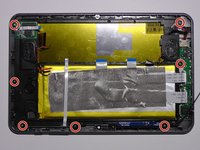
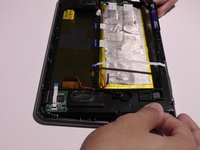
Turn the Neo3DO face down so that the logo is facing toward you.
-
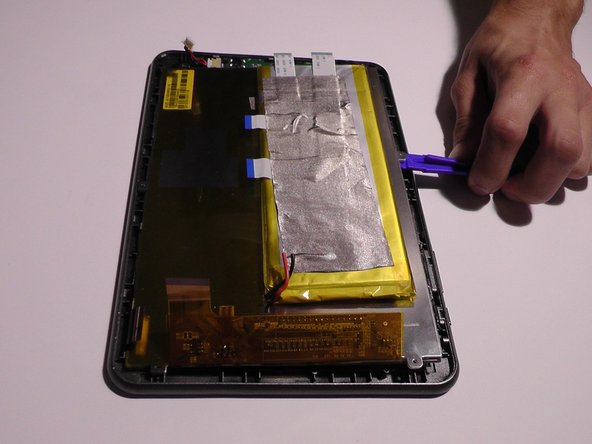
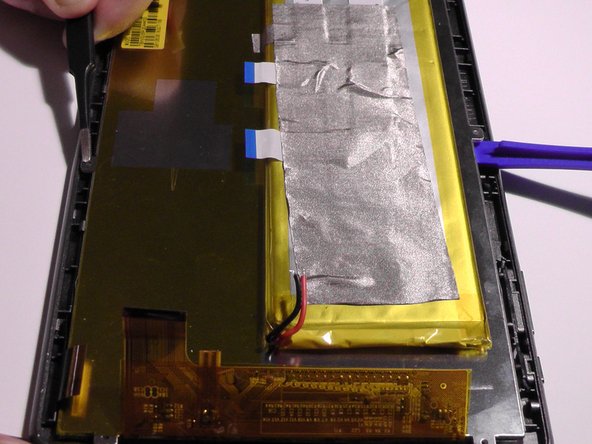
Insert the plastic opening tool between the metal frame and the plastic back panel, as shown.
-
-
-
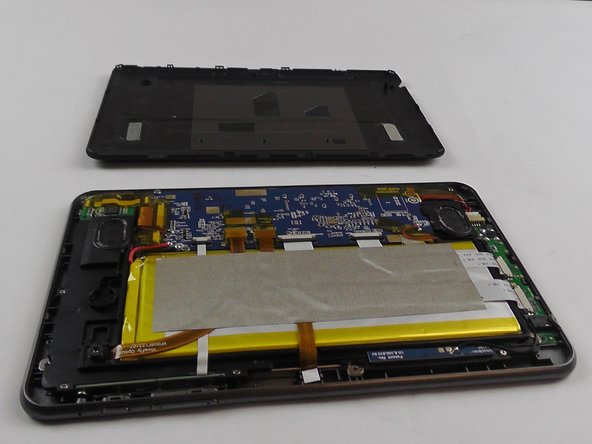
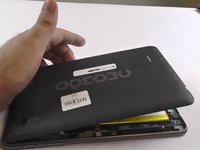
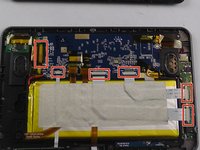
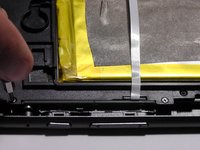
Once the back panel has been pried away from the bottom and sides of the Neo3DO, lift the back panel up and away from the tablet.
-
-
-
When replacing the back panel, place the top edge of the back panel against the top edge of the Neo3DO, as shown.
-
-
-
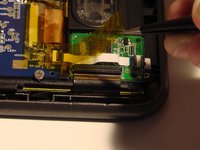
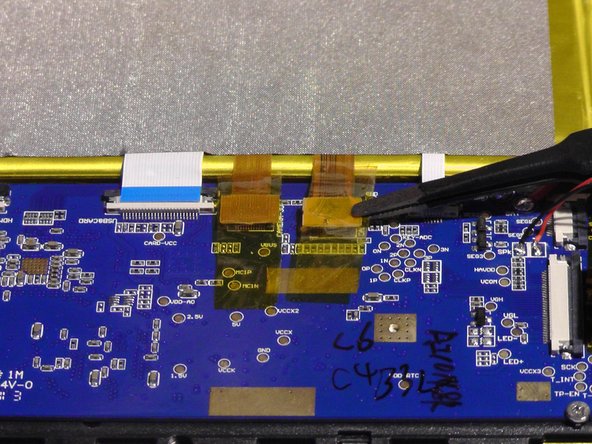
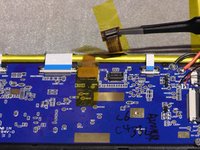
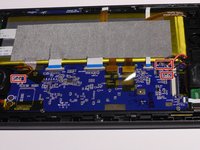
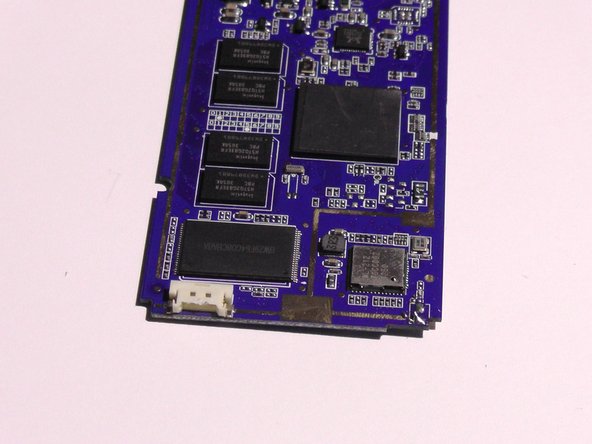
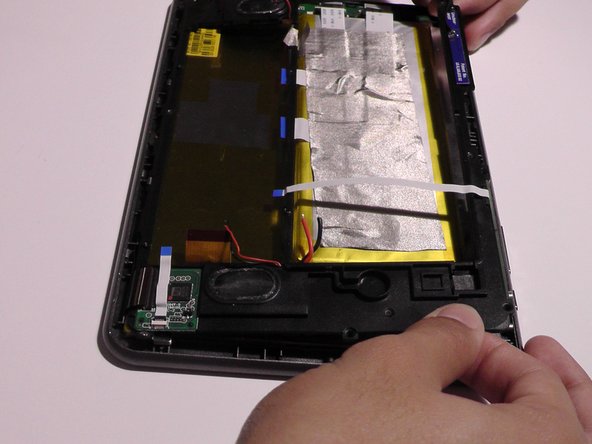
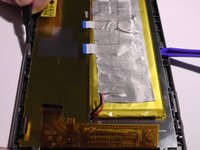
Remove all the tape attached to the motherboard.
-
-
-
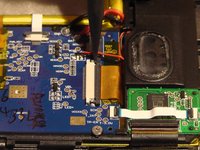
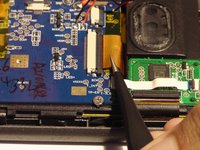
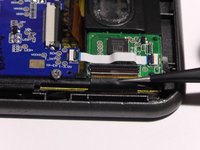
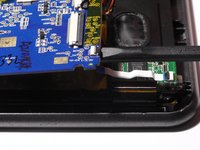
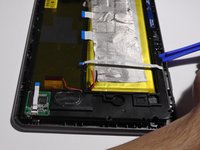
Pull out the black tabs using the plastic spudger.
-
-
-
-
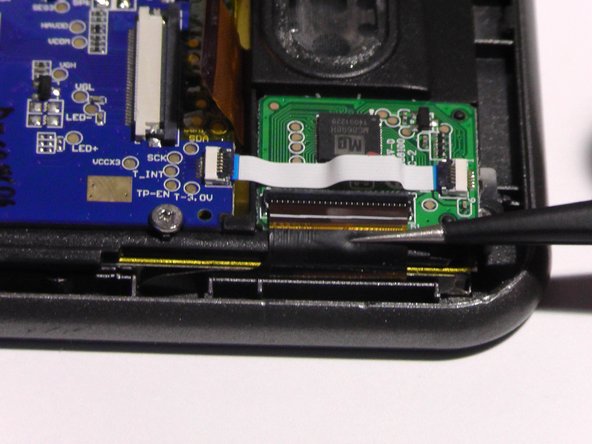
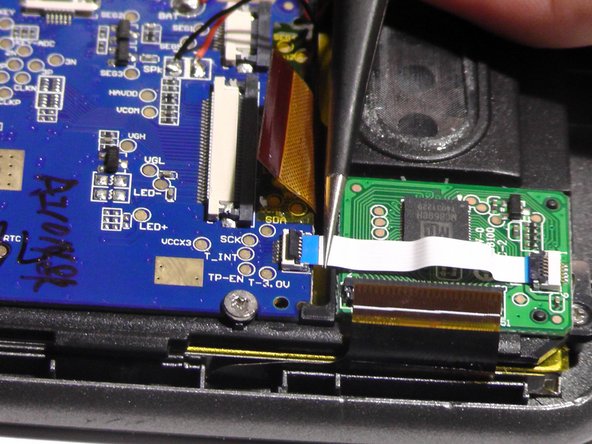
Remove the wire belt from the socket.
-
-
-
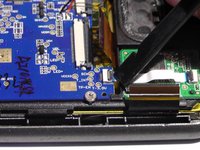
Lift the black tab and then remove the wire belt.
-
-
-
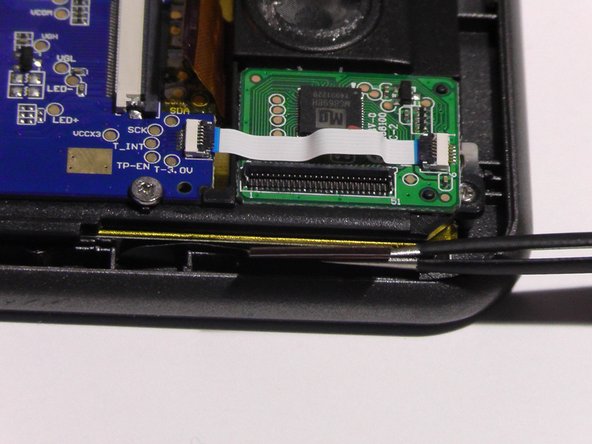
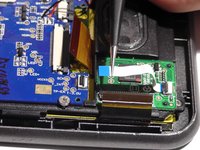
Lift the black tab and then remove the wire belt.
-
-
-
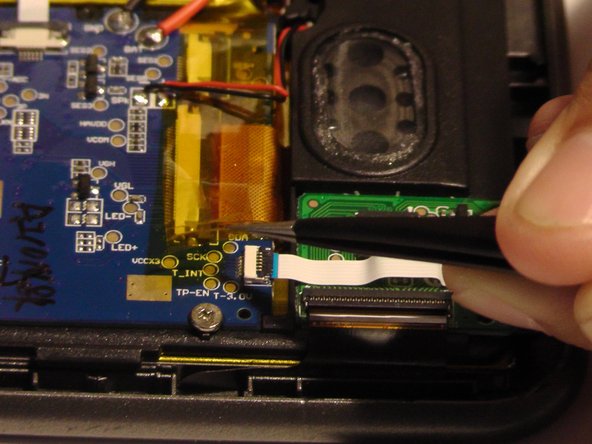
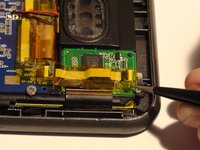
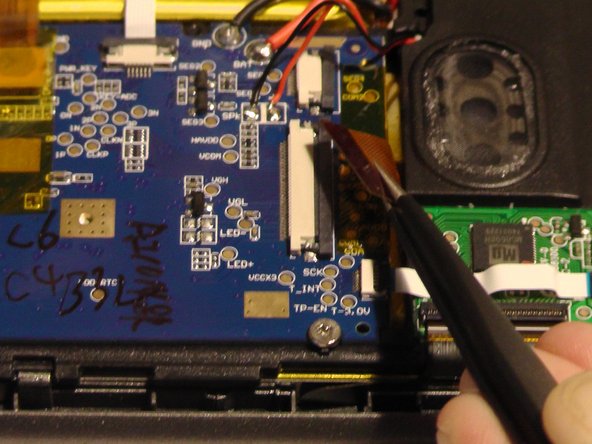
Grip the side of the tab and pull upwards to remove it from the socket.
-
-
-
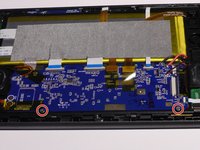
Remove the screws using the J0 head screwdriver.
-
-
-
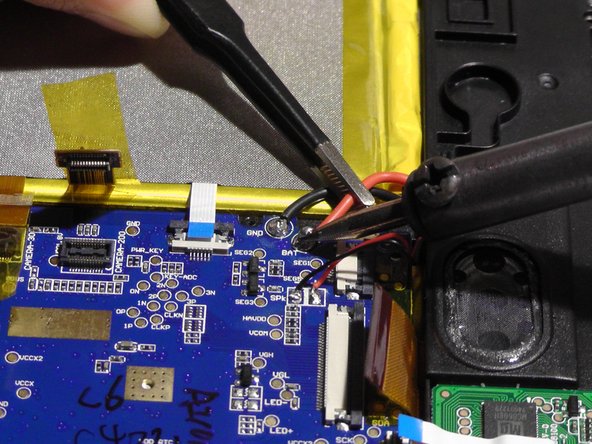
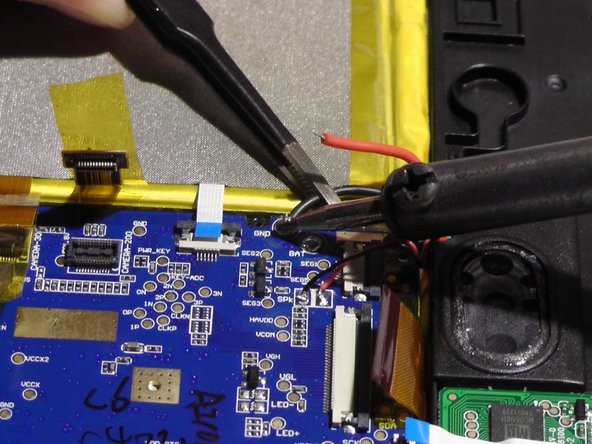
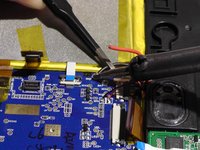
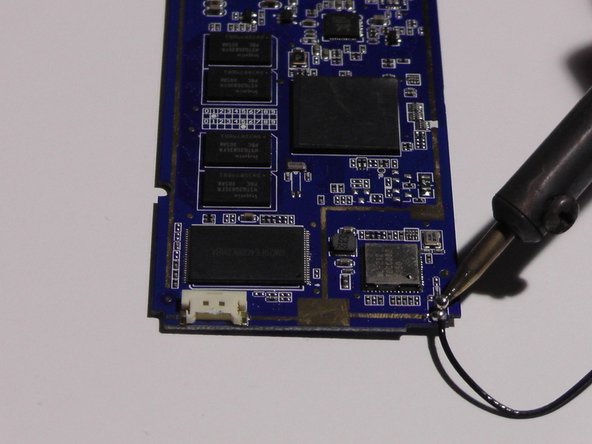
Grip the active(red) wire and apply the soldering tool until the solder is soft enough for the wire to be removed.
-
Repeat the same process to remove the neutral(black) wire.
-
-
-
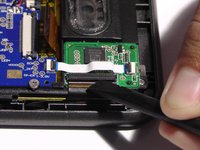
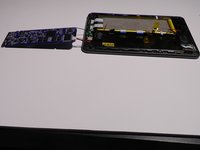
Use the flat end of the plastic spudger to remove the motherboard and turn it underside-up.
-
-
-
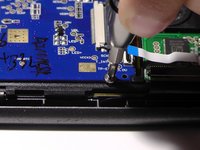
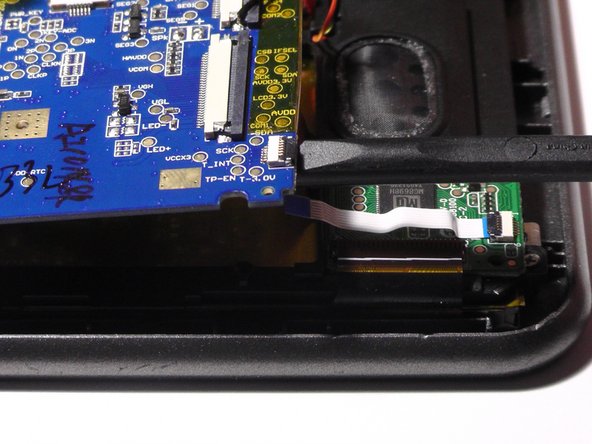
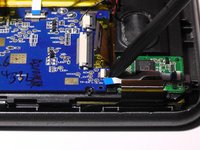
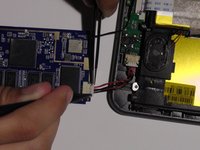
Remove the plug from the motherboard socket.
-
-
-
Grip the wire and apply the soldering tool until the solder is soft enough for the wire to be removed.
-
-
-
Remove the screws with a J000 screwdriver
-
-
-
Use the plastic removal tool to remove the plastic frame.
-
-
crwdns2935267:0crwdne2935267:0Tweezers$4.99
-
Using the plastic removal tool, lift the LED screen from the battery side, and use the tweezers to help lift the LED screen upwards.
-


To reassemble your device, follow these instructions in reverse order.
To reassemble your device, follow these instructions in reverse order.

crwdns2915084:0crwdne2915084:0

USF Tampa, Team 14-3, Eyestone Fall 2016 crwdns2935289:0USF Tampa, Team 14-3, Eyestone Fall 2016crwdne2935289:0
USFT-EYESTONE-F16S14G3
crwdns2931471:03crwdne2931471:0
crwdns2935297:012crwdne2935297:0
crwdns2947410:01crwdne2947410:0
Do you have a source for Neo3DO Digitizer replacement.