crwdns2942213:0crwdne2942213:0
-
-
Flip the Neato on its back so the bottom is exposed
-
Unscrew the seven screws.
-
-
-
Lift the panels to reveal the batteries, brush and fan
-
-
-
The Neato's core components are now exposed and ready to be cleaned and/or replaced.
-
-
-
Pinch and pull the white connector to disconnect the battery from the device
-
Lift and remove the battery from the cavity
-
-
-
-
Remove the 17 visible screws and the 2 covered/hidden screws near the battery compartments that connect the bottom to the top of the Neato robot.
-
-
-
Lift and separate the two pieces to give access to the Distance Sensor
-
-
-
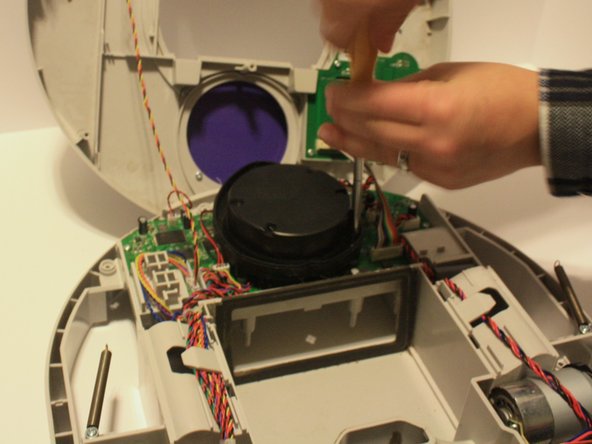
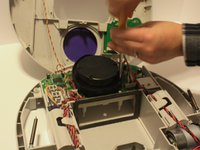
Remove the four screws on the lidar sensor.
-
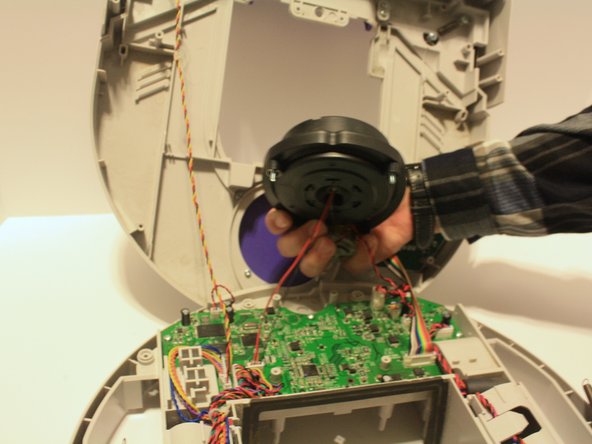
After the wires are fully disconnected lift the motor away to reveal the motherboard
-
-
-
Pinch and pull the white connectors indicated in the image, this will allow the top and bottom panels to fully seperate
-
-
-
Pinch and pull the white connectors that connect the LCD screen and motherboard components
-
-
-
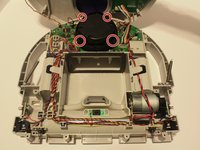
Remove the four screws that hold down the motherboard.
-
-
-
Lift motherboard off of the device so that the new motherboard can be connected
-


To reassemble your device, follow these instructions in reverse order.
To reassemble your device, follow these instructions in reverse order.
crwdns2935221:0crwdne2935221:0
crwdns2935227:0crwdne2935227:0
crwdns2915084:0crwdne2915084:0

University of North Texas, Team S2-G3, Thompson Fall 2017 crwdns2935289:0University of North Texas, Team S2-G3, Thompson Fall 2017crwdne2935289:0
UNT-THOMPSON-F17S2G3
crwdns2931471:04crwdne2931471:0
crwdns2935297:06crwdne2935297:0